DIAGNOSTICS
2
TABLE OF FIGURES
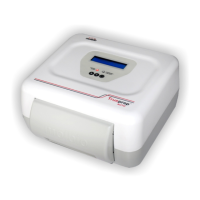
Figure 1: The Trueprep™ AUTO Top View, with cartridge holder 5
shown in the front panel
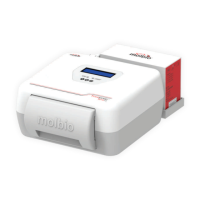
Figure 2: The Trueprep™ AUTO Back Panel, with tubing and caps for plugging 6
in reagent bottles from the Reagent Pack of the
Trueprep™ AUTO Universal Cartridge Based Sample Prep Kit
Figure 3: Disposable Trueprep™ AUTO cartridge for sample processing 6
Figure 4: Low battery LED glowing red 7
Figure 5: The Charging Port in right hand side of the 8
Back Panel of the Trueprep™ AUTO
Figure 6: The Blue Charging LED Indicator Glowing 8
Figure 7: Reagent bottles with tubing fully immersed in liquid 9
Figure 8: The cartridge holder opened after eject button is pressed 9
Figure 9: Cartridge being placed in cartridge holder 10
Figure 10: Cartridge placed in cartridge holder in correct orientation 10
Figure 11: Replaceable tray and Rail guards in cartridge holder 11
Figure 12: Removal of Replaceable Tray and Rail guards from cartridge holder 11
Figure 13: Replacement of discarded Replaceable tray and Rail guards with new 12