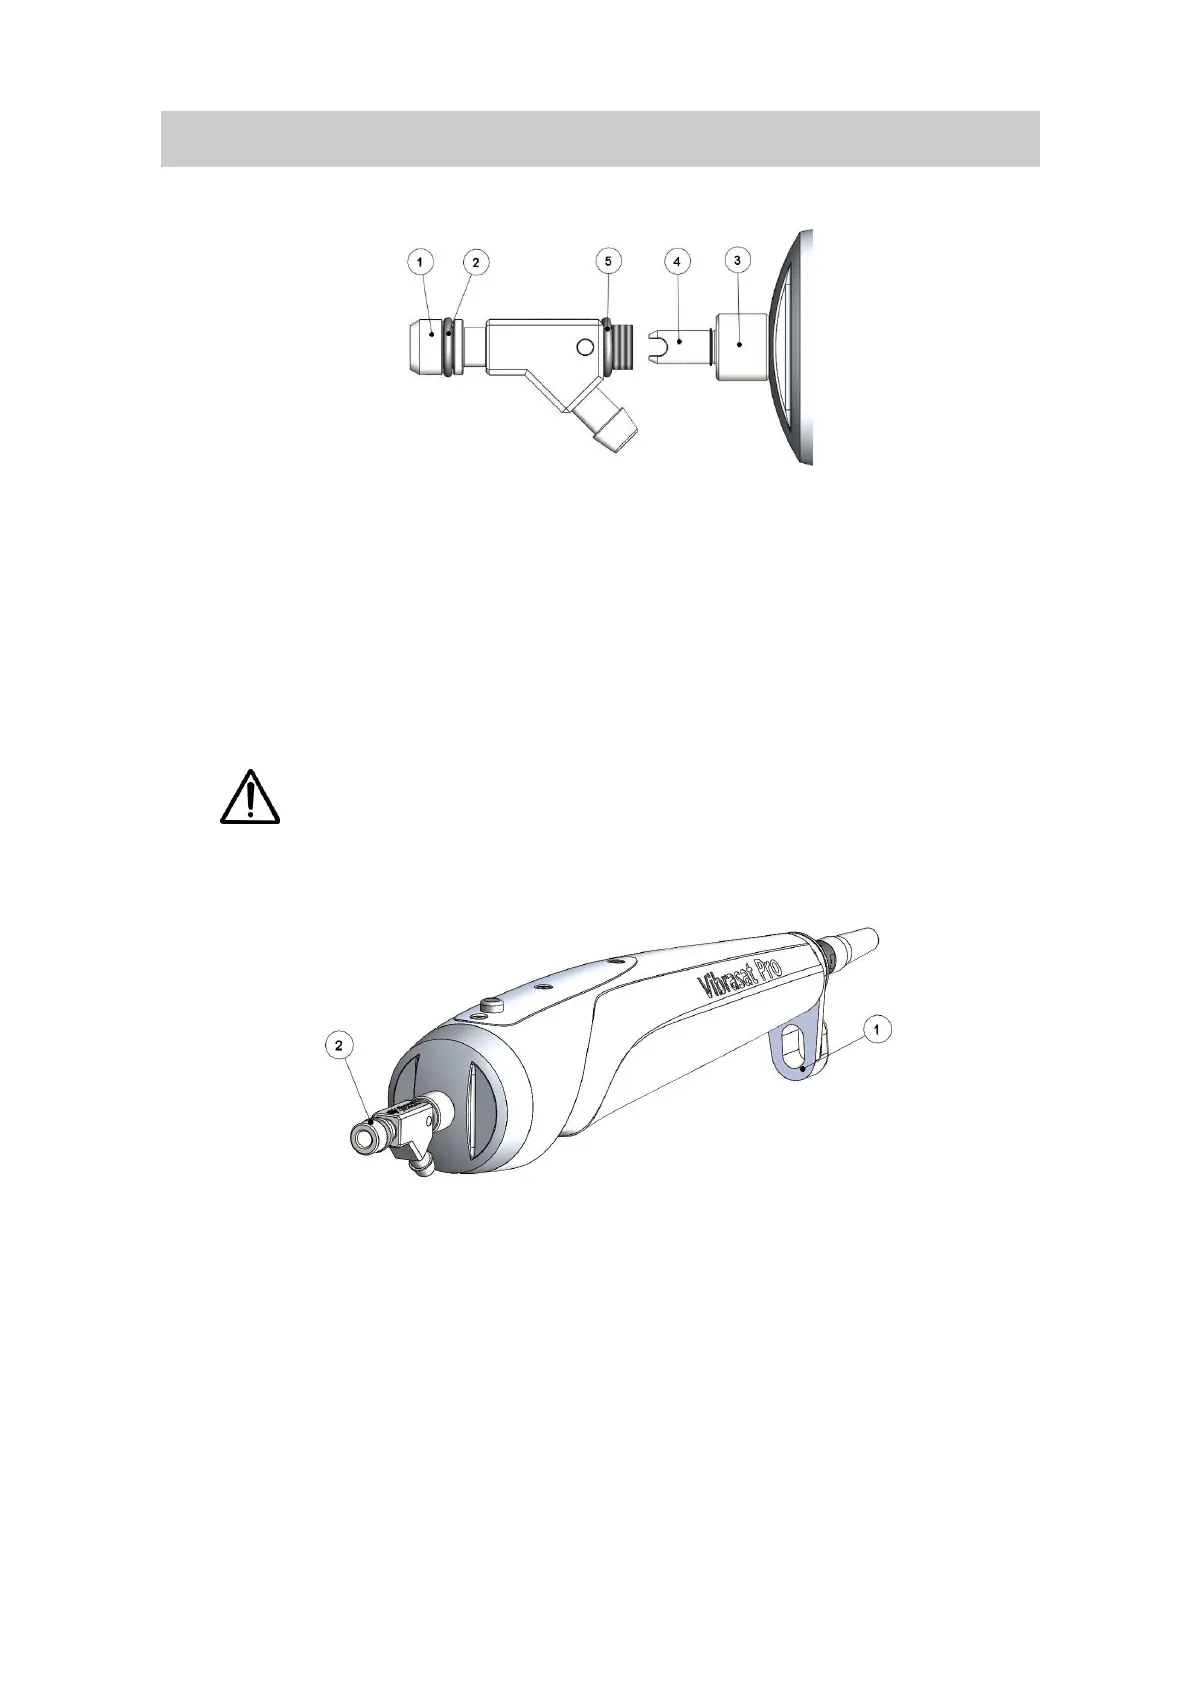
1. Push the cannula holder (Figure 2, Point 1) onto the fork-shaped pin on the handle
(Figure 2, Point 4). The tube connection can be aligned upwards or downwards as
required. The alignment of the tube connection can be rotated by 180° if necessary.
The O-rings (Figure 2, Point 2 and 5) must be in perfect condition.
2. Attach the cannula holder by tightening the lock nut (Figure 2, Point 3) against the O-
ring by hand.
The cannula holder must be locked into place!
The O-ring prevents the nut from becoming loose during use. Do not use tools. The
use of tools damages the device.
• Attach a suitable suction tube (available as an accessory) on the cannula holder.
1. Push the tube through the tube holder on the rear end of the handle (Figure 3, Point 1).
2. Attach the suction tube to the tube connection of the cannula holder (Figure 3, Point 2).
 Loading...