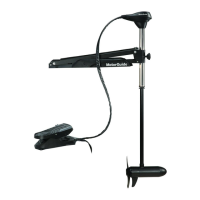
2. While holding the propeller blade with one gloved hand, use a 9/16 in.
wrench or a ratchet to remove the propeller nut. Remove the propeller nut
and washer (or anode, for saltwater models).
IMPORTANT: Remove the propeller nut with a wrench or a ratchet and socket.
Using another tool may damage the propeller nut or shaft. If the propeller
cannot be removed easily, use a rubber mallet to lightly tap the back side of
the opposite blade. If the propeller cannot be removed, have the propeller
removed by an authorized dealer.
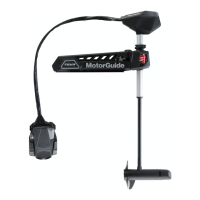
NOTE: Replace the propeller pin if it is bent.
INSTALLING THE PROPELLER
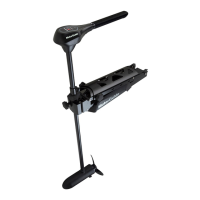
1. Rotate the motor shaft to insert the propeller pin horizontally.
a - Propeller pin
2. Install the propeller onto the motor shaft by engaging the propeller onto
the propeller pin.
MAINTENANCE
32 eng
 Loading...