Reducing Sonar Transducer Interference
Sonar transducers can be affected by interference, such as radio frequency
interference (RFI) and electromagnetic interference (EMI). This interference
can cause undesired operation of the sonar display. Refer to the following list to
reduce sonar interference sources.
1. Lower the sonar sensitivity, also known as gain. Refer to the documents
included with your sonar display.
a. Change the sensitivity to an automatic setting.
b. If the automatic setting does not reduce sonar interference, manually
change the sensitivity to 55–65% of the maximum setting.
2. Verify that the transducer cable is not routed near any power cables.
3. Ensure that the positive (+) and negative (–) power cables are installed
next to each other. This helps cancel any EMI.
4. Inspect the transducer cable for damage, nicks, or cuts. Replace the
transducer cable if it is damaged.
5. Connect the sonar display to a separate accessory battery with only the
sonar display connected. This will verify if the interference is coming from
the power cables or the transducer cable.
a. If the interference stops when the sonar display is connected to a
separate accessory battery, inspect the boat wiring. Most likely, there
is a problem with the ground (–) connection. All devices should have a
common ground.
b. If the interference continues, it is likely coming from the transducer or
transducer cable.
6. Install a radio frequence (RF) choke onto the sonar display power cable.
7. Connect the sonar display to a different transducer.
Stowing the Trolling Motor
!
WARNING
Rotating propellers can cause serious injury or death. Never start or operate
the motor out of water.
!
CAUTION
Moving parts, such as hinges and pivot points, can cause serious injury.
Keep away from moving parts when stowing, deploying, or tilting the motor.
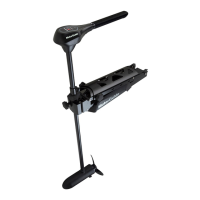
1. Firmly grasp the latch release handle.
2. Snap the latch release handle to disengage the lock pin.
TROLLING MOTOR INSTALLATION AND OPERATION
20 eng
 Loading...
