March 23, 2006 6816812H01
2-4 Standard Configurations: Radio Mounting
2.2 Radio Mounting
The mounting location must be accessible and visible. Select a location that will permit routing the
RF antenna cable as directly as possible.
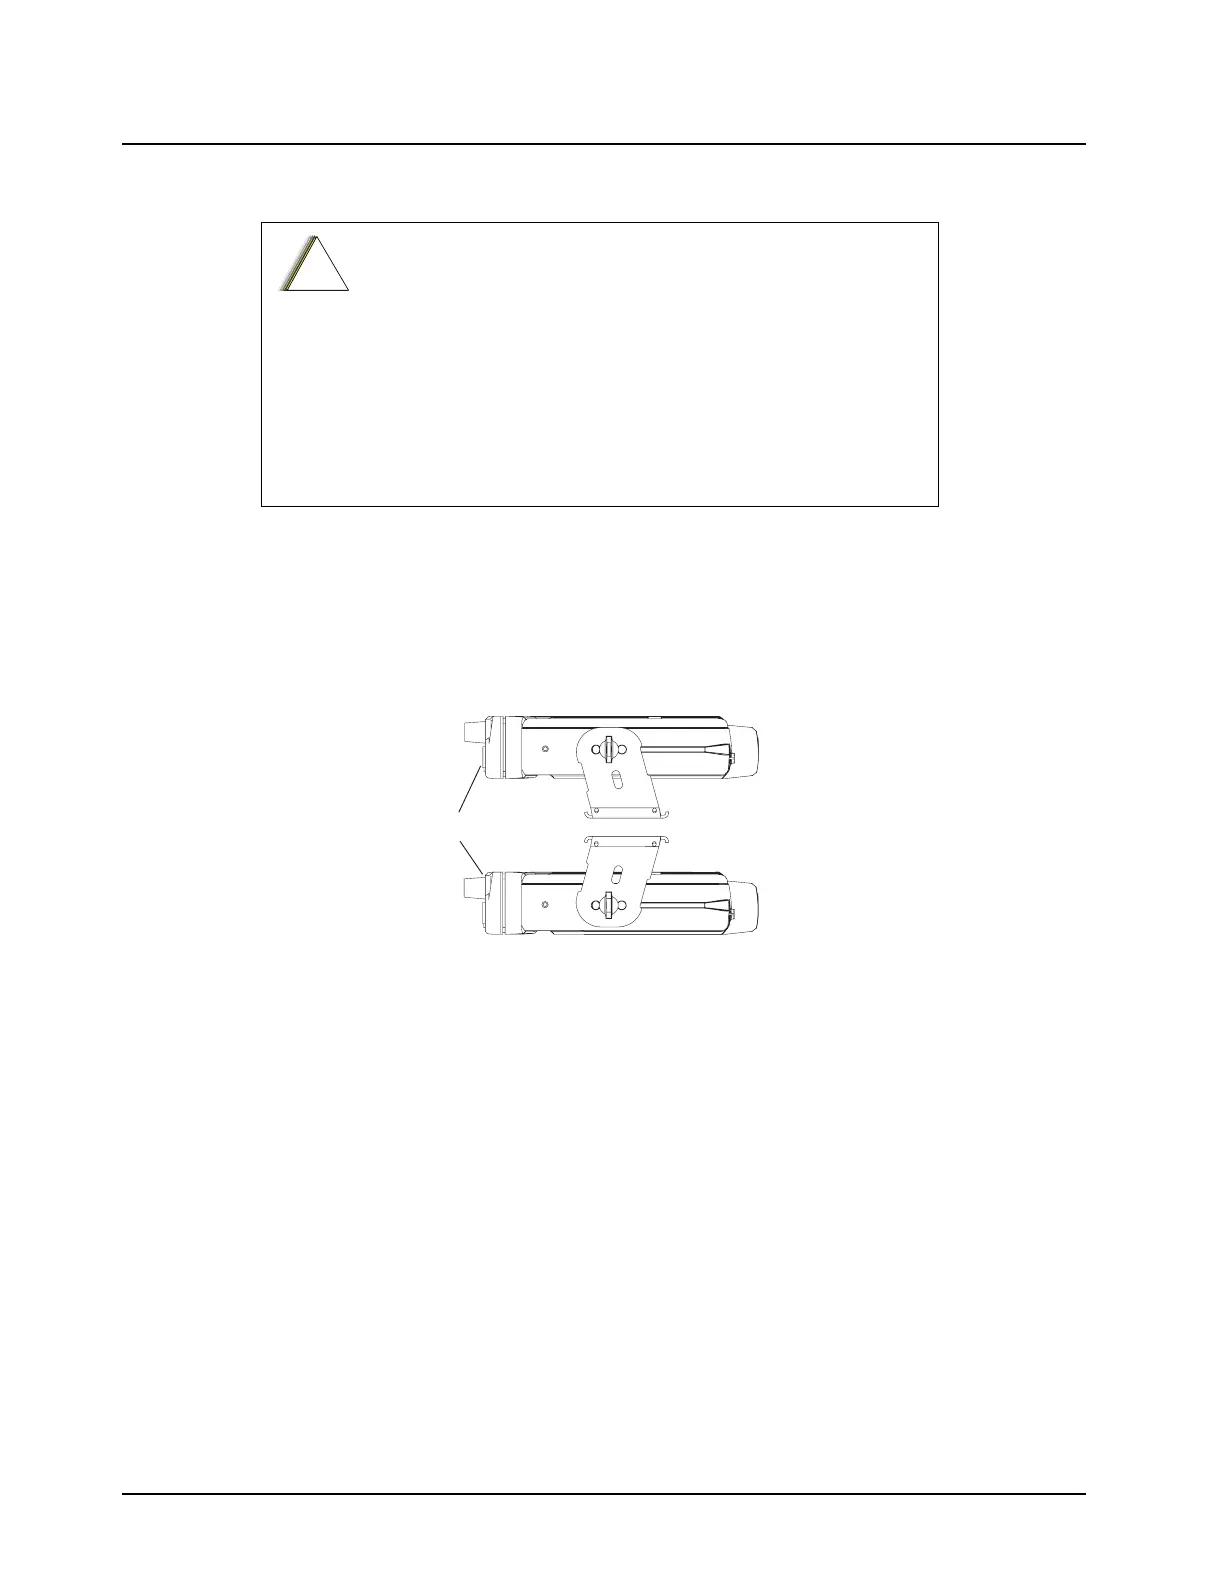
NOTE: For new or existing installations, use one of the following mounting kits GLN7342B (Low
profile mounting bracket), GLN7324B (High profile mounting bracket), RLN4799B (Key Lock
mounting bracket) or RLN5999A ( Dim Mounting Bracket). Orient the mounting trunnion as
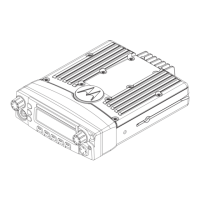
shown in Figure 2-5
Figure 2-5. Trunnion Orientation
CAUTION: DO NOT mount the radio on a plastic dashboard
without first reinforcing the dashboard; the weight of the radio may
crack or break the dashboard.
CAUTION: DO NOT mount the radio on a flat or concave surface
where the radio could be partially submersed in water. This is
especially important if the cab area of the vehicle is cleaned by
spraying with water. If the radio sits in water for a length of time,
moisture may seep inside the radio and damage the electronic
components.
CAUTION: DO NOT allow water to stand in recessed areas of
vertically mounted radios. Remove any moisture immediately to
prevent it from seeping down into the radio.
!
C a u t i o n
RADIO
FRONT
APPLIES TO RADIOS WITH INTEGRAL
OR REMOTE MOUNT CONTROL UNITS
 Loading...