5 Mounting
28 10014218/00 EN
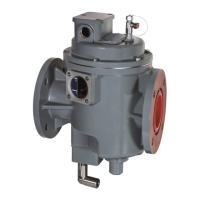
8. Mount the isolation valve on the conservator-side flange and on the
pipe flange in accordance with the operating instructions supplied using
suitable screws (M16), washers and nuts. Only tighten screws by hand.
9. On both sides of the shutter valve, tighten the screws with 10% of the tar-
get tightening torque and ensure that there are no gaps between the
flanges. If there is a gap, repair the affected pipe flanges or, if necessary,
detach and re-weld them so that there is no longer a gap.
10. Tighten the screws crosswise with 30% of the target tightening torque.
11. Tighten the screws crosswise with 60% of the target tightening torque.
12. NOTICE! Damage to the flanges due to a tightening torque that is too
high. Use a torque wrench. Tighten the screws crosswise with 100% of
the target tightening torque and continue to retighten the screws with
100% of the target tightening torque until the screws can no longer be
turned further.
Figure8: Tightening the screws crosswise
5.5 Installing the bypass (optional)
The bypass options BPR and BPC have to be installed on the device on site.
 Loading...