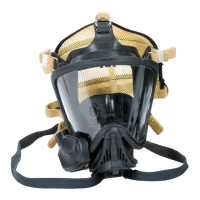
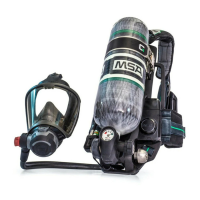
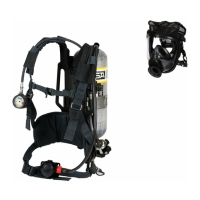
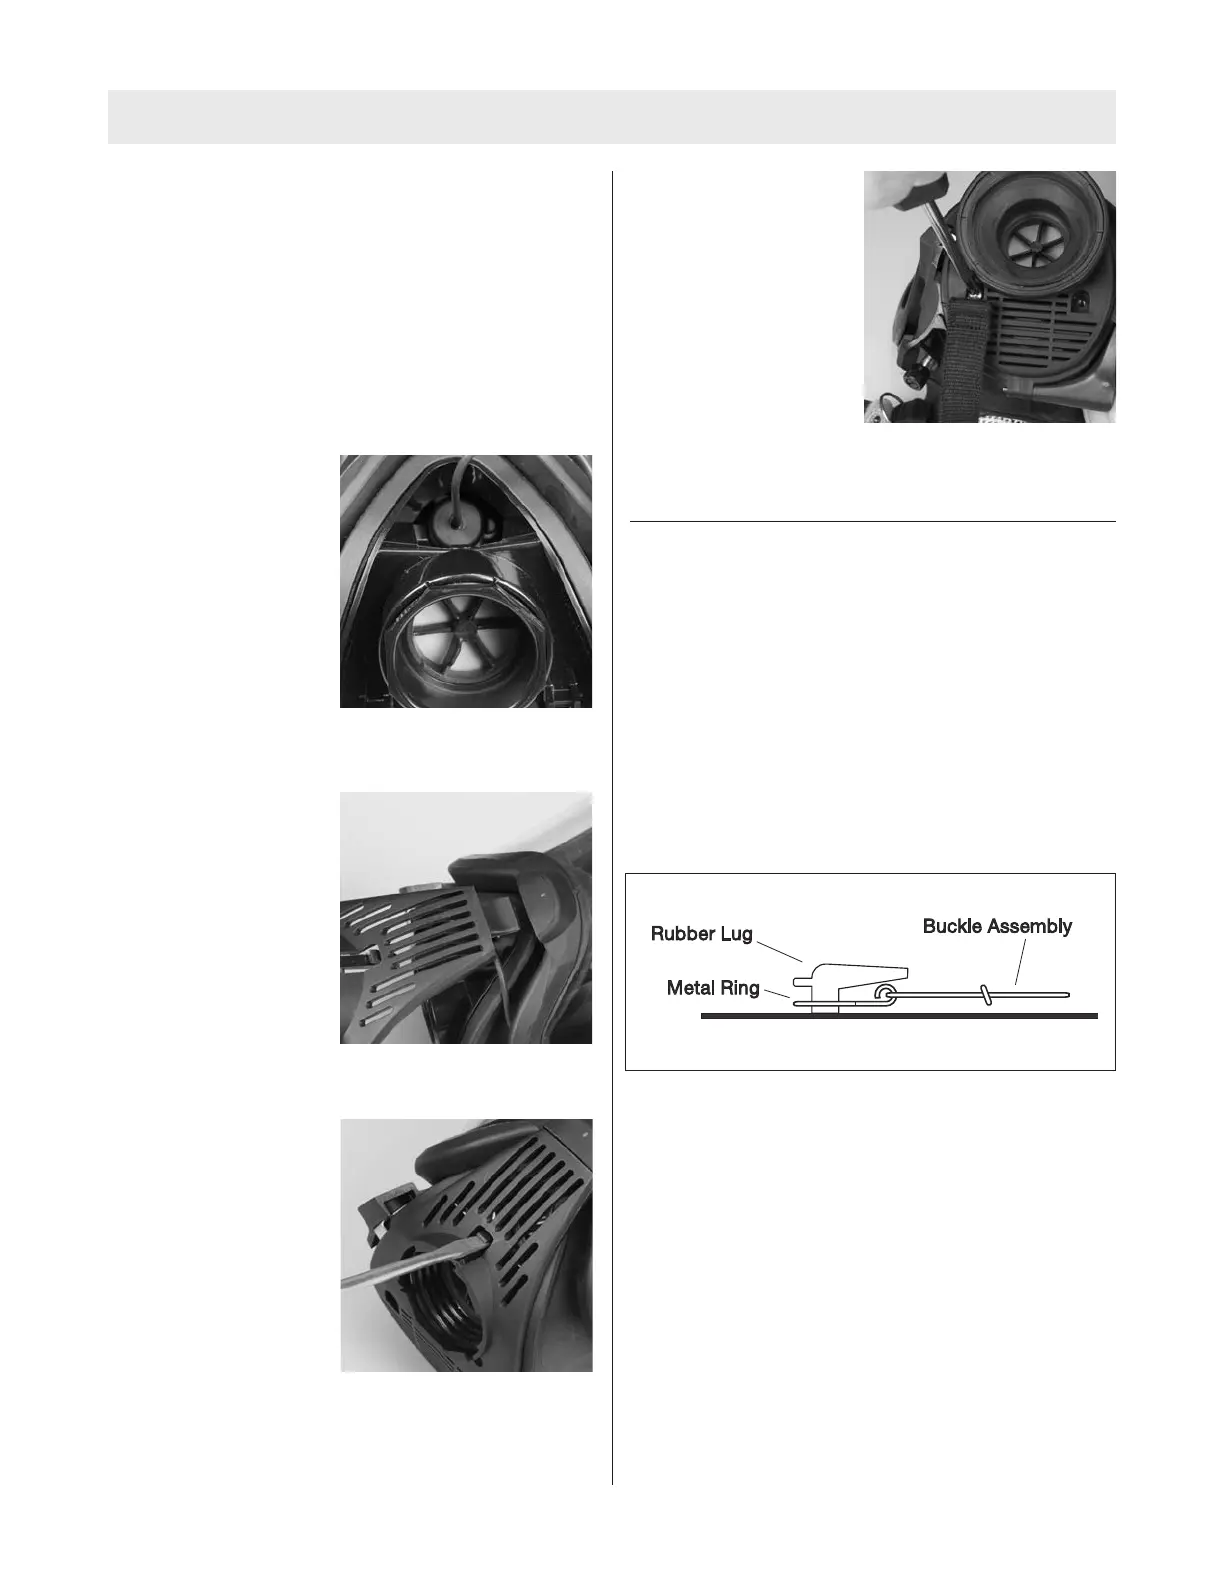
FIREHAWK ADAPTER AND COVER INSTALLATION
The following steps outline the procedure for installing the
F
irehawk second stage regulator adapter and component
housing cover.
Note: The following pictures show a push-to-connect
style adapter and component housing cover. If a slide-to-
c
onnect adapter is being used, the installation procedure
is the same but a different adapter and cover will be used.
1. Screw the adapter assembly into the facepiece.
a. Ensure that the top
flat is perpendicular
to the centerline.
2. Place the component housing cover over the adapter
assembly.
3. Insert the tab on the
cover into the slot in
the lens ring.
4. Press the cover until it locks.
Note: If necessary, use a
small slot head screwdriver
to engage the cover.
5. Place the neck strap brackets into the sockets
(optional).
a. Install Phillips screws
and tighten.
7. Don the facepiece and check the face-to-facepiece
seal.
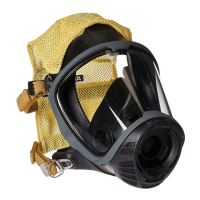
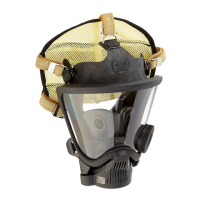
REMOVING THE HEAD HARNESS
If the facepiece being upgraded has a 4-point adjustable
SpeeD-ON Head Harness, this step may be skipped. The
5 point adjustable Speed-ON Head Harness must be
replaced.
1. Pull the ends of the head harness straps out of the
metal buckles.
2. Remove the top metal buckle from the facepiece.
Installing the 4-point adjustable head harness
1. Place the top buckle of the 4-point adjustable head
harness onto the facepiece.
2. Thread the four remaining side and bottom straps
through the buckle.
3. Ensure that the straps are correctly oriented and they
grip the straps when tightened.
4. Don the facepiece and check the face-to-facepiece
seal. Follow the Facepiece Fit Check procedures in
the FireHawk M7 Air Mask Operation and Instruction
Manual (P/N 10082858).
TAL 808 (L) Rev. 1 - 10090073
8
UPGRADE INSTRUCTIONS

 Loading...