INSTALLATION OF FACEPIECE MODEL NUMBER
L
ABELS
I
f the facepiece has been upgraded or if it does not have
the model number described below, a new model number
label must be applied to the facepiece. New CBRN compli
ant facepieces will have the new model number engraved
on them and a label will not be required.
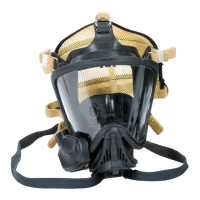
Identify the facepiece model number label from the set of
three facepiece labels.
This table identifies the proper model number label.
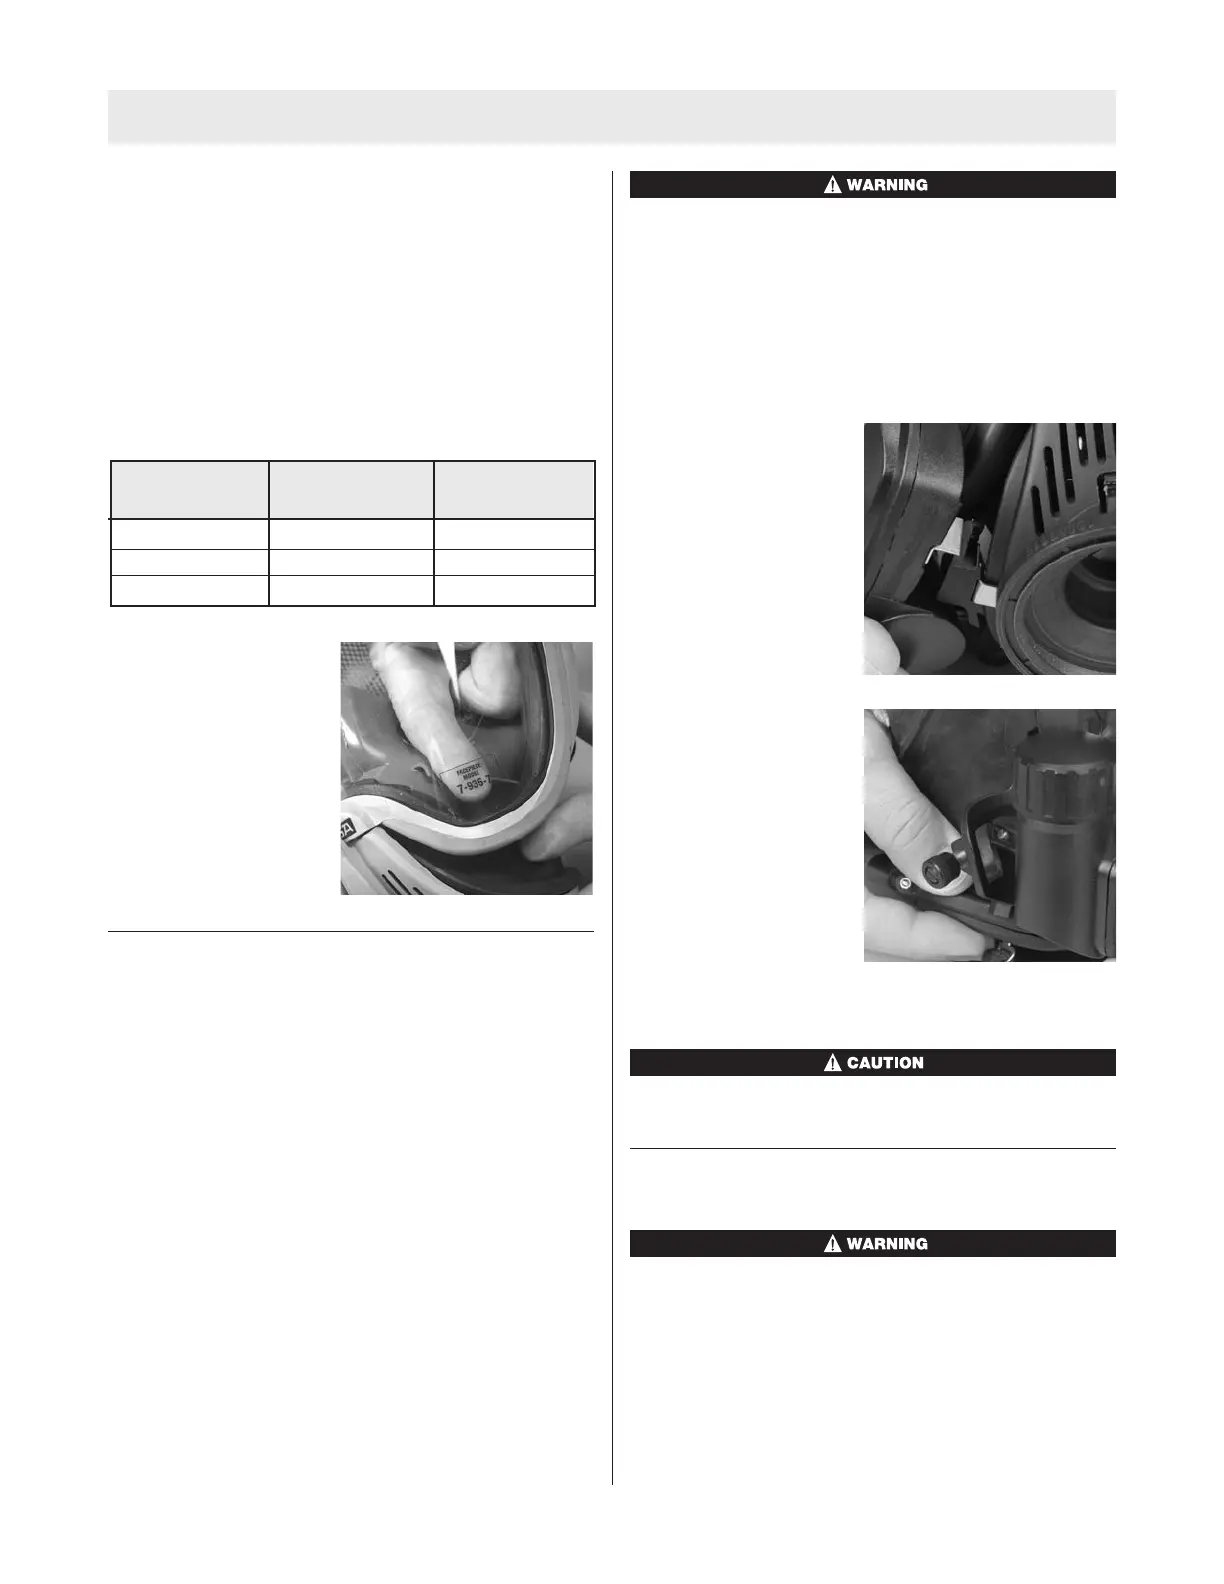
Apply the label to the
inside of the facepiece at
the bottom left of the lens.
Discard the remaining
unused labels. Ensure that
the model number is ori-
ented properly and can be
clearly seen from the out-
side of the lens.
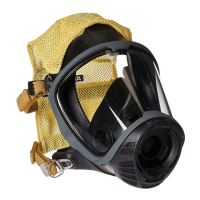
INSTALLING THE FIREHAWK M7 HUD
Note: Once the facepiece has been upgraded, and HUD
mounting bracket installed, the FireHawk M7 HUD is
ready to be mounted to the facepiece.
1. Insert three AAA alkaline batteries in the appropriate
locations on the battery cartridge. Follow the notations
on the cartridge to ensure proper battery orientation.
2. Insert the battery cartridge into the battery tube on the
FireHawk M7 HUD.
3. Before installing the battery cap, verify that the o-ring
is in place and free of damage and debris. If the o-ring
is missing or damaged, replace o-ring. Failure to do so
may allow moisture or contaminants into the battery
tube and cause the device to not function properly.
4. Thread the battery cap on to the battery tube of the
FireHawk M7 HUD (clockwise). Hand-tighten cap until
snug. Do not over-tighten battery cap.
5. As the battery cap makes contact with the battery car-
tridge, verify that the FireHawk M7 HUD display turns
on and goes through its start up sequence before
turning off. The yellow LED should not be flashing.
Use only Rayovac 824 LR03, Rayovac Ultrapro 4R03,
Energizer E92, Energizer Industrial EN92, Duracell
MN2400, or Duracell Pro Cell MN2400 alkaline batter-
ies in the FireHawk M7 HUD. Use of other batteries, or
a
combination of batteries from different manufactur-
ers, will affect the performance of unit and void the
Intrinsic Safety Approval.
Attaching the FireHawk M7 HUD to the Mounting
Bracket
1. Align the metal tab on
the FireHawk M7 HUD
with the metal plate on
the front edge of the
bracket.
2. Rotate the M7 HUD so
that the tab fits into the
slot behind the thumb-
screw.
3. Finger tighten the thumbscrew.
DO NOT use a screwdriver to tighten the thumbscrew.
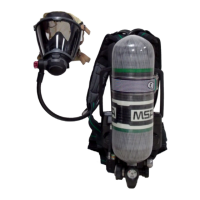
REMOVING PRESSURE GAUGE OR INTEGRATED
PASS DEVICE
Before starting the procedures below, be sure that the
cylinder valve is completely closed. Be sure that nothing
blocks the regulator outlet. Open the bypass valve to
relieve any pressure in the system. Failure to follow this
warning can result in serious personal injury or death.
Facepiece
Style Size
Model No.
7-935-7 Ultra Elite Medium
7-935-8 Ultra Elite Small
7-935-9 Ultra Elite Large
TAL 808 (L) Rev. 1 - 10090073
9
UPGRADE INSTRUCTIONS

 Loading...