Table 2-2. Wiring Identification
POSITION DESCRIPTION
1 Normally closed contact of the flow loss relay
2 Normally open contact of the flow loss relay
3 Common position of the flow loss relay
4 Ground or negative of the power supply
5 Positive or supply position of the power supply
4. Wire the other end of the wiring cable to your read-out instrument
and power supply, ensuring the cable from the Aspirated Sampling
Module is wired to the proper connections on the instrument.
Consult the instrument instruction manual for more wiring details.
Initial Start-Up
Before starting up the Aspirated Sampling Module:
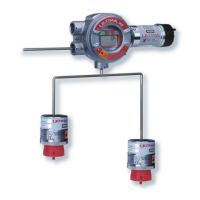
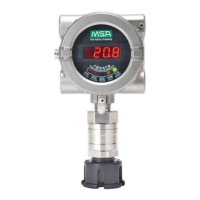
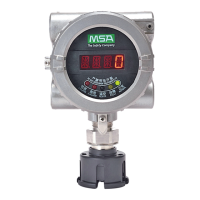
1. Check wiring connections; see FIGURE 2-1 and TABLE 2-2.
2. Ensure that power supplied to the controlling instrument is the
proper voltage with sufficient current capacity to operate the
instrument. Refer to the instrument instruction manual for proper
power set-up.
3. Apply power to the instrument through a remote circuit breaker.
If relays in the controlling instrument are wired to external
devices (e.g. horns, exhaust fans, and fire suppression sys-
tems), these devices may activate while adjustments are
performed during the following procedures. Consult equip-
ment instruction manual for further details. All instruments
must be returned to normal operation when Aspirated
Sampling Module and Ultima X Gas Monitor adjustments are
completed.
4. Before applying compressed air to the Aspirated Sampling Module
compressed air inlet:
a. Adjust the internal pressure regulator for 0 psig by pulling out
the red locking ring on the regulator and adjusting the knob
fully counter-clockwise; see FIGURE 1-1.
b. Ensure the exhaust is not restricted.
"
CAUTION
2-10
 Loading...