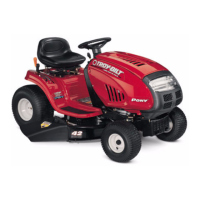
7
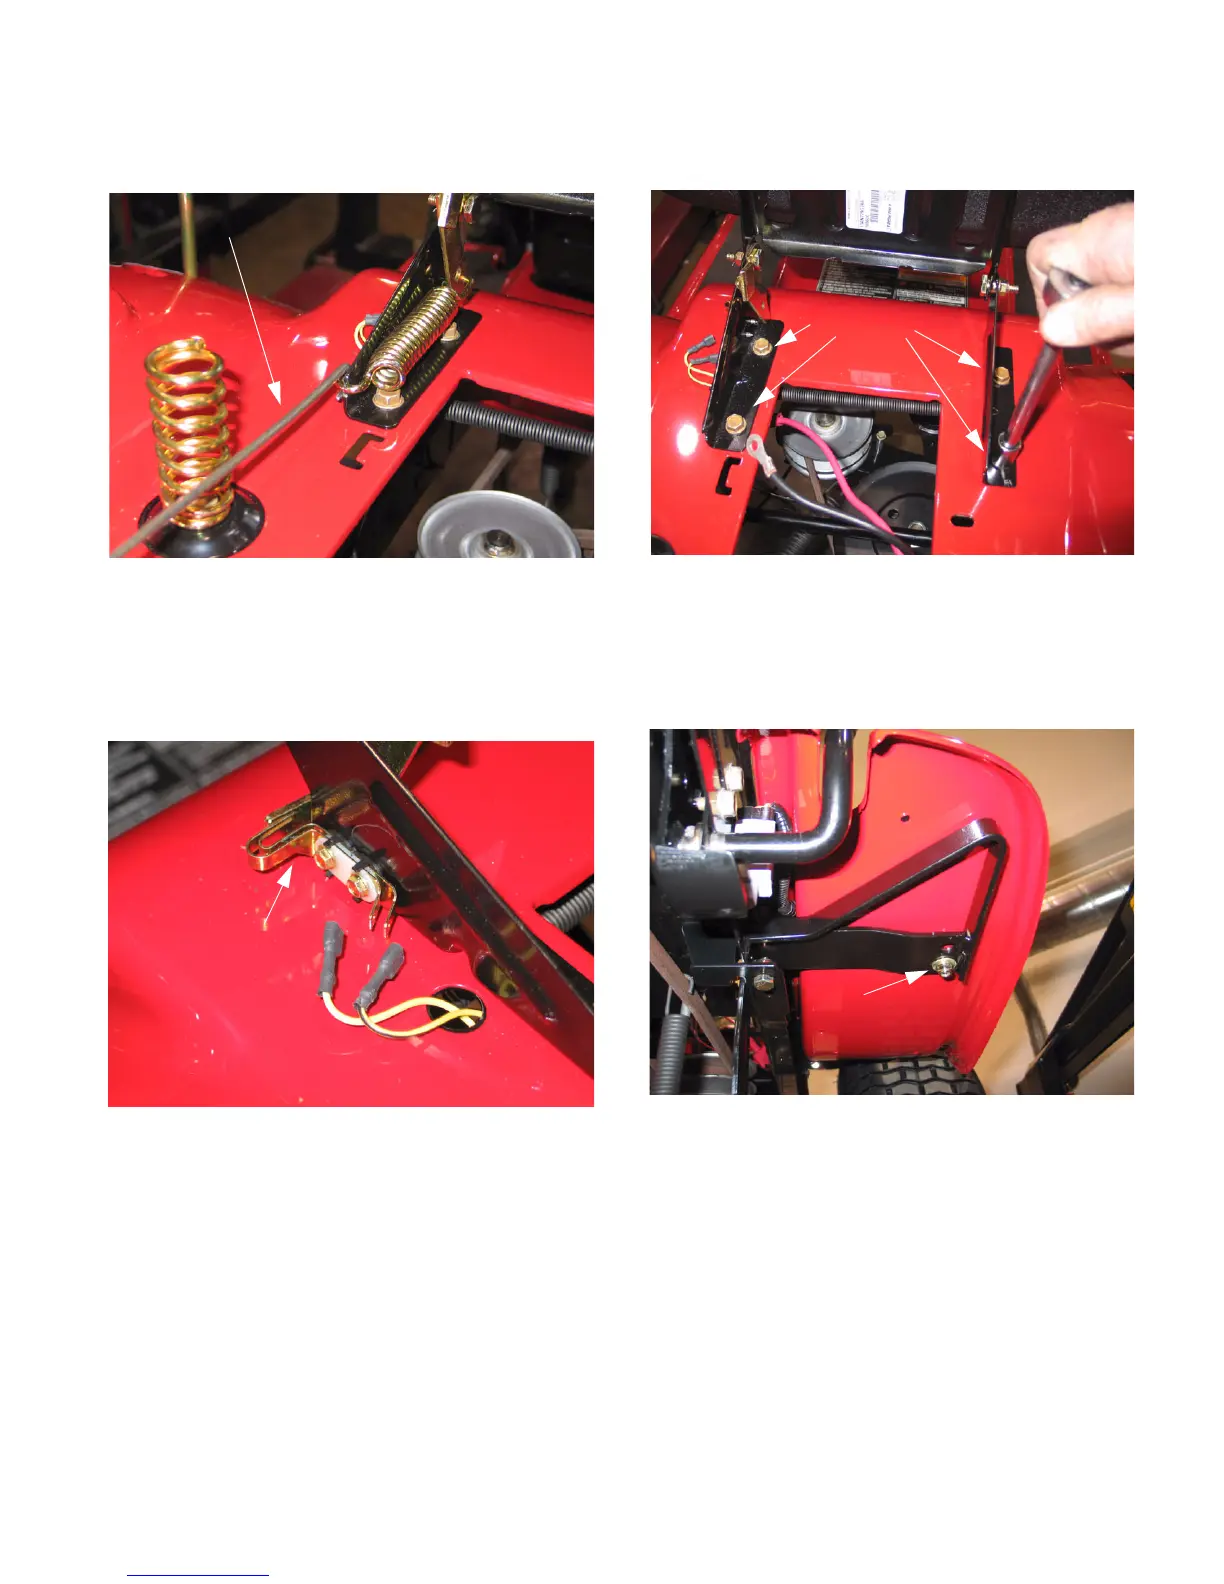
6.3. Using a spring puller, carefully remove the seat
spring. See Figure 19.
CAUTION: The tension spring is wound very
tight.
6.4. Disconnect seat safety switch wires. See Figure
20.
NOTE: Remember to reconnect wires before
returning to service.
Figure 19
Spring Puller
Figure 20
Seat Safety Switch
6.5. Using a ½” socket remove the four bolts secur-
ing the seat bracket to the frame. See Figure 21.
6.6. Lift the seat off of the frame and set it aside.
6.7. Working from under the running boards and
using a ½” socket, remove the two nuts securing
the running boards to the frame. See Figure 22.
NOTE: The running board footpads cover the
bolts securing the fenders to the frame. It is not
necessary to remove the footpads. Hold down
on the top of the bolt during disassembly.
Figure 21
Seat Bolts
Figure 22
Running Board Nut
(One on each side)
www.mymowerparts.com
For Discount White Outdoor Parts Call 606-678-9623 or 606-561-4983