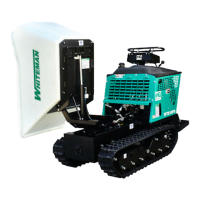
WTB-16PD TRACK-DRIVE POWER BUGGY • OPERATION MANUAL — REV. #0 (08/31/20) — PAGE 41
MAINTENANCE
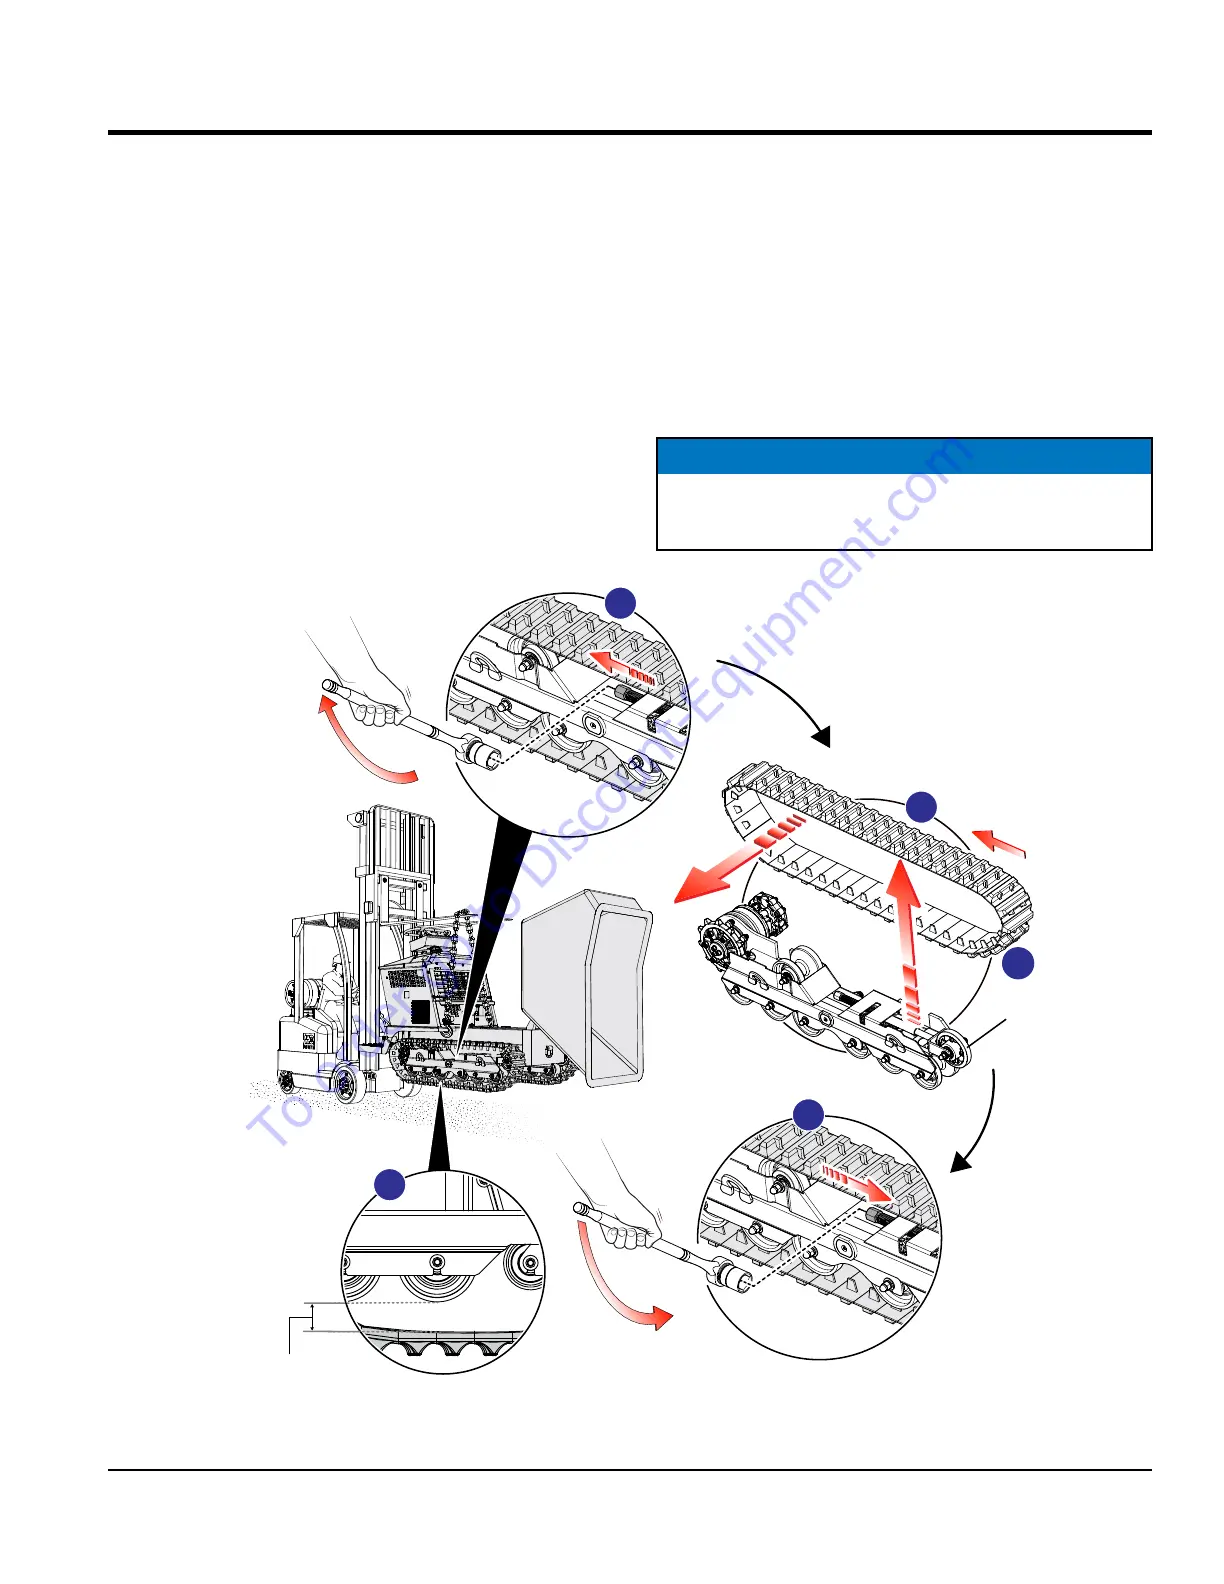
RUBBER TRACK
Rubber Track Removal/Installation
1. Lift the track buggy slightly off the ground.
2. Using a 1-1/8" socket (Figure 45A), loosen the
adjustment bolt until there is sufficient slack in the
rubber track.
3. Remove the track from the adjustment wheel
(Figure 45B).
4. Push the track backwards and remove from the rear
sprocket, then pull outward (Figure 45C) and remove
the rubber track.
5. Contact your Department of Public Works or recycling
agency in your area to arrange for proper disposal of
the rubber track.
6. To install a new rubber track, align with the front
sprocket and adjustment wheel.
7. Once the rubber track has been properly aligned and
placed onto the sprocket, tighten the adjustment bolt
(Figure 45D) until there is 0.4–0.6 in. (10–15 mm)
tension (Figure 45E) between the center track roller
and the rubber track.
NOTICE
For prolonged use and proper care of the rubber tracks,
reference the Safety Information section in this manual.
Figure 45. Removing Installing Rubber Track
PULL
OUTWARD
ADJ
WHEEL
PUSH
INWARD
LIFTING
PULL
UPWARD
TURN
CLOCKWISE
TO TIGHTEN
TURN
COUNTER
CLOCKWISE
TO LOOSEN
E
0.4 - 0.6 in.
(10 - 15 mm)
A
C
D
B
To order go to Discount-Equipment.com