M1.2.HB240-HB240M.NLFREN 21112017
13
NL
4�3 De hefbrug laten stijgen en dalen
4�3�1 Een voertuig heffen
1. Maak zeker dat u de gebruiksaanwijzingen goed gelezen en begrepen hebt voor gebruik.
2. Parkeer het voertuig tussen de twee kolommen.
3. Stel de hefarmen in, zodat de opnamepunten onder het voertuig worden bereikt. Maak zeker dat het zwaartepunt in het
midden van de 4 hefarmen is.
4. Sluit de machine aan het stoomnet aan, volgens de gegevens die op de naamplaat van de machine worden vermeld.
Bedien de hoofdschakelaar om de machine in te schakelen.
5. Druk op de knop UP op de bedieningskast, totdat de hefarmrubbers de krikopnamepunten aanraken.
6. Laat het voertuig stijgen totdat er een afstand is met de grond, en controleer de stabiliteit opnieuw.
7. Ga verder te werk totdat het voertuig de gewenste hoogte bereikt. Controleer dat het stabiel is. Druk op de knop STOP,
zodat de veiligheidspennen inschakelen. U kunt nu onder het voertuig werken.
4�3�2 Het voertuig laten zakken
1. Druk op de knop UP, om de hefarm van ongeveer 5 cm te heffen, en de veiligheidspen uit te schakelen.
2. Trek de ontgrendeling staalkabel aan beide zijden, om de veiligheidspennen los te maken.
3. Druk op de ontladingshendel, om de armen te verlagen.
4. Wanneer de hefarmen tot de laagste positie zijn gekomen, verwijder deze van onder het voertuig en verwijder alle
obstakels.
5. Rijd het voertuig weg van de hefbrug.
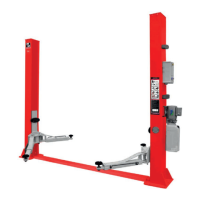
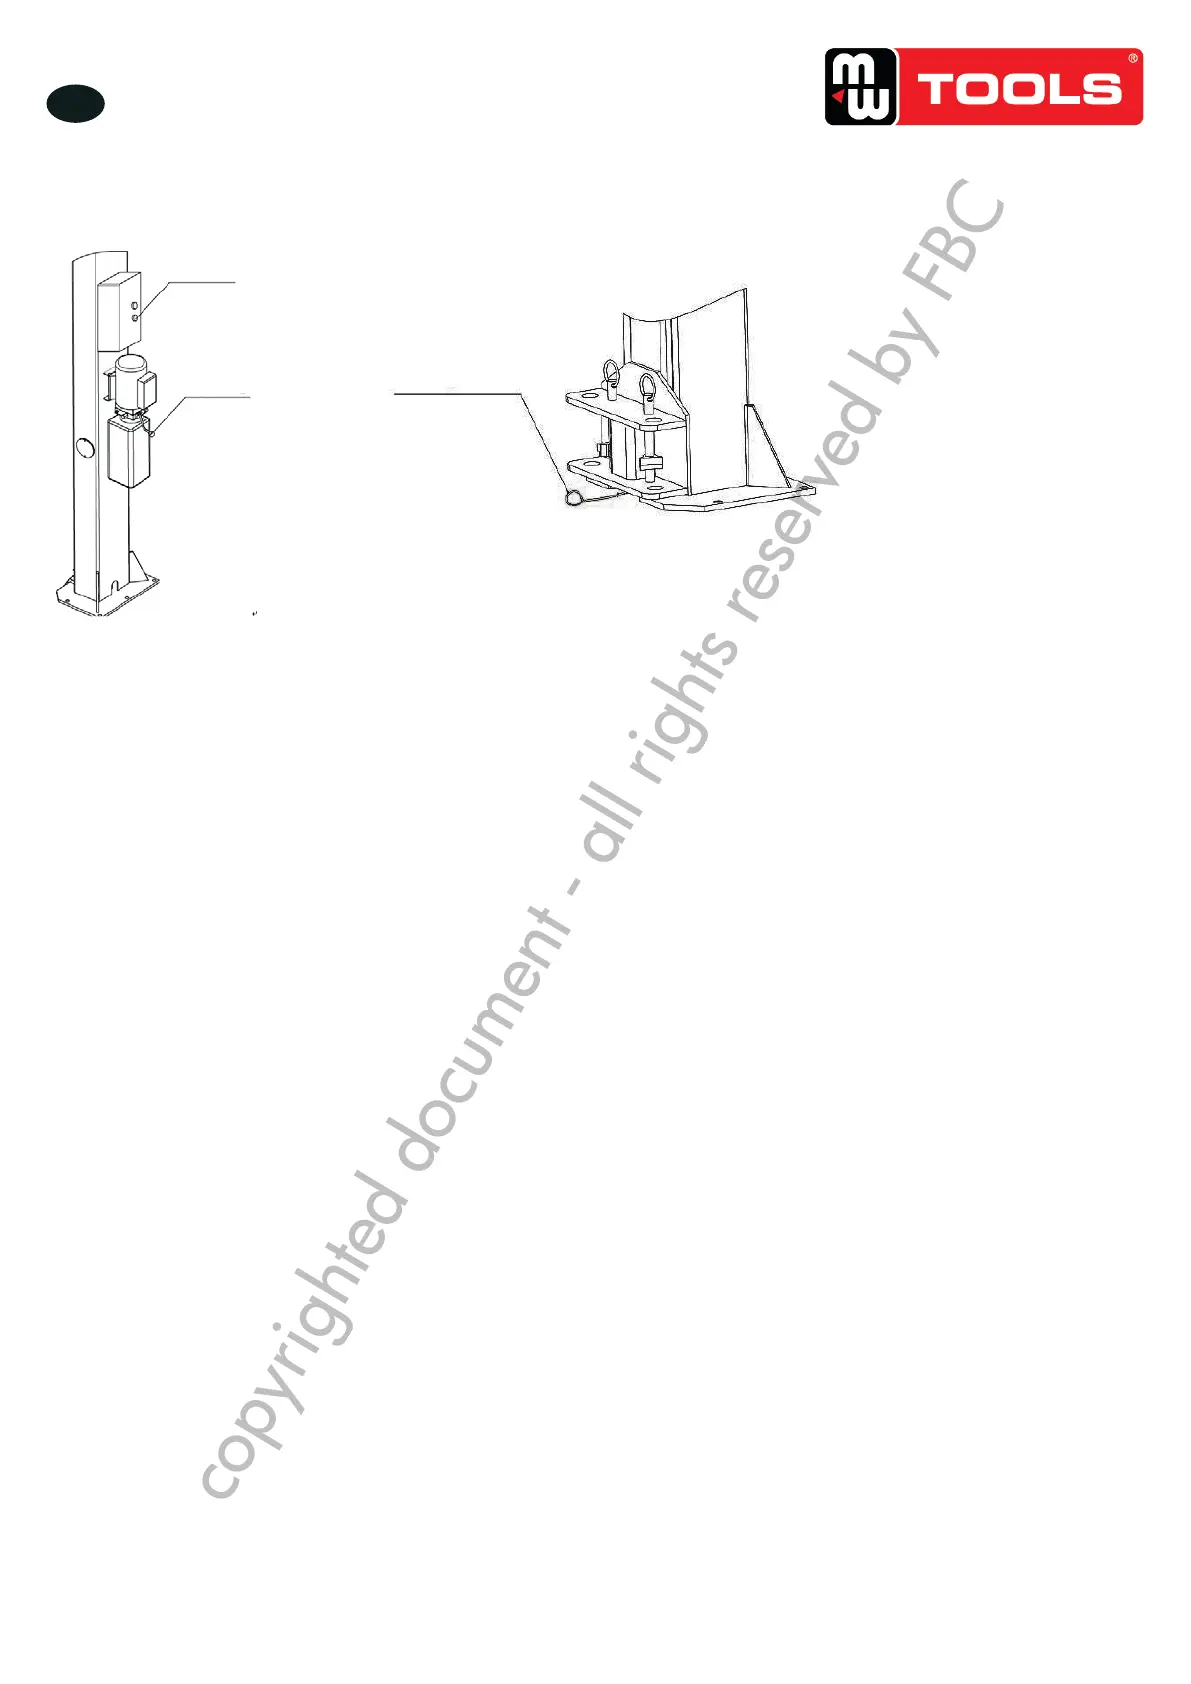
Fig� 15
4.3 Operation instructions
Raise the lift
1. Make sure that you have read and understood the operation manual before operation.
2. Park the vehicle between two posts.
3. Adjust the lifting arms until they reach the supporting positions of the vehicle and make sure the gravity of vehicle
located in the center of four lifting arms.
4. Connect the power supply as per requirements on the nameplate attached, and switch on.
5. Press the”UP”button on the control box until pads of lifting arms touched the prop-position of vehicle.
6. Keep on raising the vehicle to let it have a bit clearance from the ground and check again its stability.
7. Raise the vehicle to the desired height, check it is safe or not, press the “unlocking handle” button to have the safety locks
engaged, and then perform maintenance or repair work underneath.
Lower the lift
1. Press the “UP” button on the control box to raise the lifting arms about 5CM which looses the safety lock.
2. Pull the unlocking steel cable at both sides to release the safety locks.
3. Press the unloading handle to lower the arms.
4. After the lifting arms lower to the lowest position, pull them out from under the vehicle and clear up all the obstacles.
5. Drive the vehicle away.
Ontgrendeling staalkabel
Knop UP
Ontladingshendel
copyrighted document - all rights reserved by FBC