4-2
Installing the Control Panel Assembly
a.
b.
C.
d.
e.
Remove the control panel from its carton.
Insert the three (3) preinstalled bolts (studs) of the control panel hinge through
the holes on the lower of the two control panel shelves on the monitor cabinet.
Place three (3) nuts onto the hinge bolts and tighten to secure the conuol panel
assembly to the lower conool panel shelf of the cabinet.
Connect the control panel wiring harnesses to the steering assembly and the
left and right
gut~~gsemblies.
Lift and pivot the control panel assembly up and closed.
Secure its top edge
to the upper control panel shelf of the cabinet with four (4) bolts.
4-3
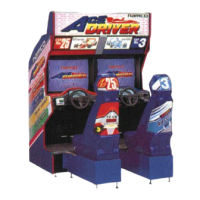
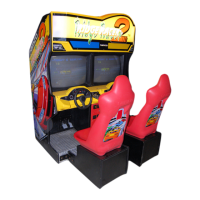
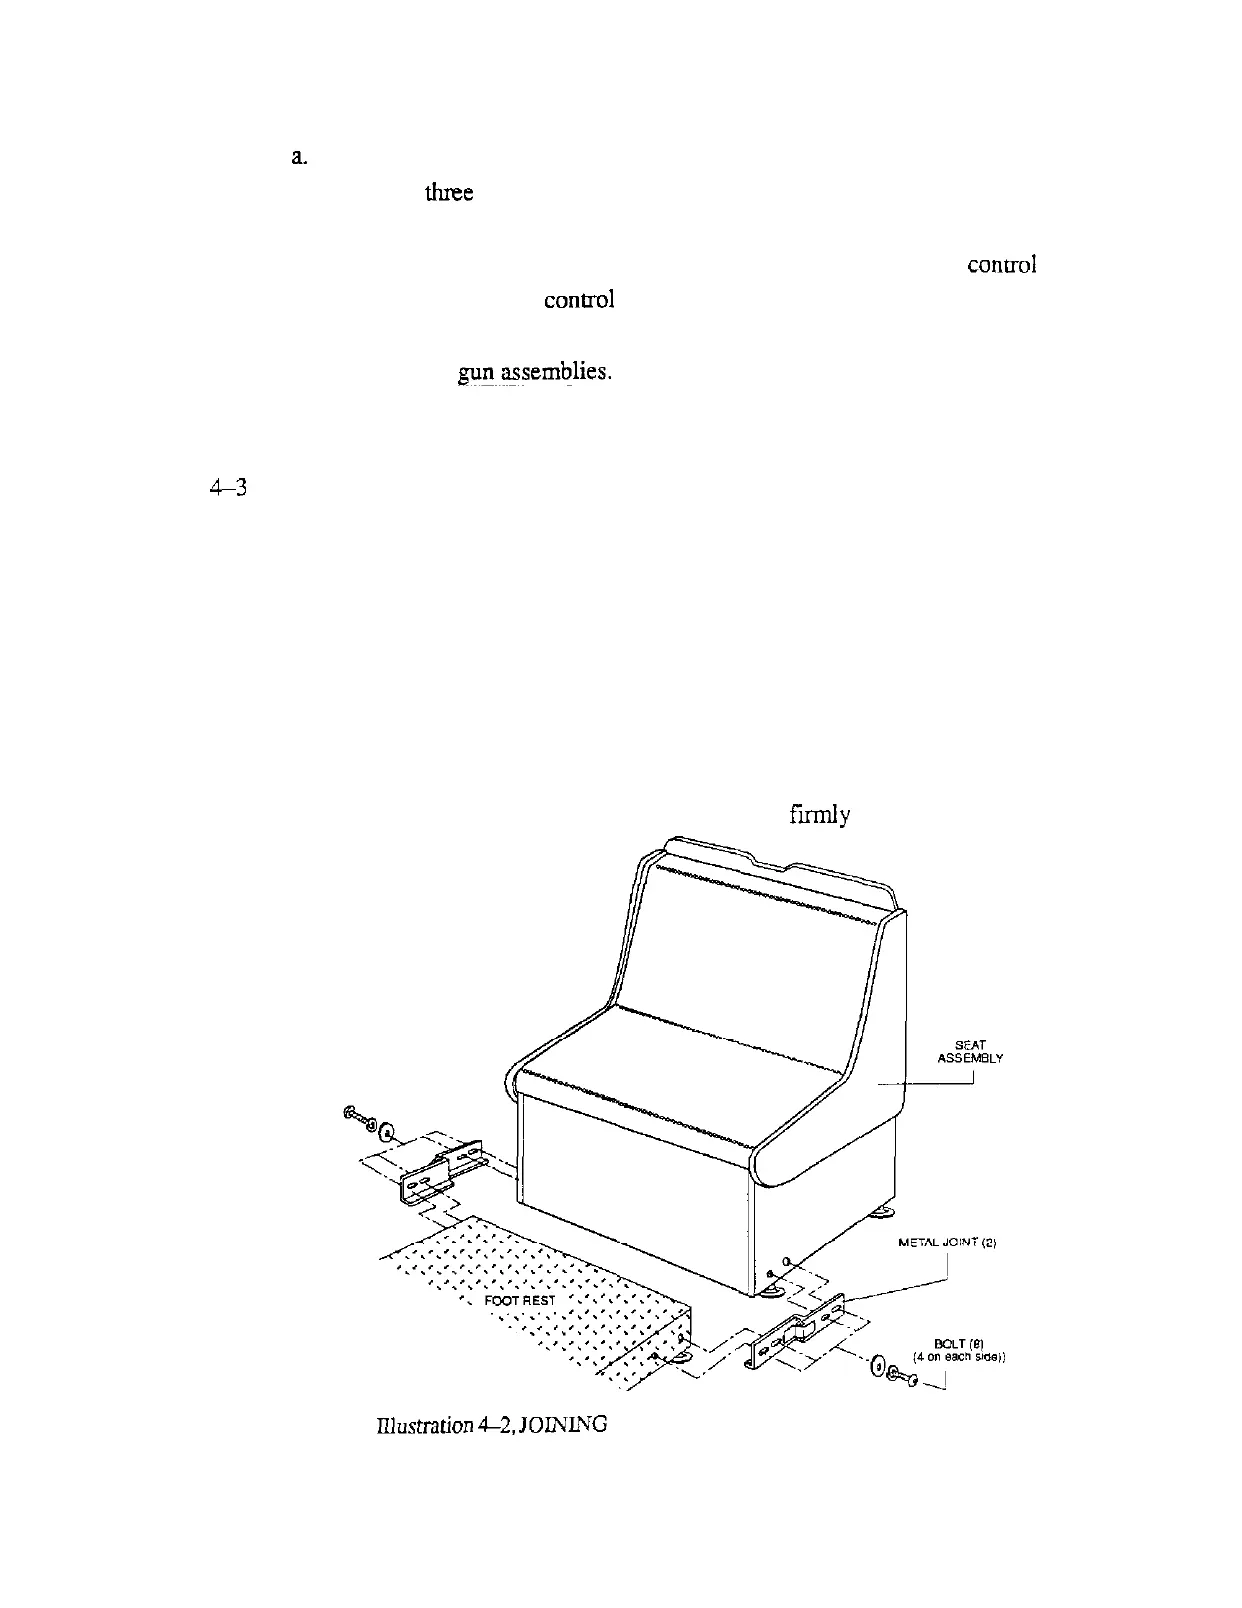
Attaching the Seat Assembly to the Monitor Cabinet
a.
b.
C.
d.
Roll the monitor cabinet to its intended operating area.
Roll the seat assembly up to and touching the front edge of the foot rest on the
front of the monitor cabinet.
Connect the two assemblies together by bolting the metal joints to the assem-
blies with the eight (8) bolts provided, as shown below.
NOTE: Whenever separating/moving the game, temporarily replace and
tighten the bolts into their respective assemblies to prevent losing them.
Lower the eight (8) levelers (4 on each assembly) of the game, and adjust all
levelers until the entire game is stable and rests firmly on the floor.
lllustntion
&2,
JOINING SEAT ASSEMBLY TO CABINET
4
 Loading...