X GEM-P3200 Installation Instructions
L NAPCO Security Systems
WI817F 10/05
Page 20
Compatibility Number
The compatibility number is a 4-digit security code that, if programmed into
both the control panel and each GEM-RP1CAe2 keypad, dedicates the
keypad to only that panel. That is, (a) similar keypads not having the cor-
rect compatibility number will not operate in the system and (b) a keypad
may not be removed for use on a system with a different compatibility number. Note: (1) If assigning compatibility num-
bers, record and store them in a safe place. (2) The GEM-RP2ASe2/GEM-K2AS and GEM-RP3DGTL/GEM-K3DGTL
Keypads will function with or without a Compatibility Number.
While the compatibility number may be changed, the old number must be known in order to program the new number.
Note: If neither the control panel nor the keypad is given a compatibility number, both default to “0000” (thereby main-
taining compatibility).
To program the compatibility number, press the
A button until “NEW COMPAT# 0000” is displayed. Enter the 4-digit
compatibility number that is programmed into the panel. Note: If the keypad had been previously programmed for a
compatibility number other than “0000”, the display would read “OLD COMPAT# XXXX”. Enter the existing number before at-
tempting to change it. Press the
A button to continue or press the C button to exit.
EZM Address
The keypad's internal EZM (Expansion Zone Module) may be utilized to
provide four additional wired zones. Whether used alone or in conjunction
with optional GEM-EZM series modules or other keypad EZMs, it must be
assigned a unique address (or Group number, see Keypad Programming
Workbook) similar to its keypad address. If no other EZMs are to be used, designate the keypad as Group “01” at the
“
EZM ADDRESS 00” display. In multiple-EZM systems, enter an assigned group number “01” through “22”. (Each EZM
must have a unique assigned group number, starting with “01” and proceeding consecutively). Press the
A button
to continue or press the
C button to exit.
Zone Response
The normal loop response of each keypad expansion zone is 750mS, how-
ever the response time of any zone can be reduced to 50mS as follows.
1. Of the following, circle the number(s) in parentheses associated with the
zone(s) to be changed: Zone 1=(1); Zone 2=(2); Zone 3=(4); Zone 4=(8)
2. Add up the circled numbers.
3. At the keypad, enter the sum as a two-digit number “01” through “15” on the display, then press the
J button.
Example. Change Zones 2, 3 and 4 to 50mS response.
1. Circle numbers for Zones 2, 3 and 4: (2), (4) and (8).
2. Add up the circled numbers: 2 + 4 + 8 = 14.
3. Enter “14” at the keypad, then press the
J button.
Press the
A button to continue or press the C button to exit.
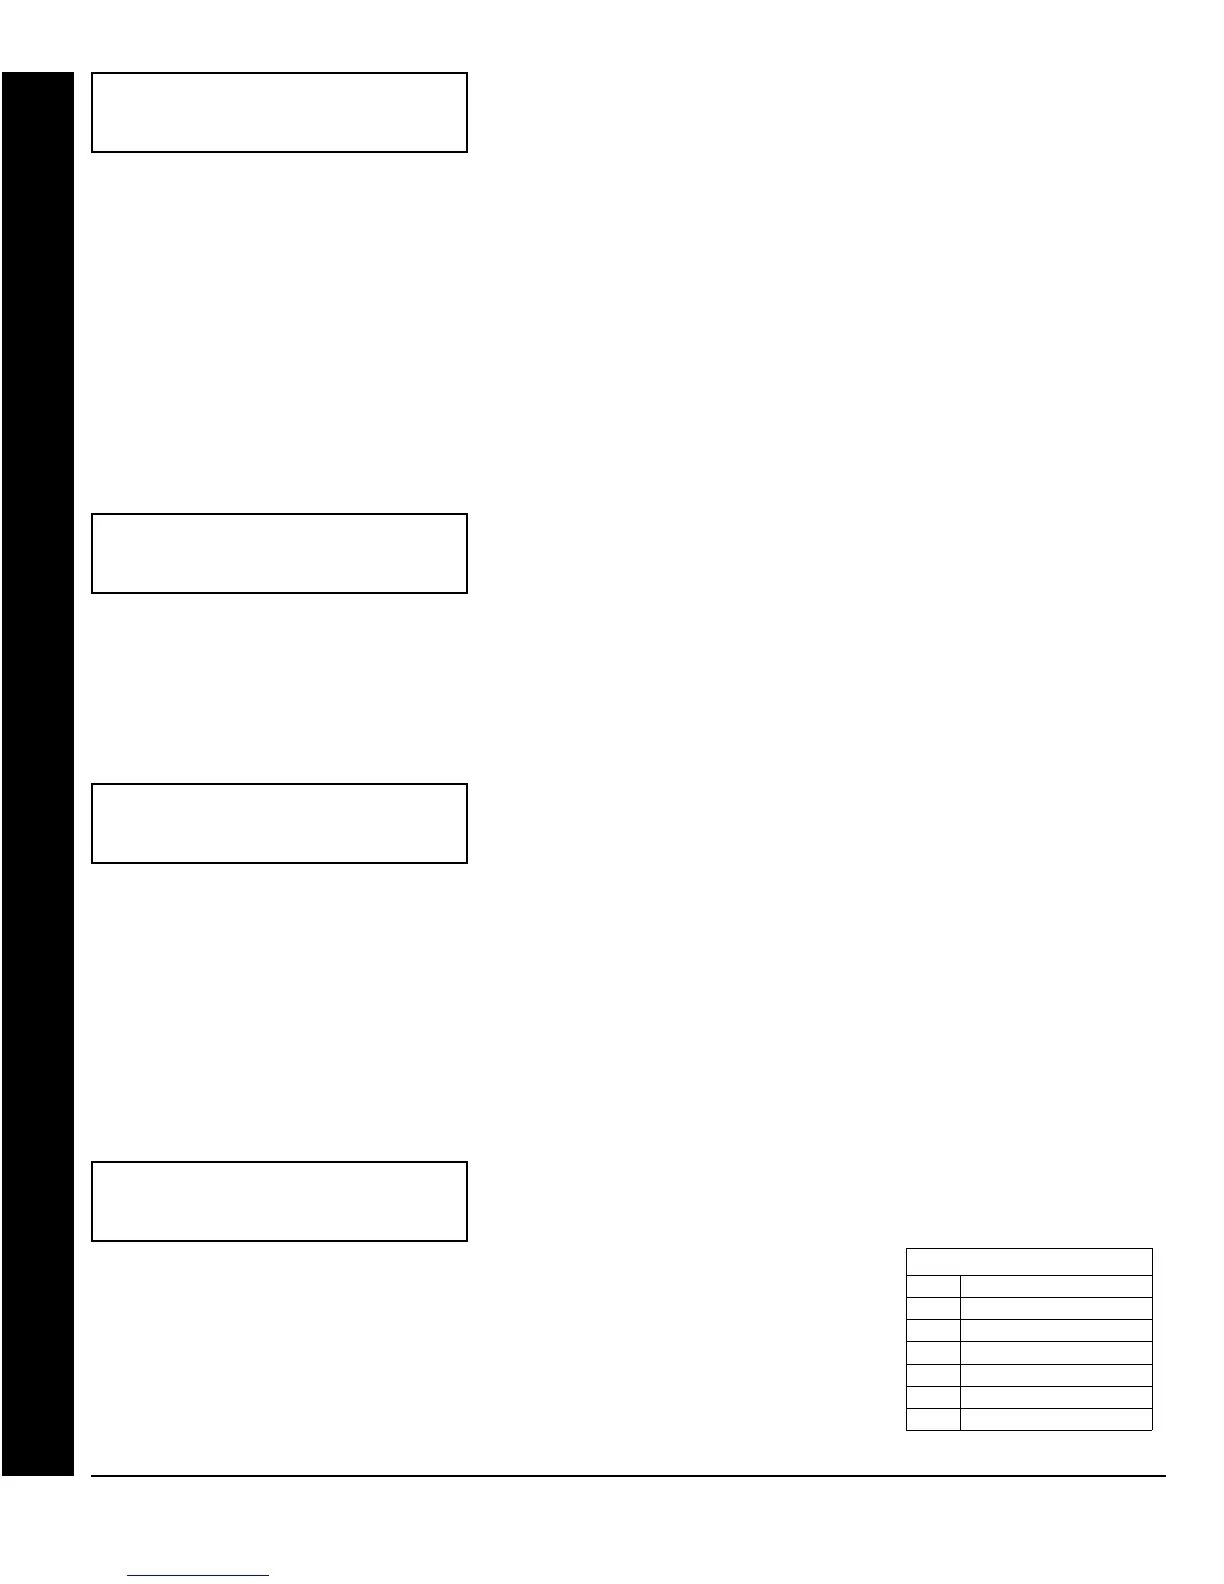
Program Control Message
The Access-Control message normally displays “**ENTER NOW**” however
this display may be changed to any of the following messages as displayed
in the table at right:
Press the
A button to continue (the
display will loop back through selections,
for changes) or press the
C button to exit the Keypad Configuration Mode
(display will read “
01 OUT OF SYSTEM”). Then replace Jumper JP5 across Pins 1–2
(top two).
NEW COMPAT#
0000
EZM ADDRESS
01
ZONE RESPONSE
00
PROG CONTROL
MESSAGE# 1
KEYPAD CONFIGURATION MODE
0 (No Message)
1 **Enter Now**
2 Door Control
3 Gate Control
4 Light Control
5 Control #1
6 Control #2
Program Control Message
 Loading...