L NAPCO Security Systems
X GEM-P3200 Installation Instructions
WI817F 10/05
Page 29
function), or autoarming may be canceled by arming and disarming the panel.
ACTIVATE PROGRAM
At Keypad No. 1, press the YES button to activate the User Program (Program-1) Mode or Dealer Program (Program-2)
Mode, depending upon the code entered. Scroll through the programmable functions using NEXT the button and PRIOR the
button. To exit this mode at any time, press
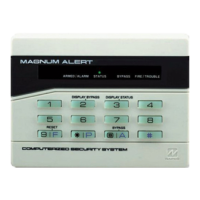
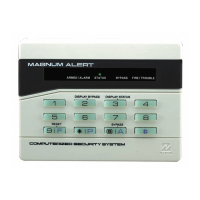
CC. Note: Keypad No. 1 may be located in any area.
ACTIVATE DOWNLOAD
Used on-site for remote downloading of a control-panel program from the PCD-Windows. Press the YES button to initiate
the data transfer.
DISPLAY RF XMITTER STAT
Press the YES button to check the status of up to 48 transmitters. The keypad will display:
zone number (Z01-Z48)
transmitter ID code number (6 digits)
point number (PT1-PT4; "9" for unsupervised)
status of transmitter:
NODATA: transmission not yet received
NORMAL: transmitter's zone normal;
FAULT: transmitter's zone open;
LOBATT: transmitter battery low;
TAMPER: transmitter case open;
S.FAIL: supervisory failure (test transmission not received within programmed time);
relative signal strength of the last transmission, on a scale of 1-10 (10 being the strongest). ("SS—" indicates trans-
mission not yet received). Note: A signal strength of 3 or less is an indication that reception may be unreliable. In such
cases, the use of an additional receiver located closer to the transmitter is recommended. If two receivers are connected to
the GEM-P3200, only the higher signal strength of the two will be displayed.
RELAY CONTROL
Press the YES button to check the status (all on or all off) of up to 2 groups programmed with any combination of up to 24
available external relays. The group number will display with a related description. Scroll through the groups using the NEXT
and PRIOR buttons; change the status of the displayed group by pressing the
U button.
BASIC OPERATION
 Loading...