© National Instruments | 1-13
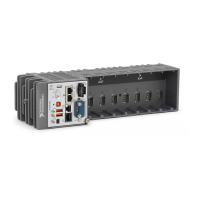
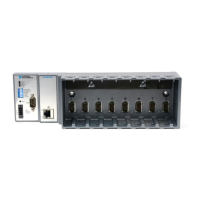
NI cDAQ-9132/9133/9134/9135/9136/9137 User Manual
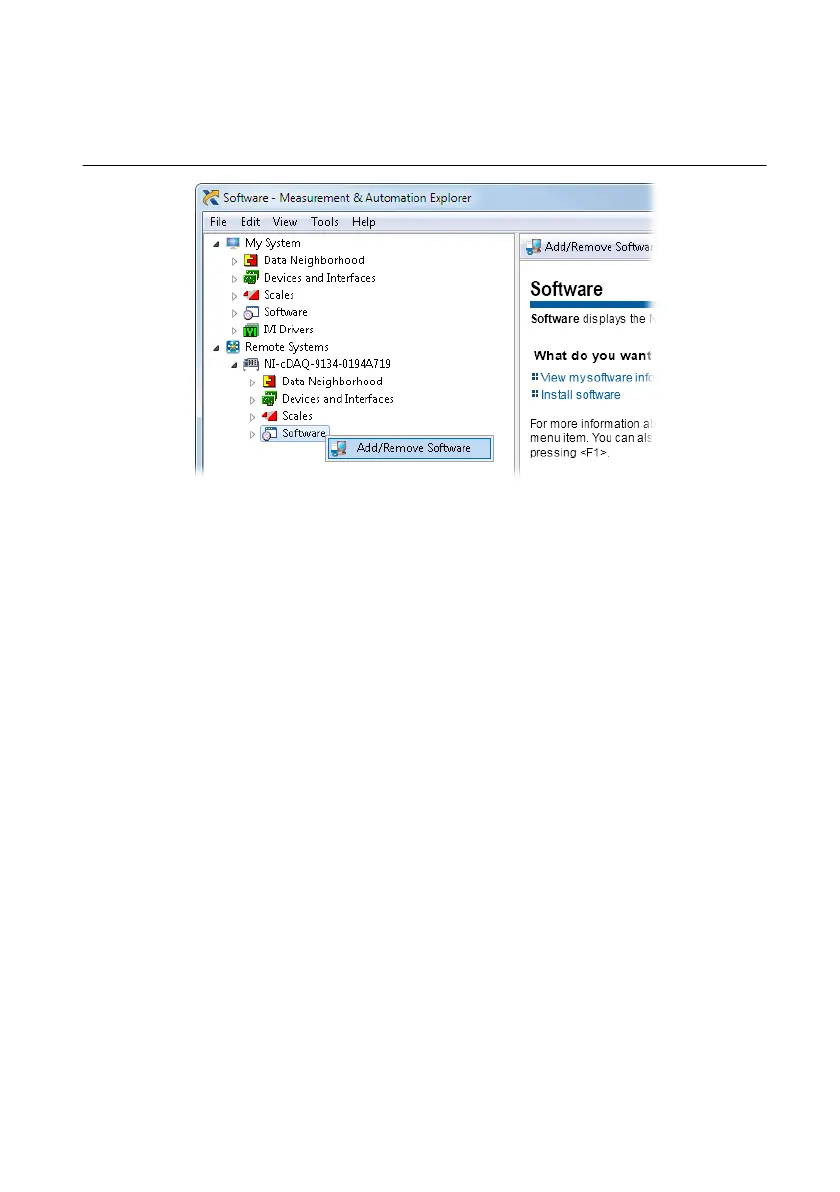
15. Expand NI-cDAQ<model number>-<serial number>. Right-click Software and select
Add/Remove Software.
Figure 1-5. Adding Software in MAX
16. Click OK in the Log In window. The password is blank by default.
17. In the window that opens, select NI-DAQmx, and then select Install the feature. Other
required dependencies will be selected automatically.
18.
(NI cDAQ-9134/9135) Select NI-XNET and then select Install the feature.
19. Click Next to confirm the requested software features.
20. Click Next to install the software. After the installation completes, the cDAQ controller
reboots.
21. Click Finish.
22. In MAX, expand Remote Systems and select NI-cDAQ<model number>-<serial
number>. Click the System Settings tab and verify that the System State reads
Connected - Running.
23. Self-test your controller in MAX by expanding NI-cDAQ<model number>-<serial
number>»Devices and Interfaces. Right-click NI cDAQ-<model number> and select
Self-Test. Self-test performs a brief test to determine successful controller installation.
24. Run a Test Panel in MAX by expanding NI-cDAQ<model number>-<serial number>»
Devices and Interfaces»NI cDAQ-<model number>, right-clicking your C Series
module, and selecting Test Panels to open a test panel for the selected module.
If the test panel displays an error message, refer to
ni.com/support.
New users can view and use the Voltage - Continuous Input VI, available in the
LabVIEW Example Finder. Experienced users can use the LabVIEW Sample Projects,
LabVIEW Real-Time Control (NI-DAQmx) and LabVIEW Waveform Acquisition and Logging
(NI-DAQmx).