30
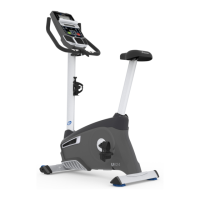
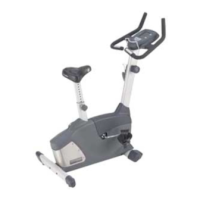
Note: Your machine may not match the image. For reference only.
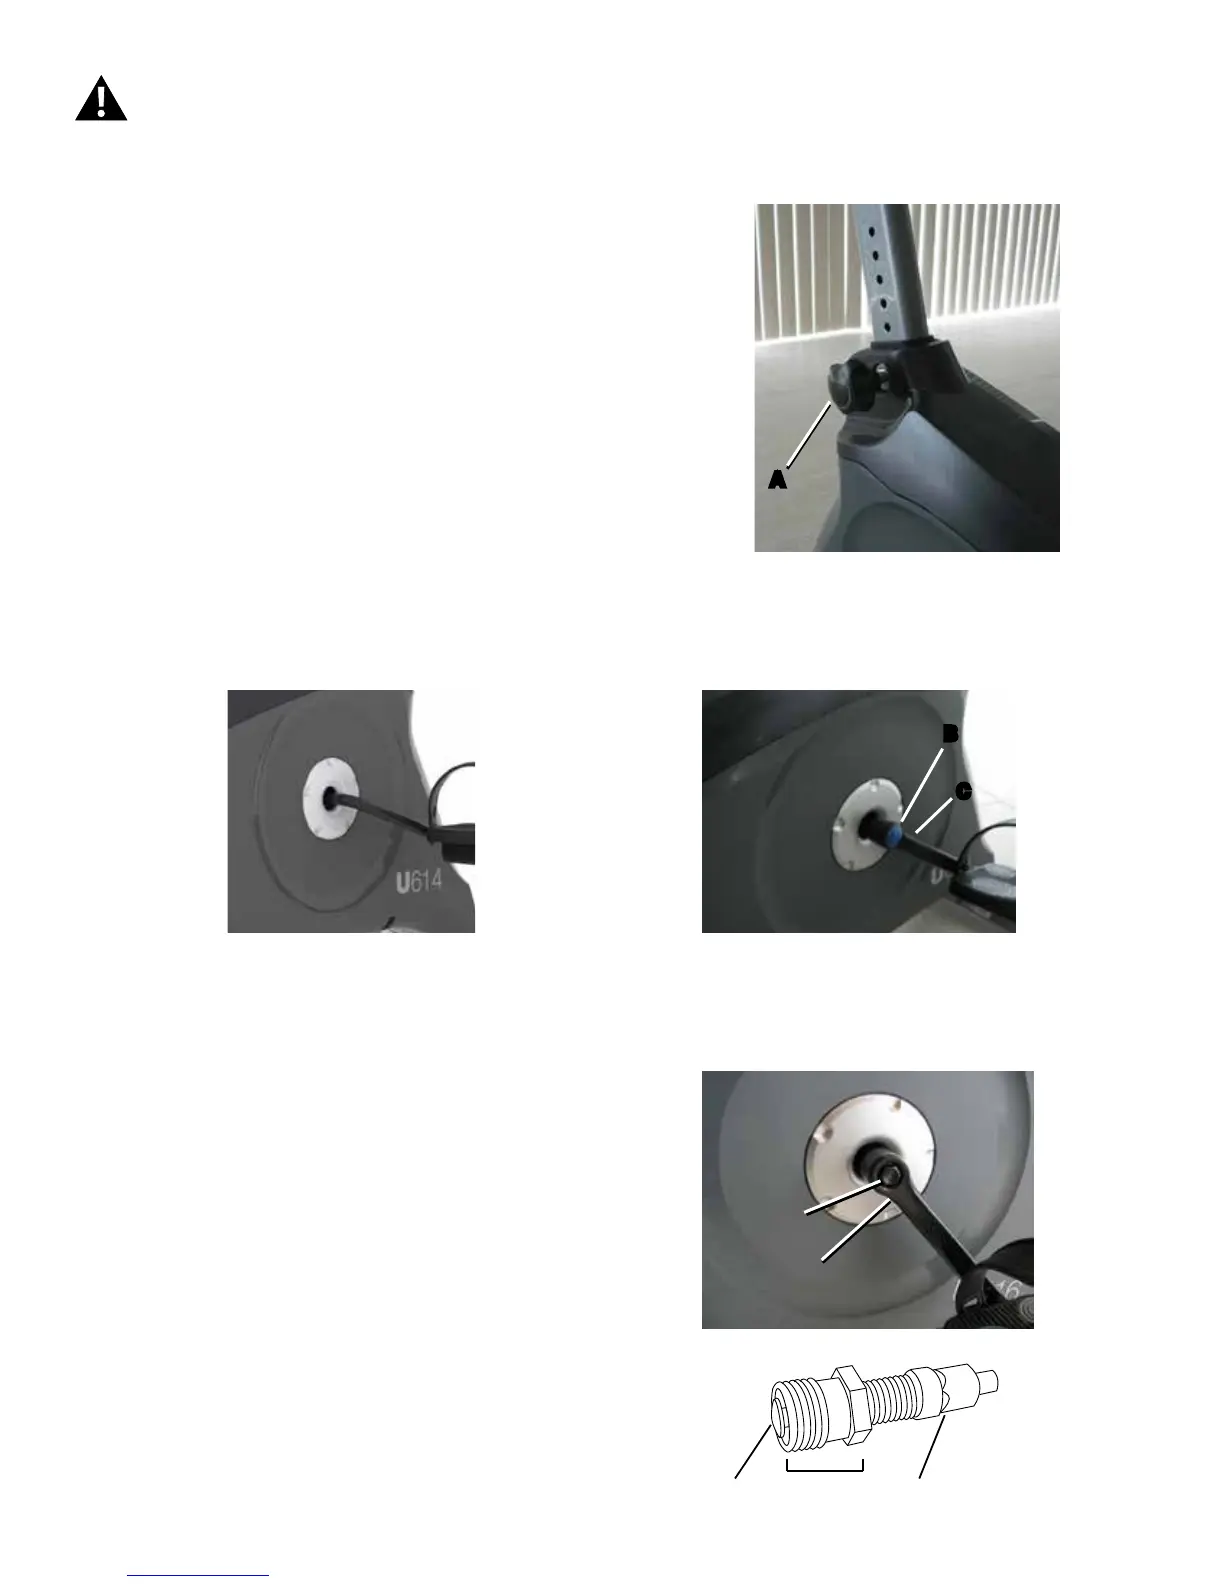
1. Remove the Seat Post and the Seat Adjustment Knob (A). Set them safely
aside for reassembly.
2. Your machine has one of these Crank congurations. Please use the im-
ages to select your conguration:
3. Using a wrench and socket, remove the Hex Head Bolt (D) .
4. Thread the Crank Puller into the Crank Arm (C). When the Crank Puller is
in the correct position, only 1-2 threads on the outer portion (CP2) of the Crank
Puller should show.
Note: Be sure the end of the Bolt (CP1) of the Crank Puller is ush with
the Nut (CP2) as shown, before use.
5. Using a wrench, turn the inner portion (CP3) of the Crank Puller clockwise.
The Crank Arm (C) will slide off as it is tightened.
Go to Step 8.
To reduce the risk of electrical shock or unsupervised usage of the equipment, always unplug the power cord from the wall outlet and wait 5
minutes before cleaning, maintaining or repairing this machine. Place the power cord in a secure location.
CP1 CP2 CP3
1-Piece Crank:
Go to Step 6.
3-Piece Crank:
Using a athead screwdriver, remove the threaded Cap (B)
from the Crank Arm (C) to expose the Hex Head Bolt (D).
Continue to Step 3.
B
C
A
D
C
 Loading...