36
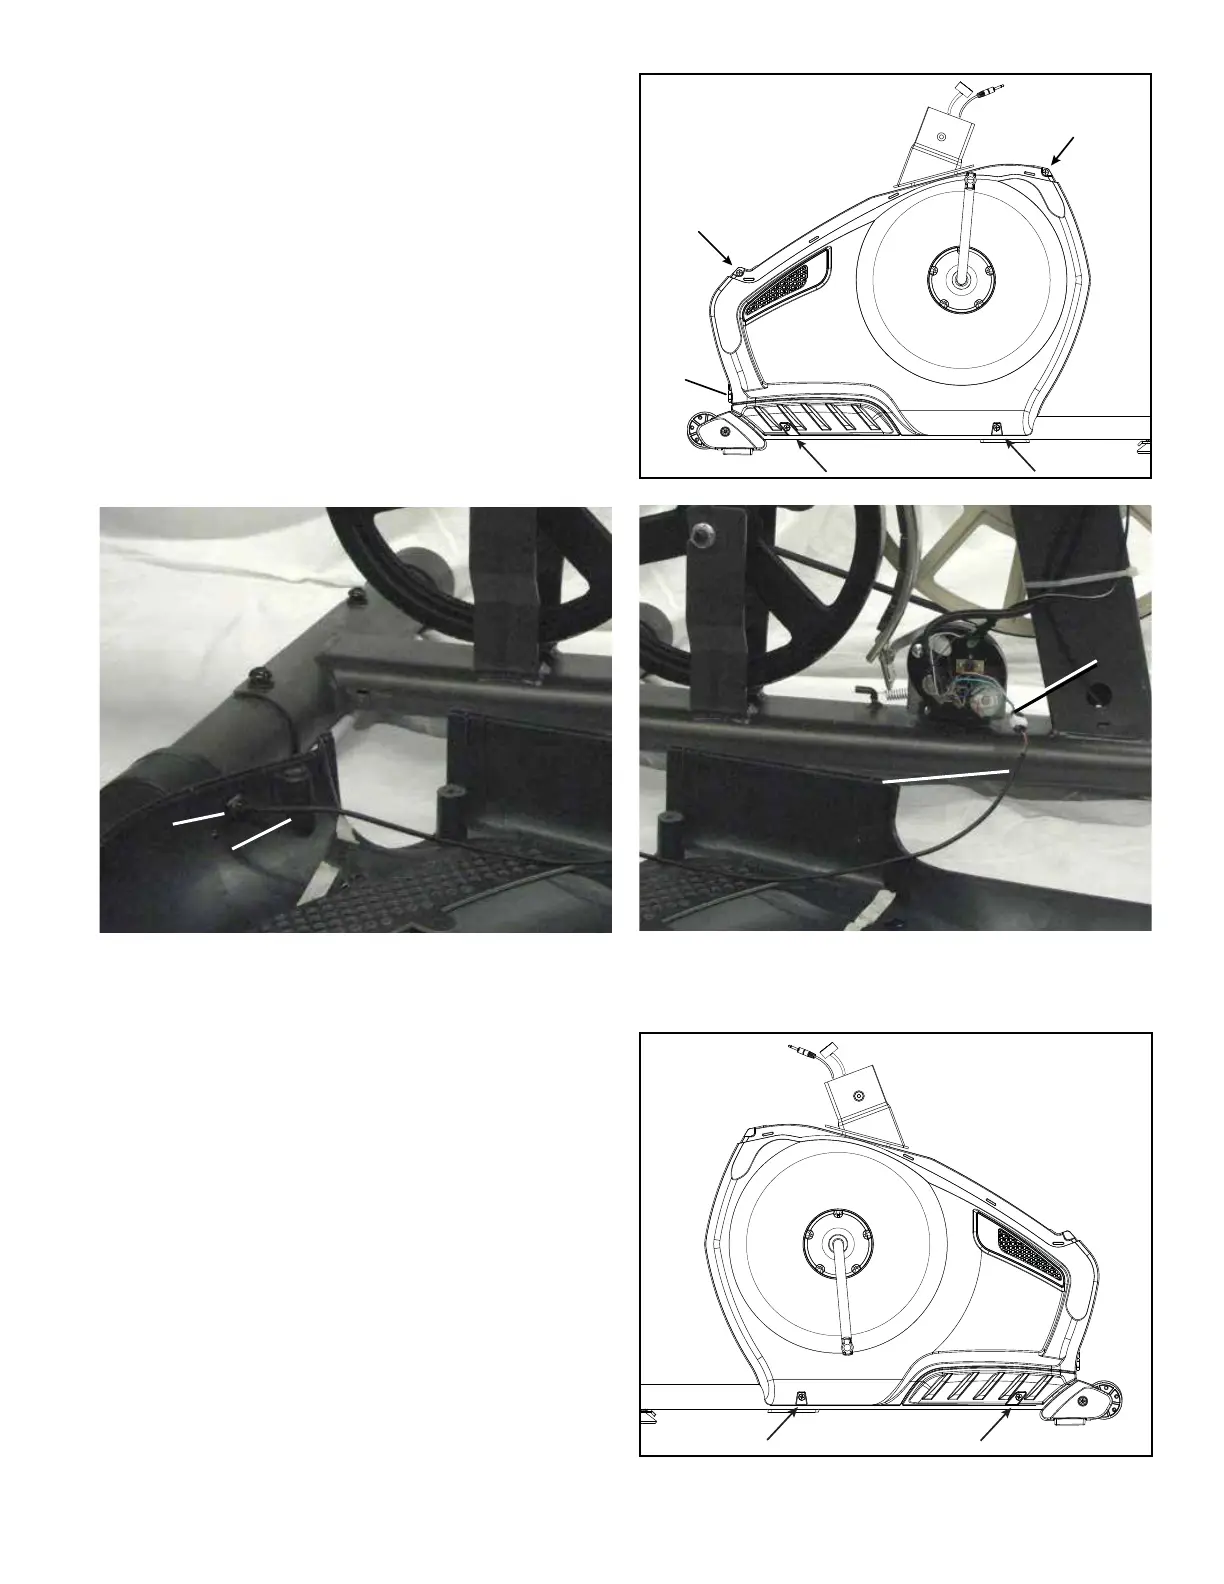
9. Using a #2 Phillips Screwdriver, remove the 4 screws (indicated) that
VHFXUHWKH/HIW0DLQ6KURXG5HPRYHWKHERWWRPVFUHZV¿UVWDQGWKHQ
the top screws. Slowly remove the Left Main Shroud. Set the hardware
and Shroud safely aside for reassembly.
Note: Find the Power Inlet (D) in the Left Shroud. Disconnect the
Power Inlet cable (D1) from the wiring harness (E).
NOTICE: Be sure not to crimp any cables.
10. Using a #2 Phillips Screwdriver, remove the 2 screws that secure
the Right Main Shroud. Slowly remove the Right Main Shroud. Set the
hardware and Shroud safely aside for reassembly.
D
'
'
E
D

 Loading...