SECTION5–MAINTENANCESCHEDULEANDSERVICEPROCEDURES
1.Setparkingbrakeandshifttransmissiontoparkorneutral.
2.Disconnectthewiringharnesstotheelectricfuelpumpby
pushingdownonthetabofthewiringharnessconnector
andpullingawayfromtheelectricfuelpump.
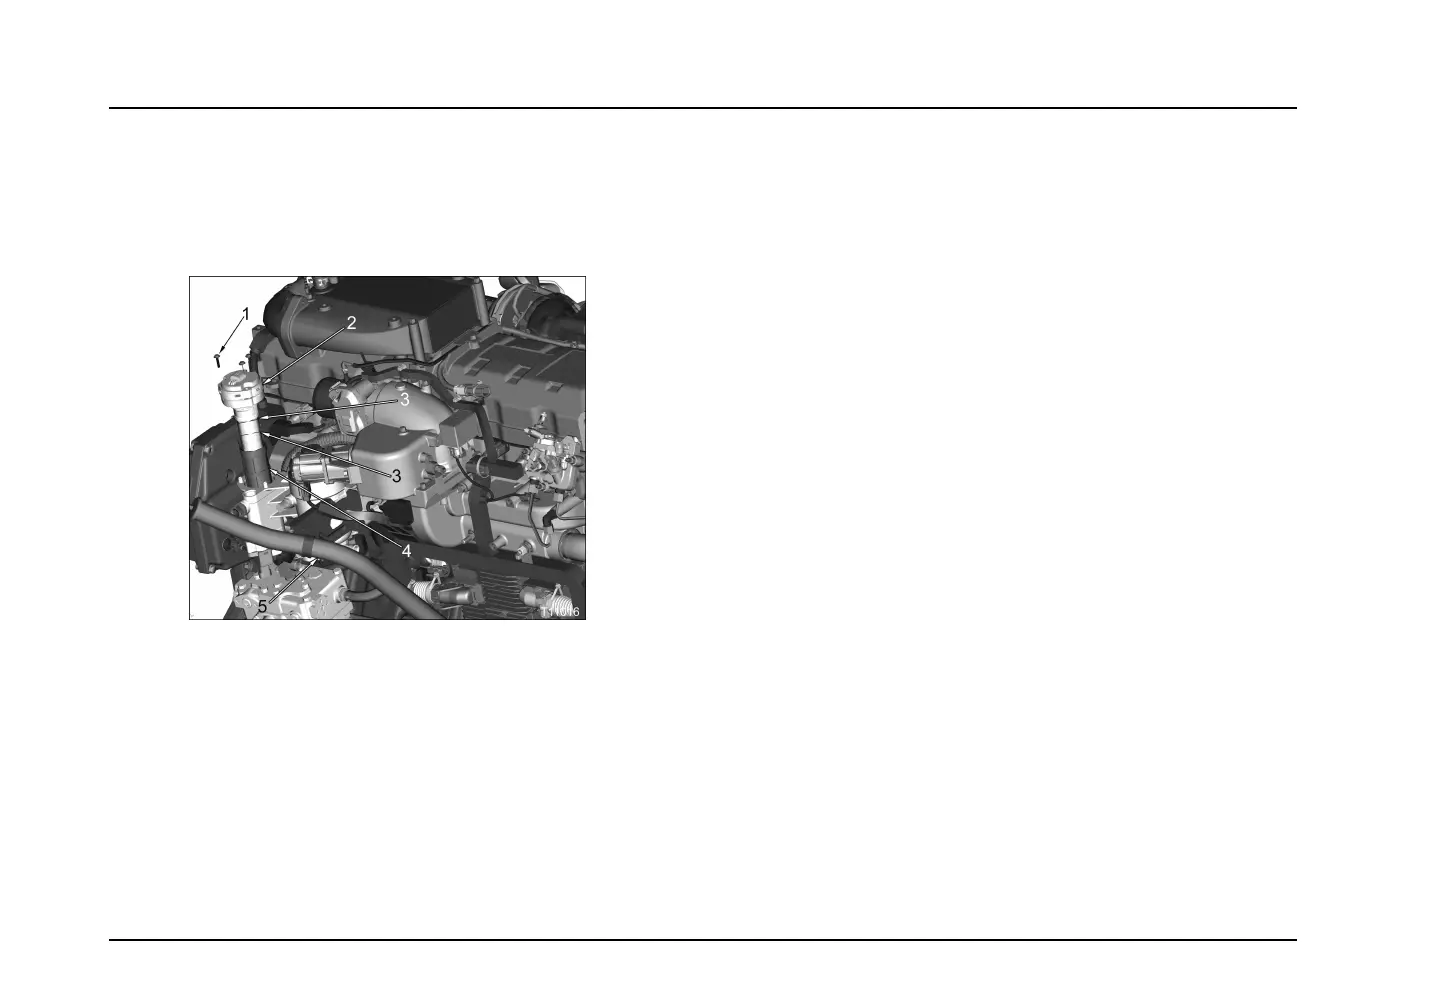
Figure40Fuelstrainer
1.Pumpcoverbolt(3)
2.Electricfuelpump
3.FuelpumpO-ring(2)
4.Fuelstrainer
5.Fuellterhousing
3.Removethreepumpcoverbolts.Donotdiscardbolts,these
willbereusedwheninstallingthefuelpump.
4.Usingaatbladescrewdrivergentlypryupthefuelpump
fromthefuellterhousing.
5.Oncethefuelpumpisloose,pullthefuelpumpoutofthe
fuellterhousing.
6.RemovethefuelstrainerandO-ringsfromthefuelpump.
DiscardtheO-rings.
7.Dooneofthefollowing:
•Iffuelstrainerisnotdamaged-cleanfuelstrainer,
coattwonewO-ringswithcleandieselfuel,andinstall
O-ringsontofuelpump.
•Ifstrainerisdamaged-coattwonewO-ringswith
cleandieselfuel,andinstallO-ringsontofuelpump.
Installanewfuelstrainerontothefuelpump.
8.Lowerfuelpumpassembly(withstrainer)intothefuellter
housing.Alignthethreeboltholesinthefuelpumpcover
withtheboltthreadsofthefuellterhousing.Placepalm
ofhandontopoffuelpumpandpushdownrmly.Thiswill
seatthefuelpumpintothefuellterhousing.
9.Securethefuelpumptothefuellterhousingbyinstalling
andtighteningthethreepumpcoverboltsto5N·m(44lbf·in).
10.Depressclutchpedalifequipped.
11.TurnignitionswitchtoONforapproximately60seconds
allowingfuelpumptoprimethefuelsystem.
Page80
 Loading...


