English−57
Monitors can be connected to each other, both communication and video connections, in multiple monitor installations. Chaining
the video connections together creates a video wall where a single image can be tiled across all displays. When connecting
multiple monitors to install a video wall, communication and video cable connections are necessary and their conguration must
be carefully considered. Please refer to the “Wiring Diagram” on page 28.
The monitor settings for conguring a video wall in the OSD and Monitor Web page settings are under [PICTURE], [SYSTEM].
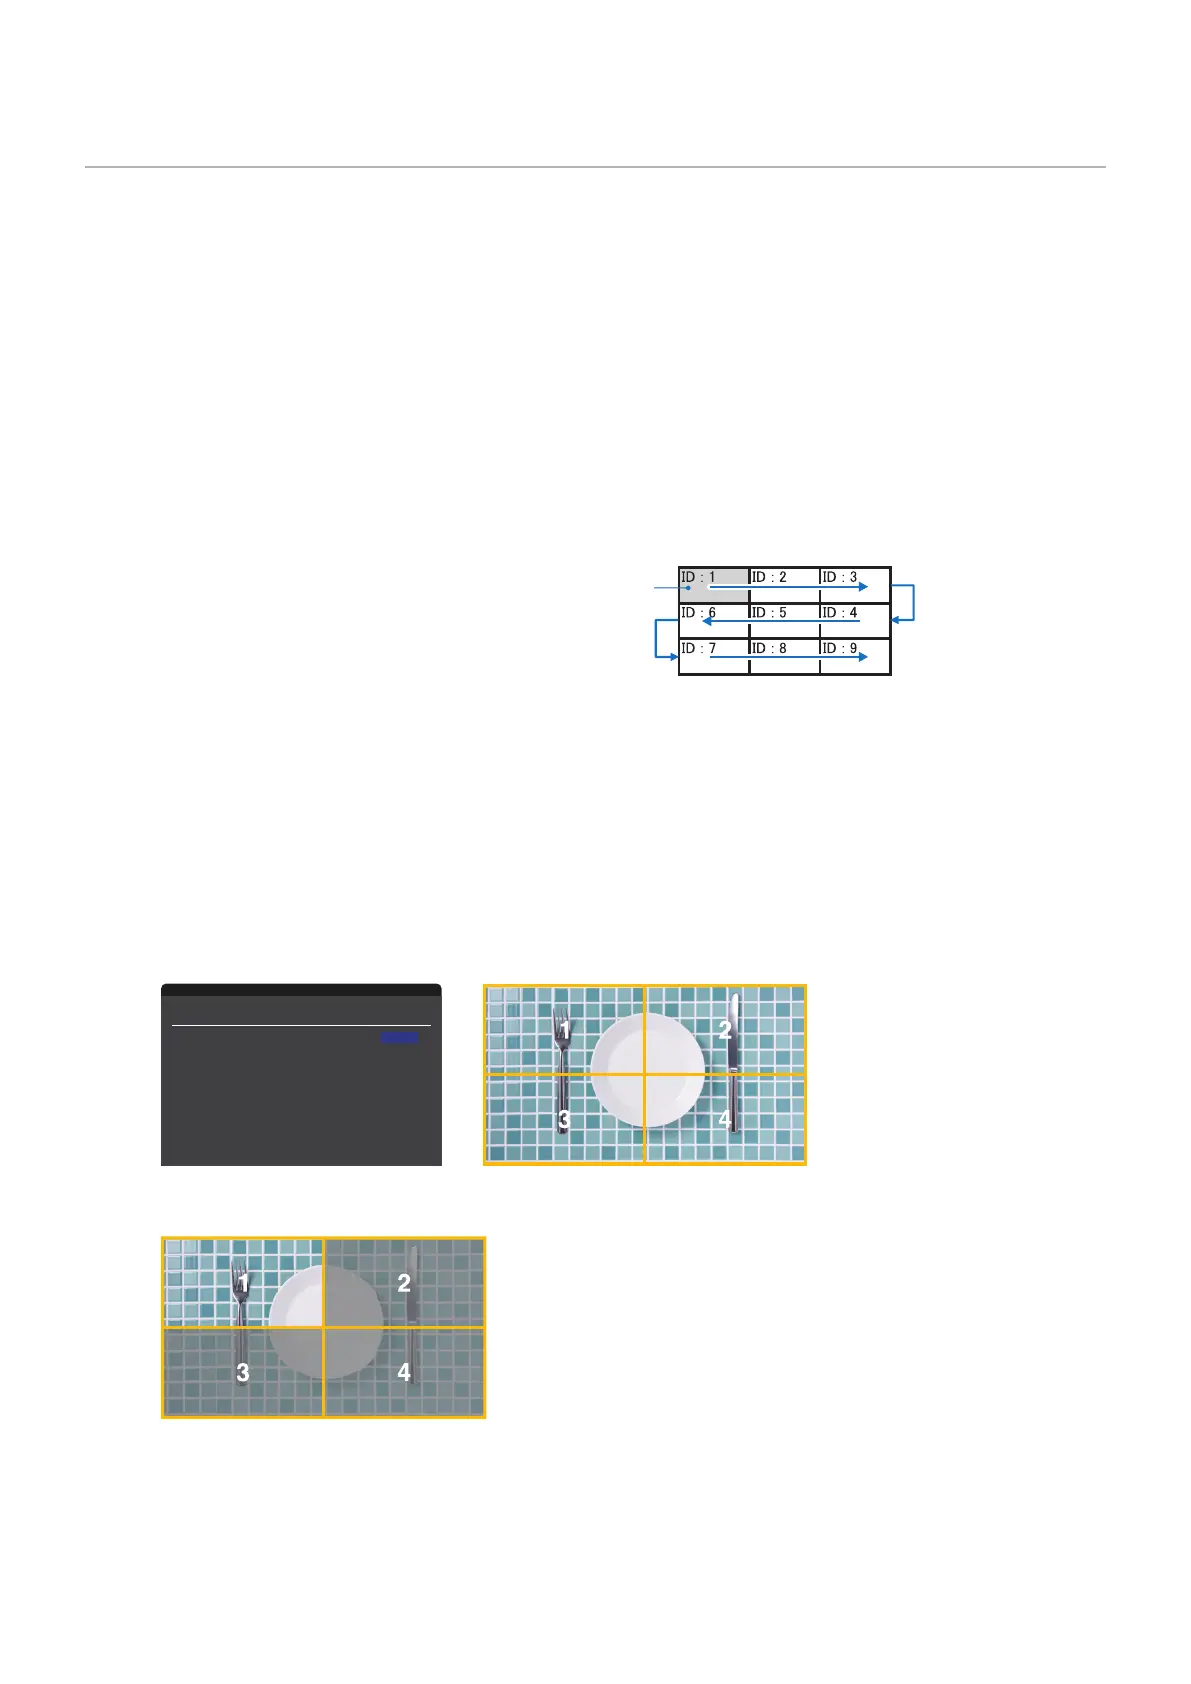
• [PICTURE-ADVANCED]-[AUTO TILE MATRIX] – automatically congures the multi-display settings when the communication
and video ports are chained together. This automatically sets the [MONITOR ID] and position of the monitors in the video
wall following the physical wiring between the monitors.
Input the number of monitors arranged horizontally and vertically on the master monitor. The following settings are set
automatically when you run the auto setup: OSD menu [H MONITORS], [V MONITORS], [POSITION], [DisplayPort
VERSION], [HDMI MODE], [VIDEO OUT SETTINGS] and Input signal.
• [MONITOR ID] in [AUTO ID/IP SETTING] will be automatically executed.
• This function is released if [MOTION] in [SCREEN SAVER] is activated.
• If input is DisplayPort 4K (60Hz) 10bit, this function is disabled.
Example of installation via LAN:
H MONITORS 3
V MONITORS 3
Master monitor
• [PICTURE-ADVANCED]-[TILE MATRIX] – allows one image to be expanded and shown over multiple screens (up to 100)
through a distribution amplier. Manually input the number of horizontal and vertical monitor in the video wall, position of
the monitor in the wall, and turn on or off Tile Compensation. When tilting HDCP content, please refer to the “Video Out
Connection” on page 60.
• [TILE COMP] - scales the image to compensate for the width of the screen bezel in order to create a seamless image.
• [TILE CUT] - select a part of an image to show in full-screen.
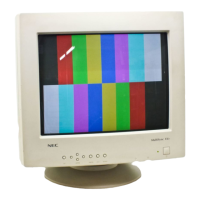
For the monitor on top:
1. Set H MONITORS [2] and V MONITORS [2].
One image will be divided by 4 then put number from 1 to 4.
Change
Select
Return Close
TILE MATRIX
H MONITORS 2
V MONITORS 2
POSITION 1
TILE COMP ON / OFF
H SIZE 0
V SIZE 0
H ADJUSTMENT 0
V ADJUSTMENT 0
TILE CUT ON / OFF
H ADJUSTMENT 0
V ADJUSTMENT 0
TILE MATRIX ON / OFF
2. Select 1 to 4 at [POSITION].