English−61
The remote control can be used to control up to 100 individual MultiSync monitors using what is called the REMOTE CONTROL
ID mode. The REMOTE CONTROL ID mode works in conjunction with the Monitor ID, allowing control of up to 100 individual
MultiSync monitors. For example, if there are many monitors being used in the same area, a remote control in normal mode
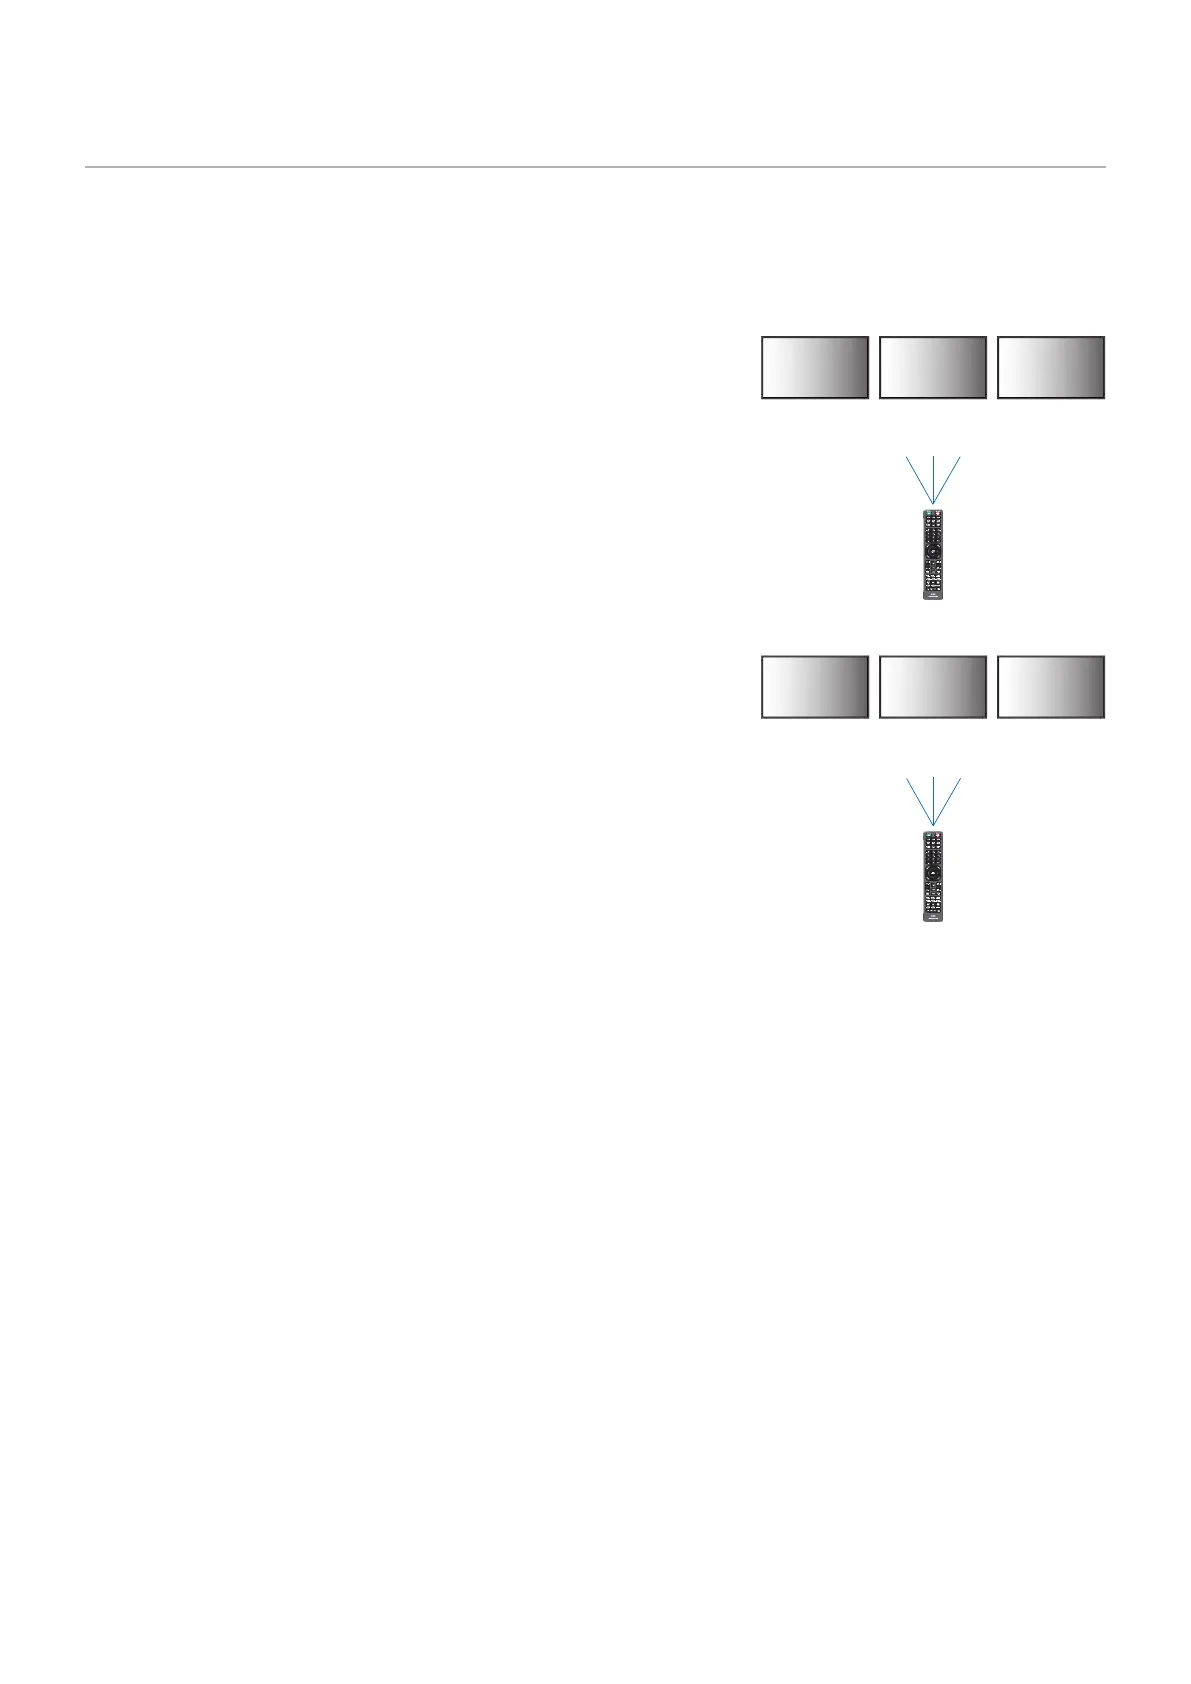
would send signals to every monitor at the same time (see ). Using the remote in REMOTE CONTROL ID mode will
only operate one specic monitor within the group (see ).
While holding down the REMOTE ID SET button on the remote control, use the
KEYPAD to input the Monitor ID (1-100) of the monitor to be controlled via remote.
The remote control can then be used to operate the monitor having that specic
Monitor ID number.
When 0 is selected or when the remote control is in normal mode, all monitors will
be operated.
ID Mode - To enter ID Mode press the REMOTE ID SET button and hold down for
2 seconds.
Normal Mode - To return to Normal Mode press the REMOTE ID CLEAR button
and hold down for 2 seconds.
• In order for this feature to work properly, the monitor must be assigned
a Monitor ID number. The Monitor ID number can be assigned under
the SYSTEM menu in the OSD. See page 104.
• Point the remote control toward the remote sensor of the desired
monitor and press the REMOTE ID SET button. The MONITOR ID
number is shown on the screen when your remote control is in ID
mode.
1. On the remote control, press and hold down the REMOTE ID SET button while
using the keypad to input the REMOTE CONTROL ID number “0”.
2. All monitors within range of the remote control will now respond to keypad press.
When the REMOTE ID is set to “0”, pressing REMOTE ID SET will make all monitors, within range of the remote signal,
show their Monitor ID on screen. This way you can easily see what the Monitor ID is if you want to control a single
monitor, as described below.
1. Set the [MONITOR ID] number for the monitor (see page 104). The [MONITOR ID] number can range from 1-100.
This [MONITOR ID] number allows the remote control to operate this specic monitor without affecting other monitors.
2. On the remote control, press and hold down the REMOTE ID SET button while using the keypad to input the REMOTE
CONTROL ID number (1-100). The REMOTE ID NUMBER should match the MONITOR ID number of the monitor to be
controlled.
3. Point the remote control toward the remote sensor of the desired monitor and press the REMOTE ID SET button.
The MONITOR ID number is shown in red on the monitor.
If the REMOTE CONTROL ID is “0”, then all monitors in range will show their particular MONITOR ID number in red.
If the MONITOR ID number is shown in white on the monitor, the MONITOR ID number and the REMOTE CONTROL ID are
not the same.
Monitor ID:1 Monitor ID:2 Monitor ID:3
Monitor ID:1 Monitor ID:2 Monitor ID:3
Remote does
not work
Remote does
not work
Remote works
Remote works Remote works Remote works
Remote in Normal
mode or the
REMOTE ID is
set to 0
Remote set up to
use REMOTE ID:3
You need a remote control
for this function.