10 Nektar Pacer User Guide www.nektartech.com
The Control Edit menu is where control assignments for any of the 10 footswitches, 4 external footswitches and 2 expression pedal sockets
are programmed.
Selecting a Control for Programming
• From the top default menu, move the [Data Encoder] until you see “CTRL“ in the display. This is the Control Edit menu.
• Press the [Data Encoder] to select the menu. The [Preset] button’s LED will now blink.
• Press or move the control you want to edit. The control is now selected for programming.
• If the selected control is either switch [1]–[6] or switch [A]–[D], the corresponding LED will blink in addition to [Preset].
(The LEDs in white indicate the number of steps active for a selected control.)
• While in the top level of the Control Edit menu, press or move one of the controls to change selection at any time.
Next move the [Data Encoder] to scroll through the menu options in the Control Edit menu.
Setup
When you move the [Data Encoder] the first option is SETUP. For each control you can program up to 6 messages or actions in 6 steps.
The Setup menu defines how the assigned messages should behave.
• With “SETUP“ displayed, press the [Data Encoder] to select the menu.
• Select one of the 3 options in the chart below.
• Press the [Data Encoder] to select and exit to the top menu level.
Note that “ALL” is default, so you don’t need to enter the menu to select this setting.
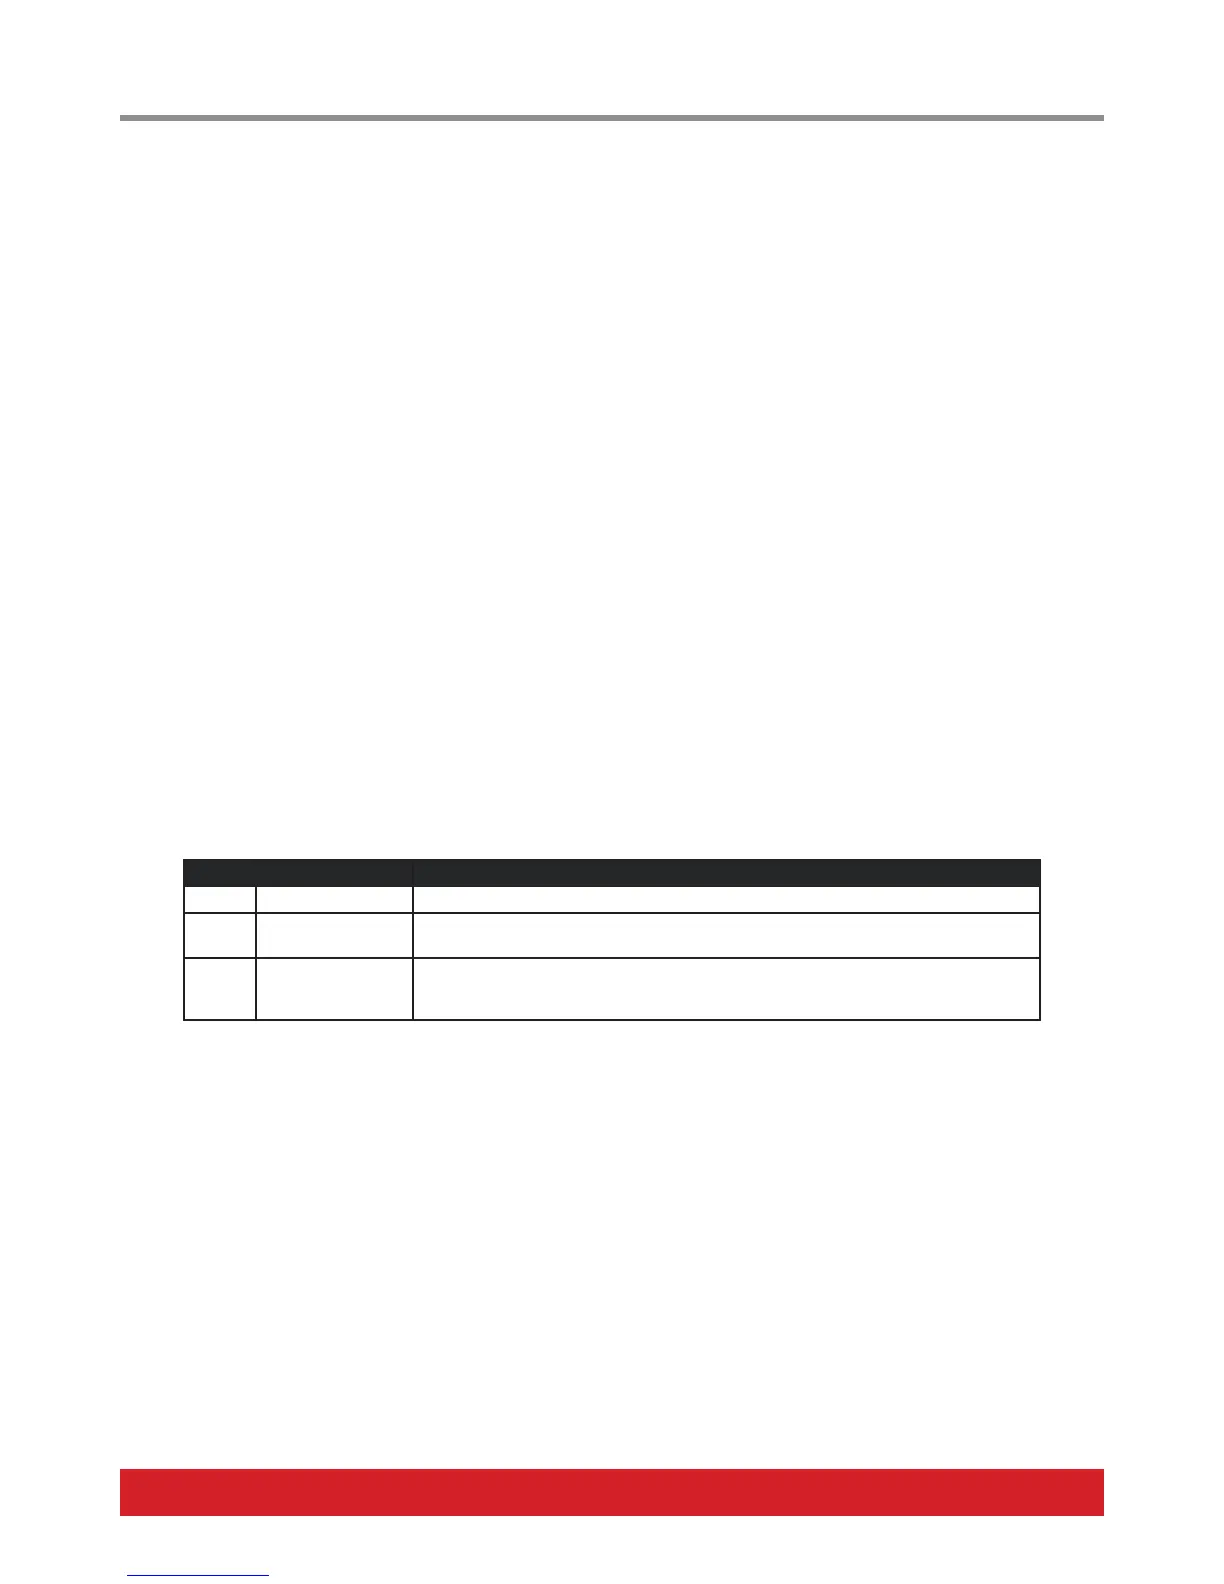
Control Function Description
ALL All steps, one shot Execute all active steps when the control is pressed/moved. This is the default setting.
SEq Sequence Execute one active step at a time, advancing in a sequence with each press.
(This option not available for expression pedals)
ESS External Step Select Select this option if you want the steps for this control to be selected by another
control. For example, you may want one of the expression pedals to change step (and
therefore the MIDI message it sends) when you press a foot switch.
Steps
Move the [Data Encoder] again and select „STEPS“. Pacer‘s switches [1]–[6] now represent the 6 steps that can be programmed to the
selected control.
• Press switch [2] to [6] to activate or deactivate steps.
• Activated steps illuminate white. All other switches illuminate blue.
• Step 1 cannot be deactivated because each control needs at least one step for assignment.
• If a switch control‘s LED is blinking, this control is selected (i.e. the control you are currently activating and deactivating steps for).
Once the steps needed have been activated, move on to program messages or functions for each of them.
Control Edit

 Loading...