www.nektartech.com Nektar Pacer User Guide 19
MCU DAW Control (MCU)
MCU is used in a slightly different way by different DAWs. In order to provide more flexibility, you can adjust Pacer’s MCU behavior.
• Move the [Data Encoder] until you see “MCU” in the display and press the [Data Encoder] to select the menu.
• Move the [Data Encoder] to select one of the options shown in the chart below.
• Press [Data Encoder] to set and revert to the Global menu.
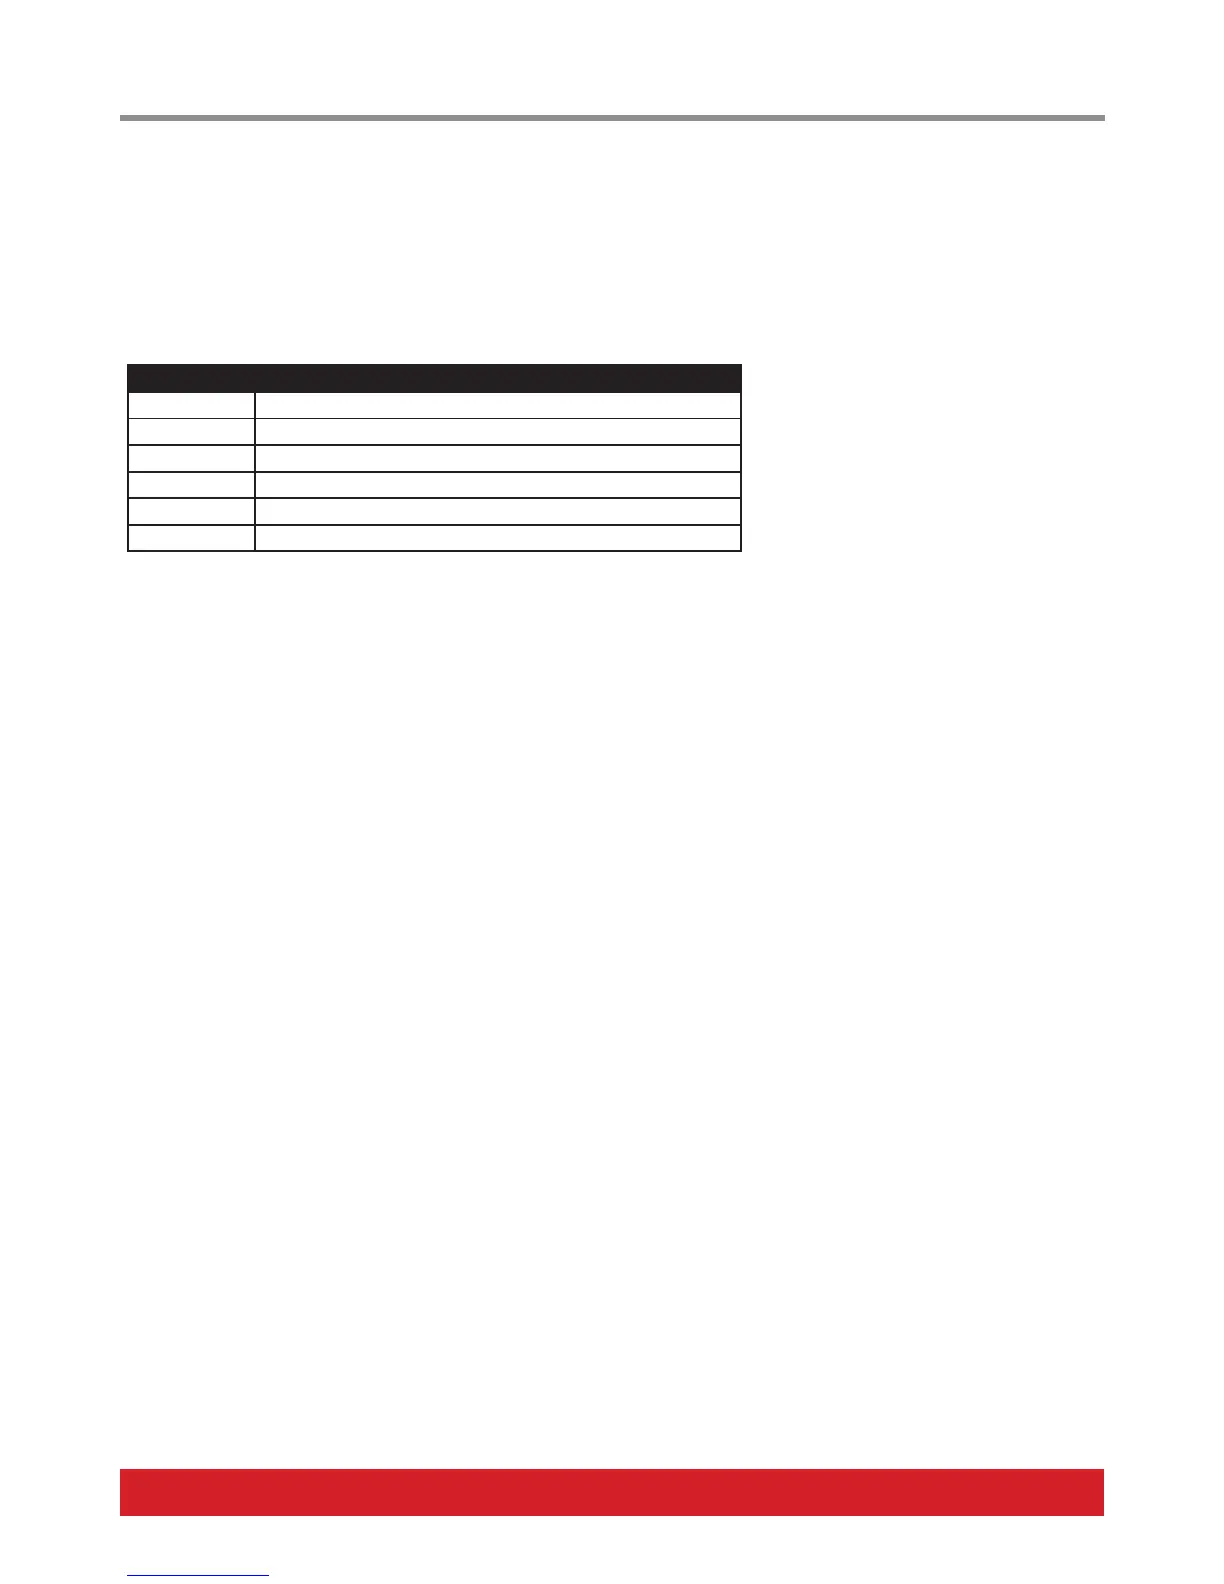
Mode Option MCU Behavior
dEF Default for DAWs like Studio One and most other DAWS
FLS FL Studio
Pt Pro Tools*
Ard Ardour / Mixbus
Lrn Learn without MIDI feedback*
LrF Learn with MIDI feedback*
* Note: Pro Tools is not MCU compatible and the two Learn setups are not part of the MCU spec. They are selectable in the MCU menu to
keep selection simple.
How to set up your DAW for use with MCU is covered in the dedicated documentation you download after registering your Pacer. If you
want to control your DAW from Pacer go to www.nektartech.com/registration to start the process, if you haven’t done so already.
LED Dim Level (DMLVL)
The LED dim level can be set higher or lower depending on your preference.
• Move the [Data Encoder] until you see “DMLVL” in the display and press the [Data Encoder] to select the menu.
• Move the [Data Encoder] and select a value. If you want the LED’s to be really dim, try value “4”.
• Press [Data Encoder] to set and revert to the Global menu.
 Loading...