Configuring Your Wireless Network
16
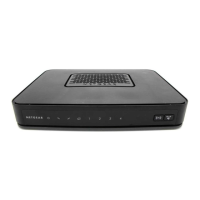
NETGEAR DOCSIS 3.0 N450 Wi-Fi Data Gateway
7. To click the WPS button, follow the utility’s instructions.
When the computer connects to the wireless network, the gateway sends its SSID and
WPA-PSK or WPA2-PSK configuration to that computer.
8. On the computer that just joined the wireless network, make sure you can connect to the
Internet.
You should see the gateway’s Internet LED blink, showing that the Internet connection is
in use.
Add a Client Using a PIN
Any computer or wireless device that connect wirelessly to the gateway is a client. After a
device is added as a client, it can automatically connect to the gateway.
To add a wireless device to your gateway using a PIN:
1. Make sure that you know how WPS works on your computer or wireless device.
If it works with WPS, it has a WPS utility. To determine the PIN for your wireless computer
or device, use this utility.
2. Log in to the gateway.
For more information, see Log In to Your Gateway on page 9.
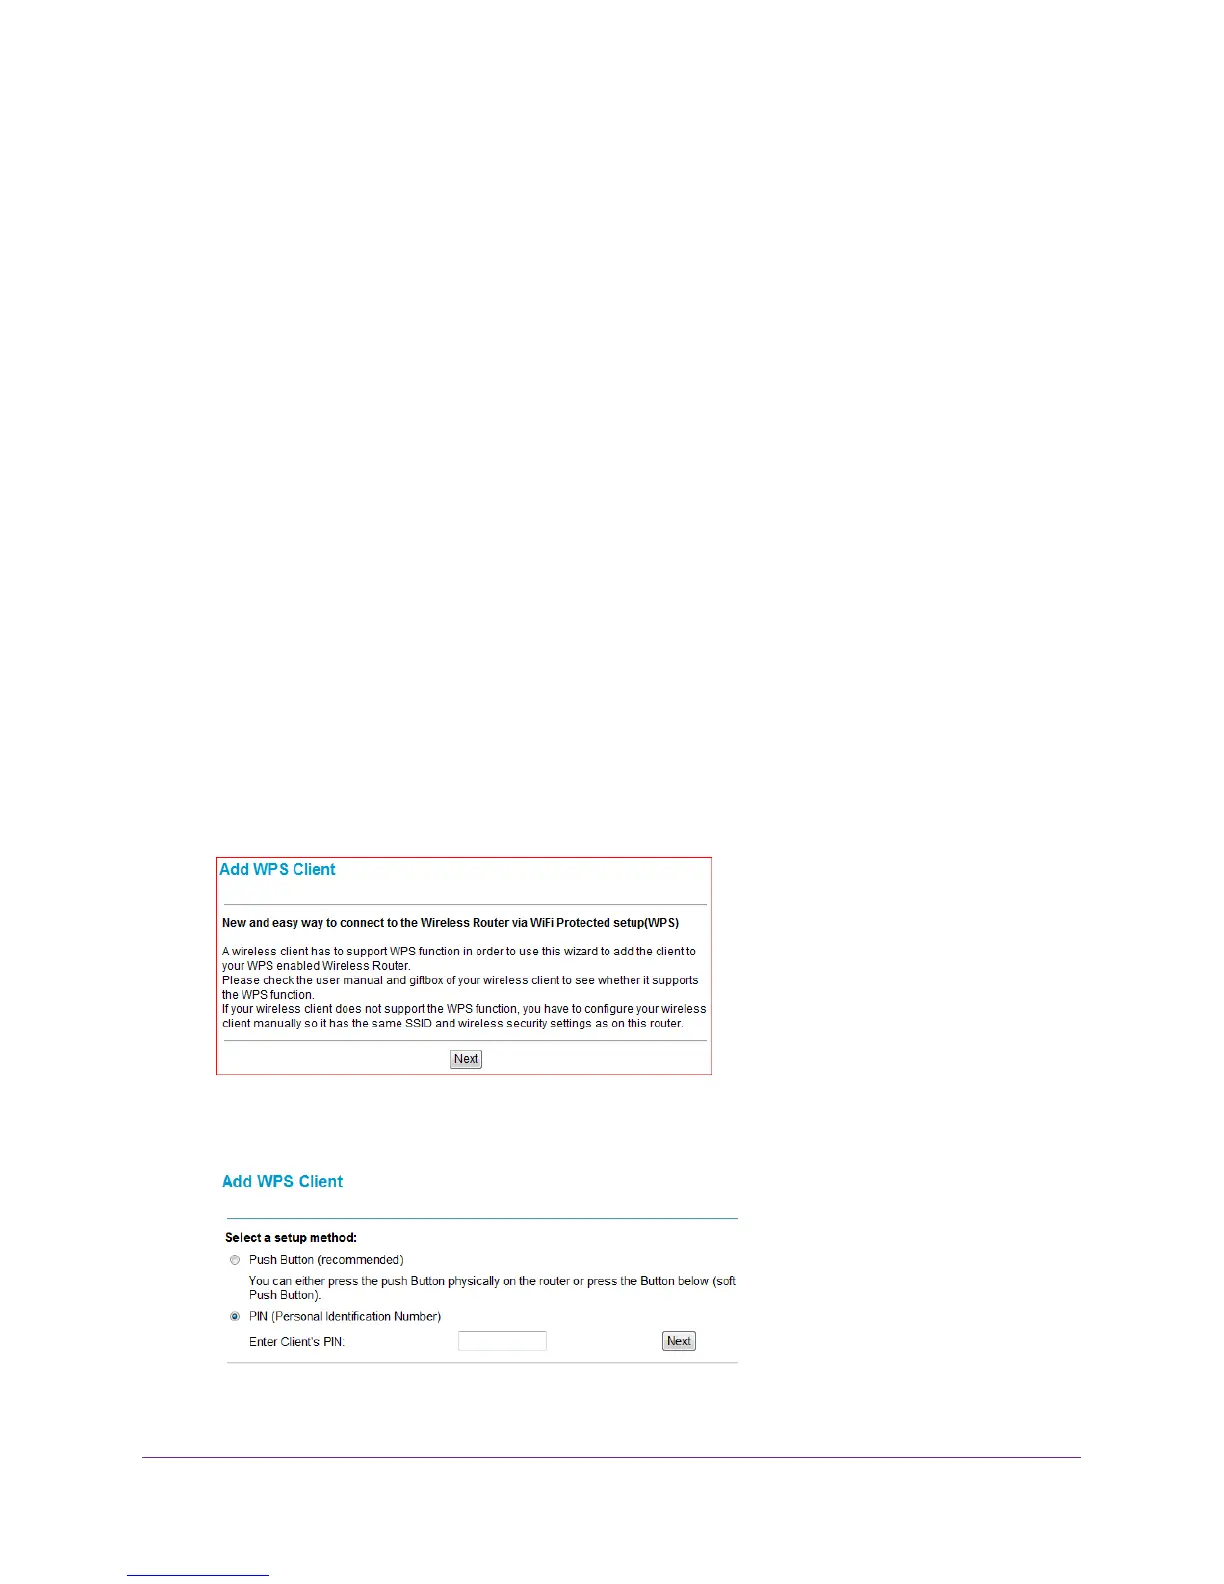
3. In the main menu, select Add WPS Client.
The following screen displays.
4. Click Next.
The Add WPS Client screen displays.
5. Select the PIN radio button.
 Loading...