5. Tighten the screws with a No. 2 Phillips screwdriver to secure the mounting brackets
to the rack.
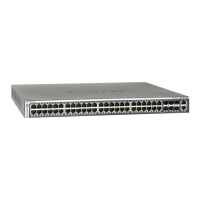
Install the switch on a flat surface
The switch ships with four self-adhesive rubber footpads.
To install the switch on a flat surface:
Stick one rubber footpad on each of the four concave spaces on the bottom of the
switch.
The rubber footpads cushion the switch against shock and vibrations. They also
provide ventilation space between stacked switches.
Optional Step 5: Install an SFP transceiver
module or cable
For more information about transceiver moduels and direct attach cables (DACs), see
Transceiver modules and cables for SFP+ fiber ports on page 18. Contact NETGEAR or
your NETGEAR reseller to purchase these modules and cables.
If you do not want to install an SFP module, skip the following procedure.
The following optional procedure describes how to install an optional SFP transceiver
module into the SFP+ port of the switch.
Hardware Installation Guide29Installation
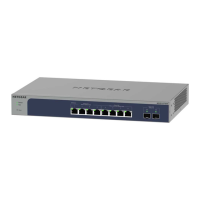
8-Port Multi-Gigabit/10G Ethernet (Ultra60 PoE++) Smart Managed Pro Switch with 2 SFP+ Ports