Installation
25
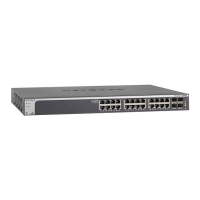
ProSAFE 28-Port and 48-Port 10-Gigabit Smart Managed Switch Models XS728T and XS748T
Step 4: Install the Switch
The switch can be used on a flat surface or mounted in a standard network equipment rack.
Install the Switch on a Flat Surface
This procedure explains how to install the switch on a flat surface. The switch ships with four
self-adhesive rubber footpads. The rubber footpads cushion the switch against shock and
vibrations.
To install the switch on a flat surface:
Stick one of the provided rubber footpads on each of the four concave spaces on the
bottom of the switch.
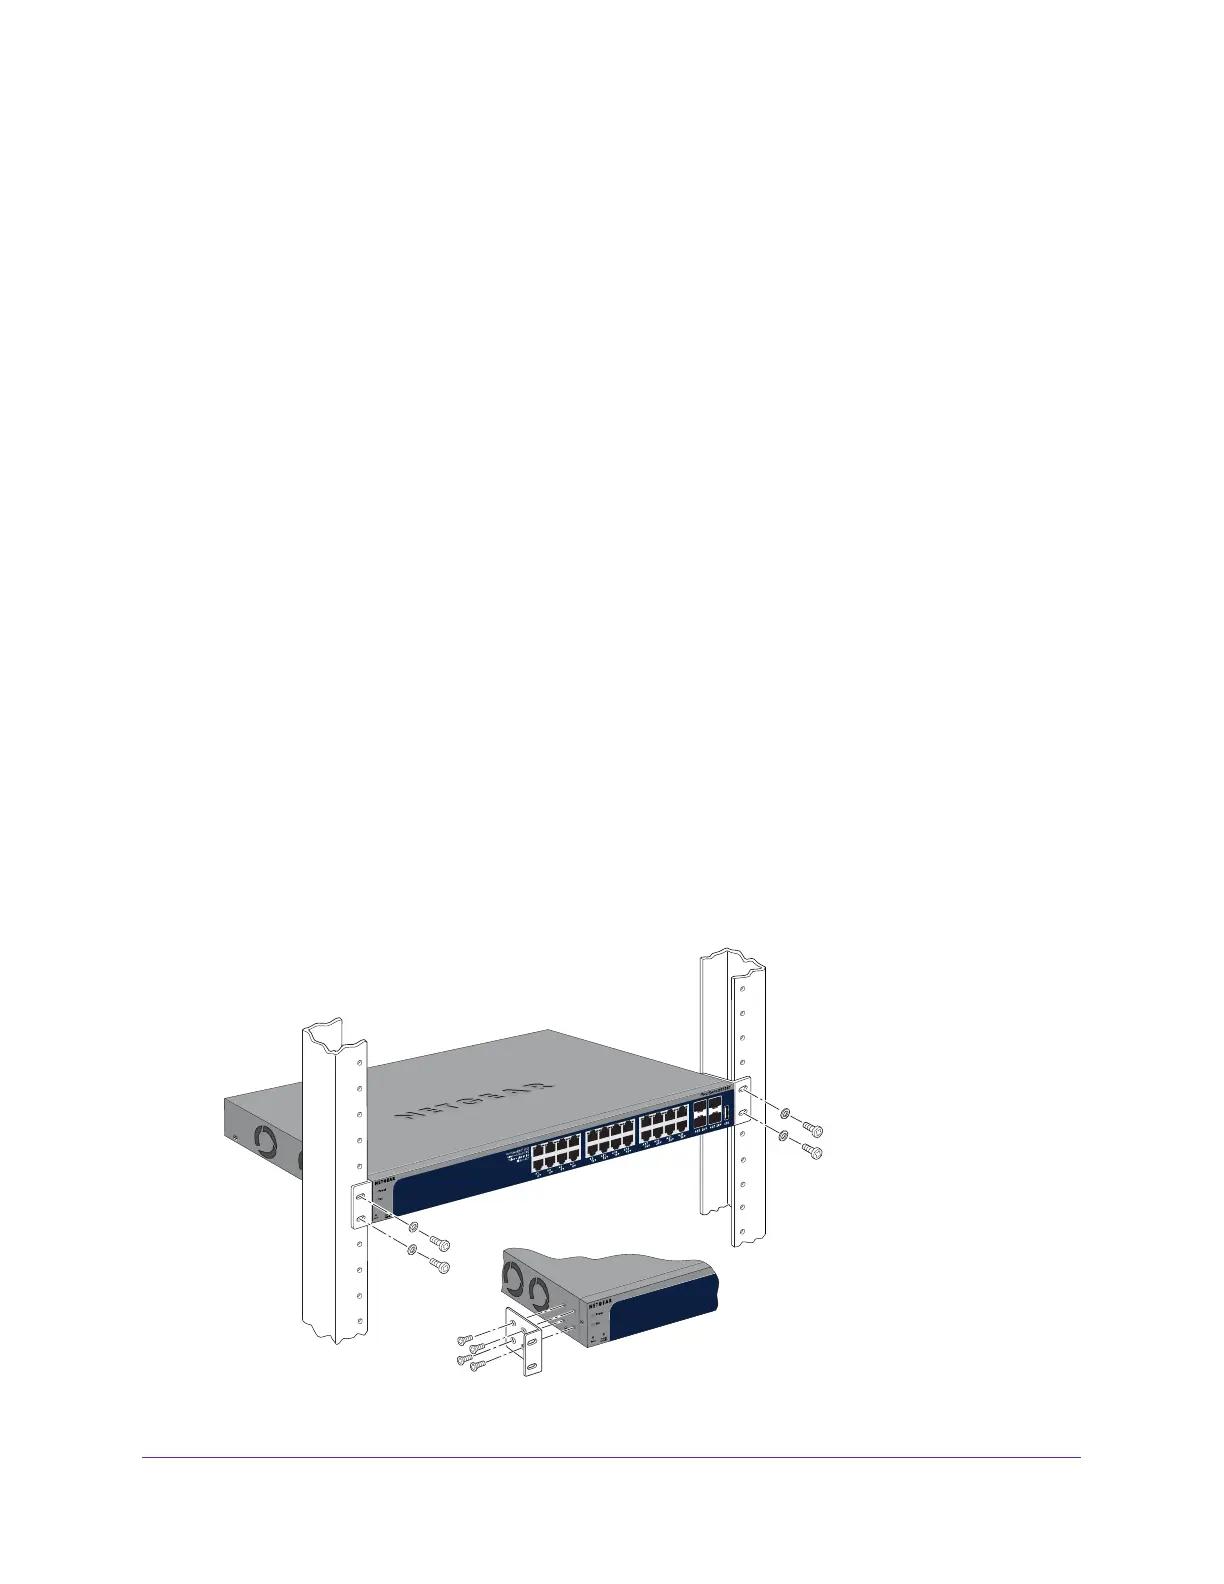
Install the Switch in a Rack
To install the switch in a rack, you need the 19-inch rack-mount kit supplied with the switch.
To install the switch in a rack:
1. Attach the supplied mounting brackets to each side of the switch.
2. Insert the screws provided in the rack-mount kit through each bracket and into the bracket
mounting holes in the switch.
3. To secure each bracket, tighten the screws with a No.1 Phillips screwdriver.
4. Align the mounting holes in the brackets with the holes in the rack, and insert two pan-head
screws with nylon washers through each bracket and into the rack.
5. To secure the mounting brackets to the rack, tighten the screws with a No. 2 Phillips
screwdriver.
Figure 9. Rack mounting (model XS728T shown)
 Loading...