Installation
26
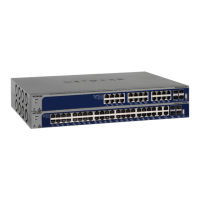
ProSAFE 28-Port and 48-Port 10-Gigabit Smart Managed Switch Models XS728T and XS748T
Step 5: Check the Installation
Before you apply power to the switch, perform the steps that are described in this section.
To check the installation:
1. Inspect the equipment thoroughly.
2. Verify that all cables are installed correctly.
3. Check cable routing to make sure that cables are not damaged or creating a safety hazard.
4. Ensure that all equipment is mounted properly and securely.
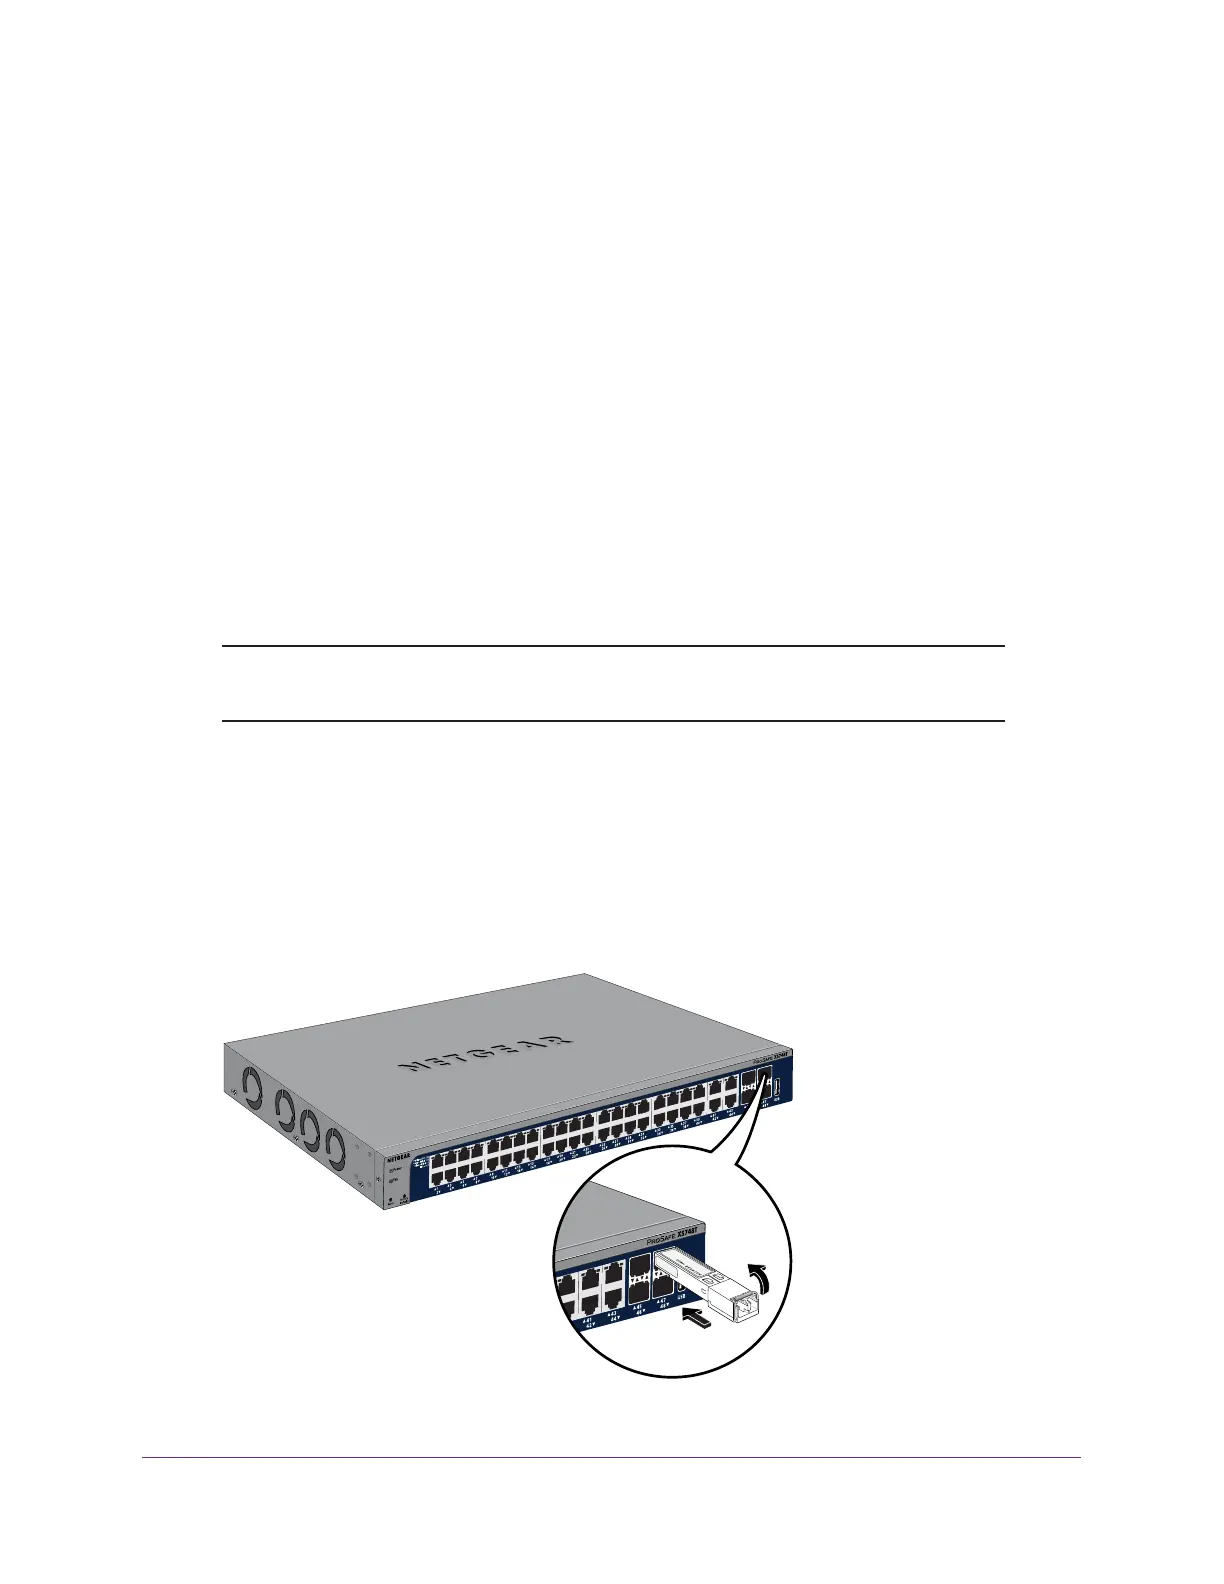
Optional Step 6: Install an SFP Transceiver Module
The following procedure describes how to install an optional SFP (or SFP+) transceiver
module into one of the SFP slots of the switch. You can install up to four modules.
Note: Contact your NETGEAR sales office to buy these modules. If you do
not want to install an SFP module, skip this procedure.
To install an SFP or SFP+ transceiver module:
1. Insert the transceiver module into an SFP+ slot.
On model XS728T, insert the module in slot 25, 26, 27, or 28 (each slot can accept a
module). On model XS748T, insert the module in slot 45, 46, 47, or 48 (each slot can
accept a module).
2. Press firmly on the flange of the module to seat it securely into the connector.
Figure 10. Installing a transceiver module (model XS748T shown)
Tx
Rx
 Loading...