IN VEHICLE INSTALLATION (CONTD.)
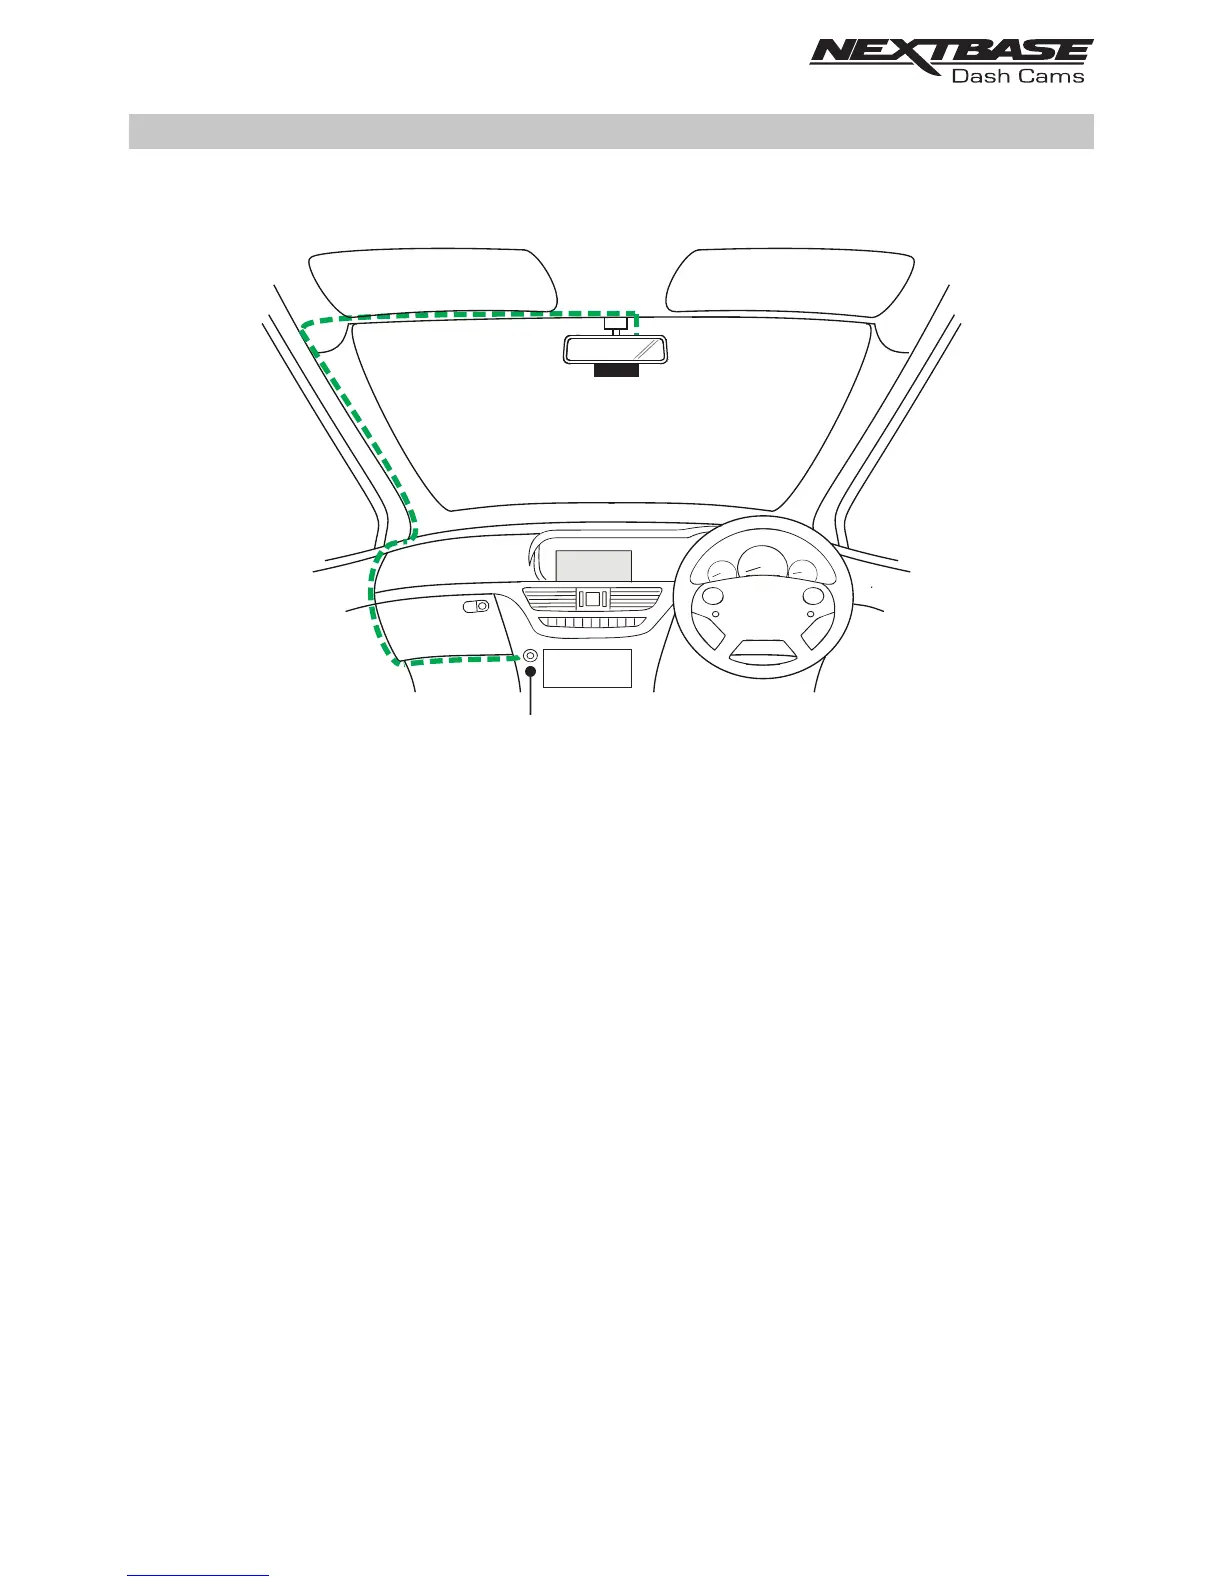
The above diagram is for illustration purposes only.
12-24V DC
Route the supplied car power cable (as shown) and connect it to the DC-IN socket of the mount.
The Dash Cam will automatically power on and start recording once power is available. In some
vehicles this will be when connections are made, for others the Dash Cam will power on once the
ignition has been turned on.
If the vehicle in which the Dash Cam is installed has permanent live cigarette lighter sockets, the
user can simply use the power button to switch the Dash Cam off when the vehicle stops. To take
advantage of the Automatic Start / Stop Technology a Nextbase Hardwire Kit can be installed on
a switched-live power supply.
The Nextbase Hardwire Kit includes the necessary 12-24Vdc to 5Vdc convertor and battery
protection circuitry.
Should your vehicle not have a 12-24Vdc outlet, but does have a 5Vdc USB Outlet, this can be
used instead. Connect the USB cable supplied with your Dash Cam in place of the car power cable.
Note:
- Do NOT wire the Dash Cam directly to a 12V supply by cutting the cigarette plug off the
end of the cable, or damage will result.
18