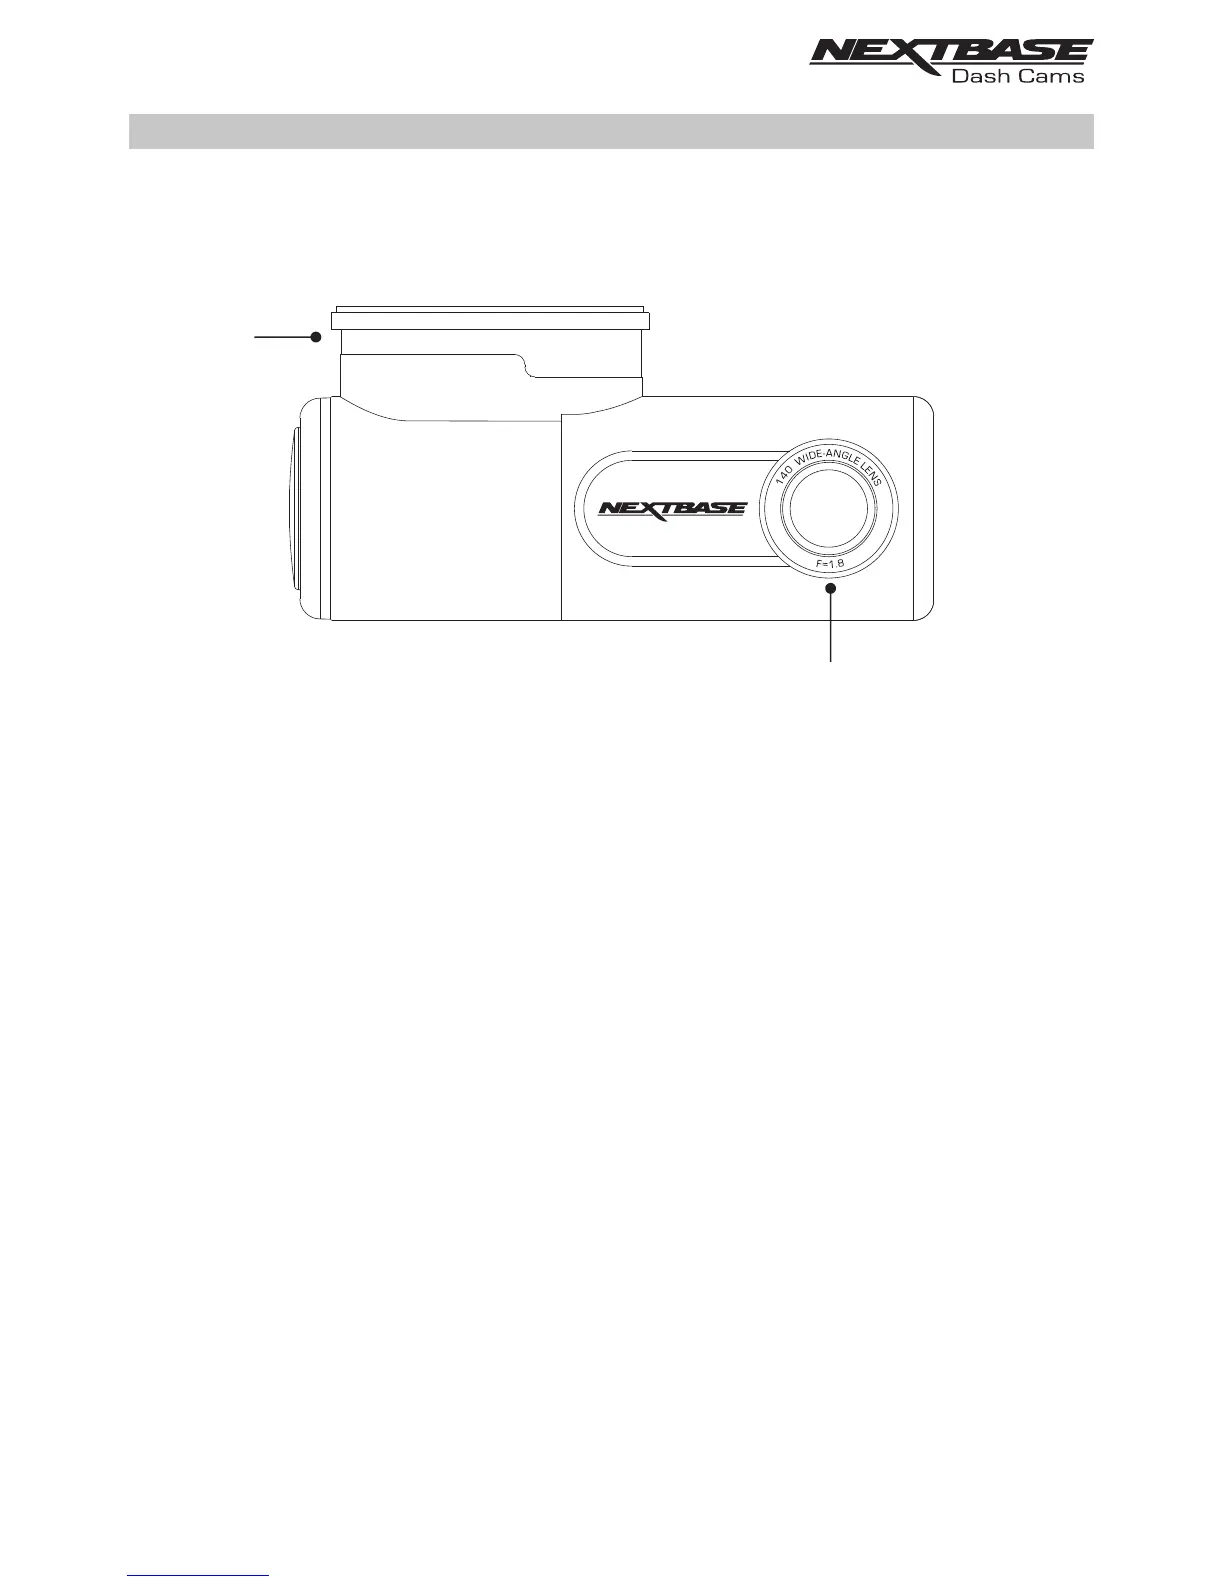
PARTS & CONTROLS
Please see below to identify the parts and controls of your Dash Cam.
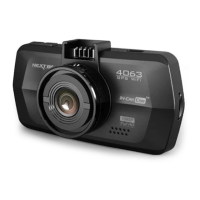
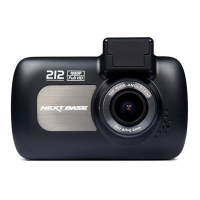
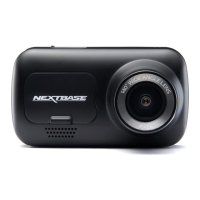
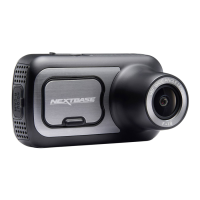
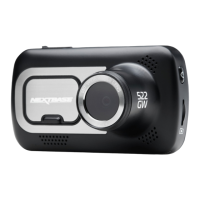
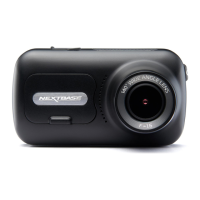
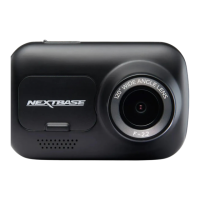
Front:
1. Mount
The Dash Cam will simply slide on and off the mount.
The mount is attached to the windscreen using the 3M sticker attached to the mount. Once the
backing tape has been removed this adhesive pad will securely adhere the mount to your
windscreen.
Note:
- Before removing the red backing tape from the adhesive pad make sure you have determined
the optimum position for the Dash Cam and that the windscreen is free of dust and/or dirt.
- A spare adhesive pad has been provided, in case you wish to change the mounts location.
2. Lens
Wide Angle 140°, 6 Element glass lens for optimum picture quality.
3. Yellow LED indicator
This yellow LED indicator will flash (quickly) during formatting of the SD card.
2
1
7