2
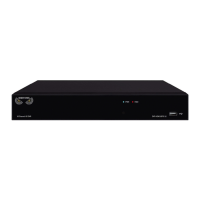
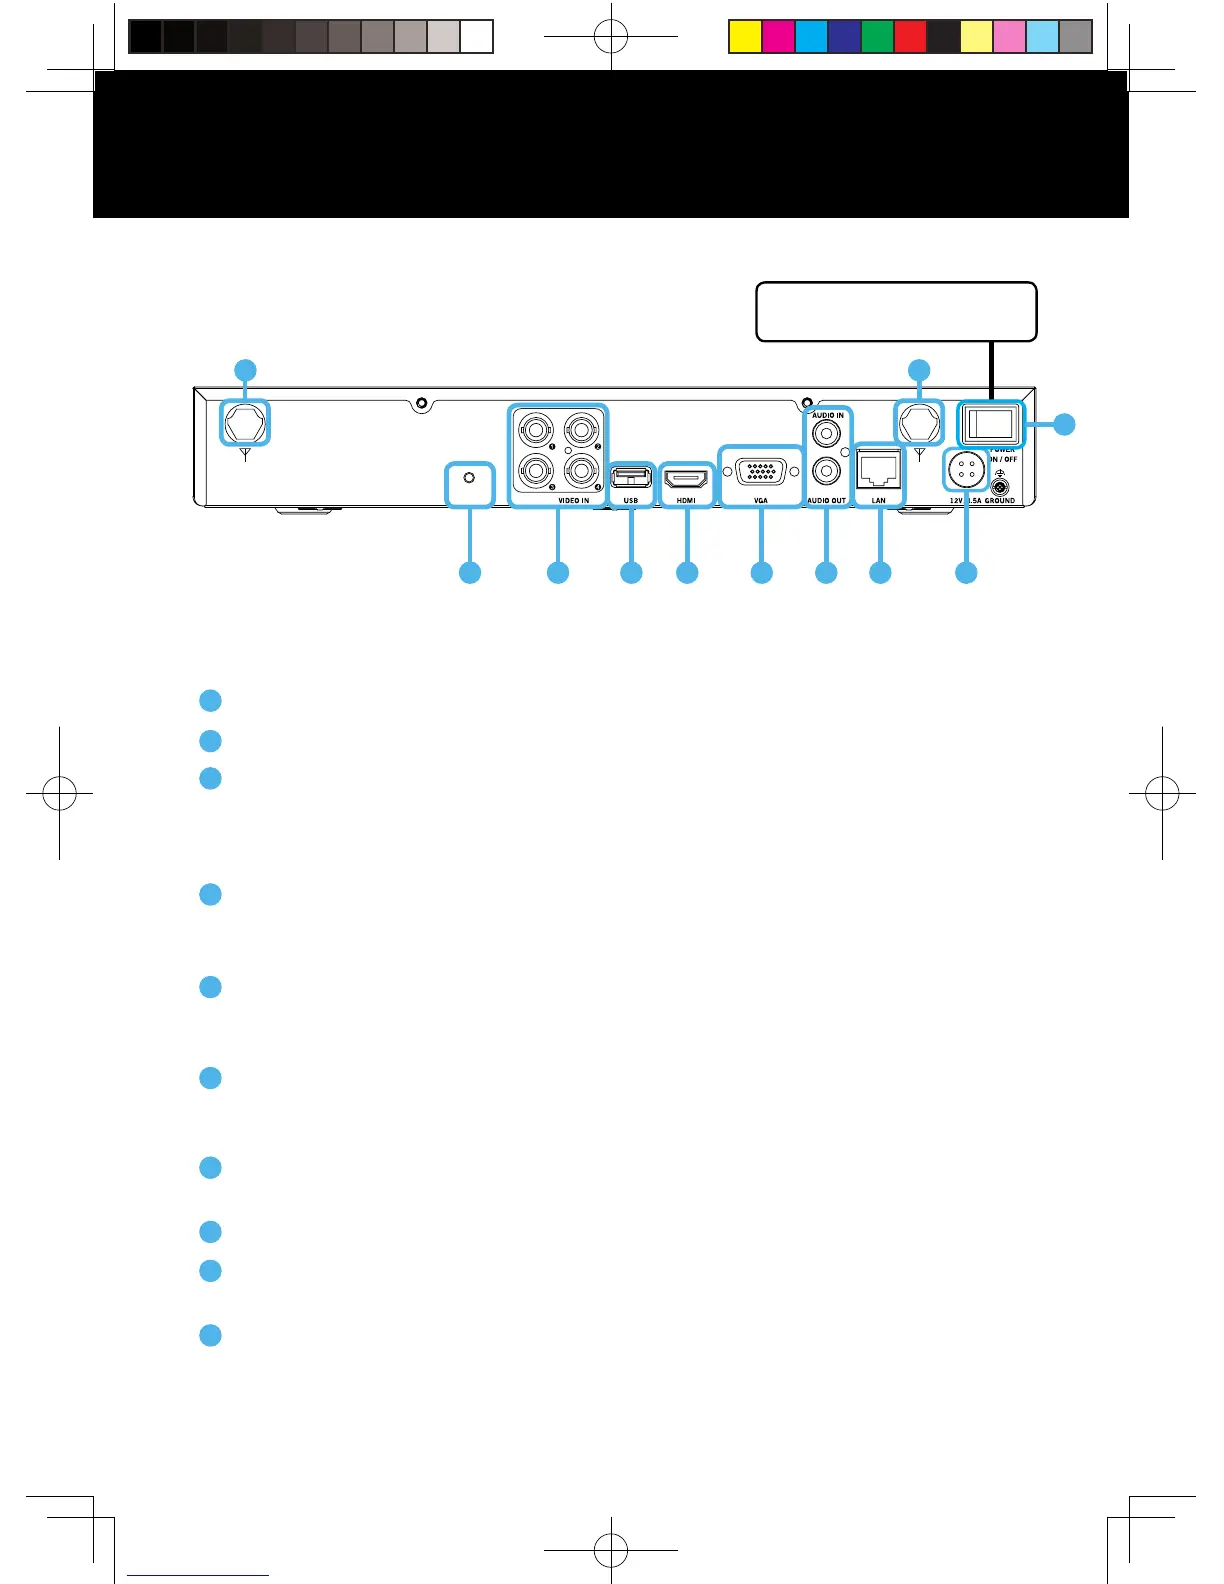
DVR Rear View
Sync – Press and release to sync the DVR with the wireless cameras.
Video Inputs – Allows for the connection of BNC cameras.
USB Ports – Allows for the connections of a USB mouse and/or a USB flash drive.
You will connect the included USB mouse to assist you in navigating the DVRs menu
interface. You will connect a USB flash drive to download video files from the DVR
and save them to your USB flash drive.
HDMI Output – Allows for the video connection. If the TV/Monitor has an HDMI
input, connect the HDMI cable from the HDMI output port on the DVR to the HDMI
input port on your TV/Monitor. NOTE: Preferred method.
VGA Output – Allows for the video connection. If the TV/Monitor has a VGA input,
connect the VGA cable from the VGA output port on the DVR to the VGA input port
on your TV/Monitor. (VGA Cable not included)
Audio Inputs & Outputs – Allows for the connection of an audio-enabled camera
or self-powered microphone and an external speaker to the DVR. (Audio enabled
camera, microphone and speaker not included)
RJ-45 (Ethernet) Port – Used to connect the DVR to your router/modem via the
included Ethernet cable.
Power Input – Used to connect the included 12V DC power supply.
Power Switch – Use this switch to power ON/OFF the DVR. Make sure the power
switch is in the ON position before attempting to use the DVR.
Antennas – Connection for the included antennas.
Images used are for reference only. Your product may vary slightly.
A 4 channel model is displayed above.
1
2
3
4
5
6
7
8
9
10
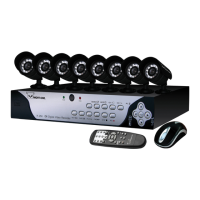
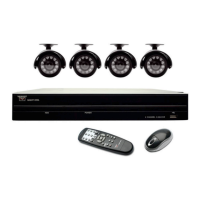
Product Overview
2
WIRED /SYNC
31
1010
5 6
8
9
NOTE: Not all models have a
power switch on the DVR.
4
7
QSG-H2THD.indd 3 2018/6/22 11:00