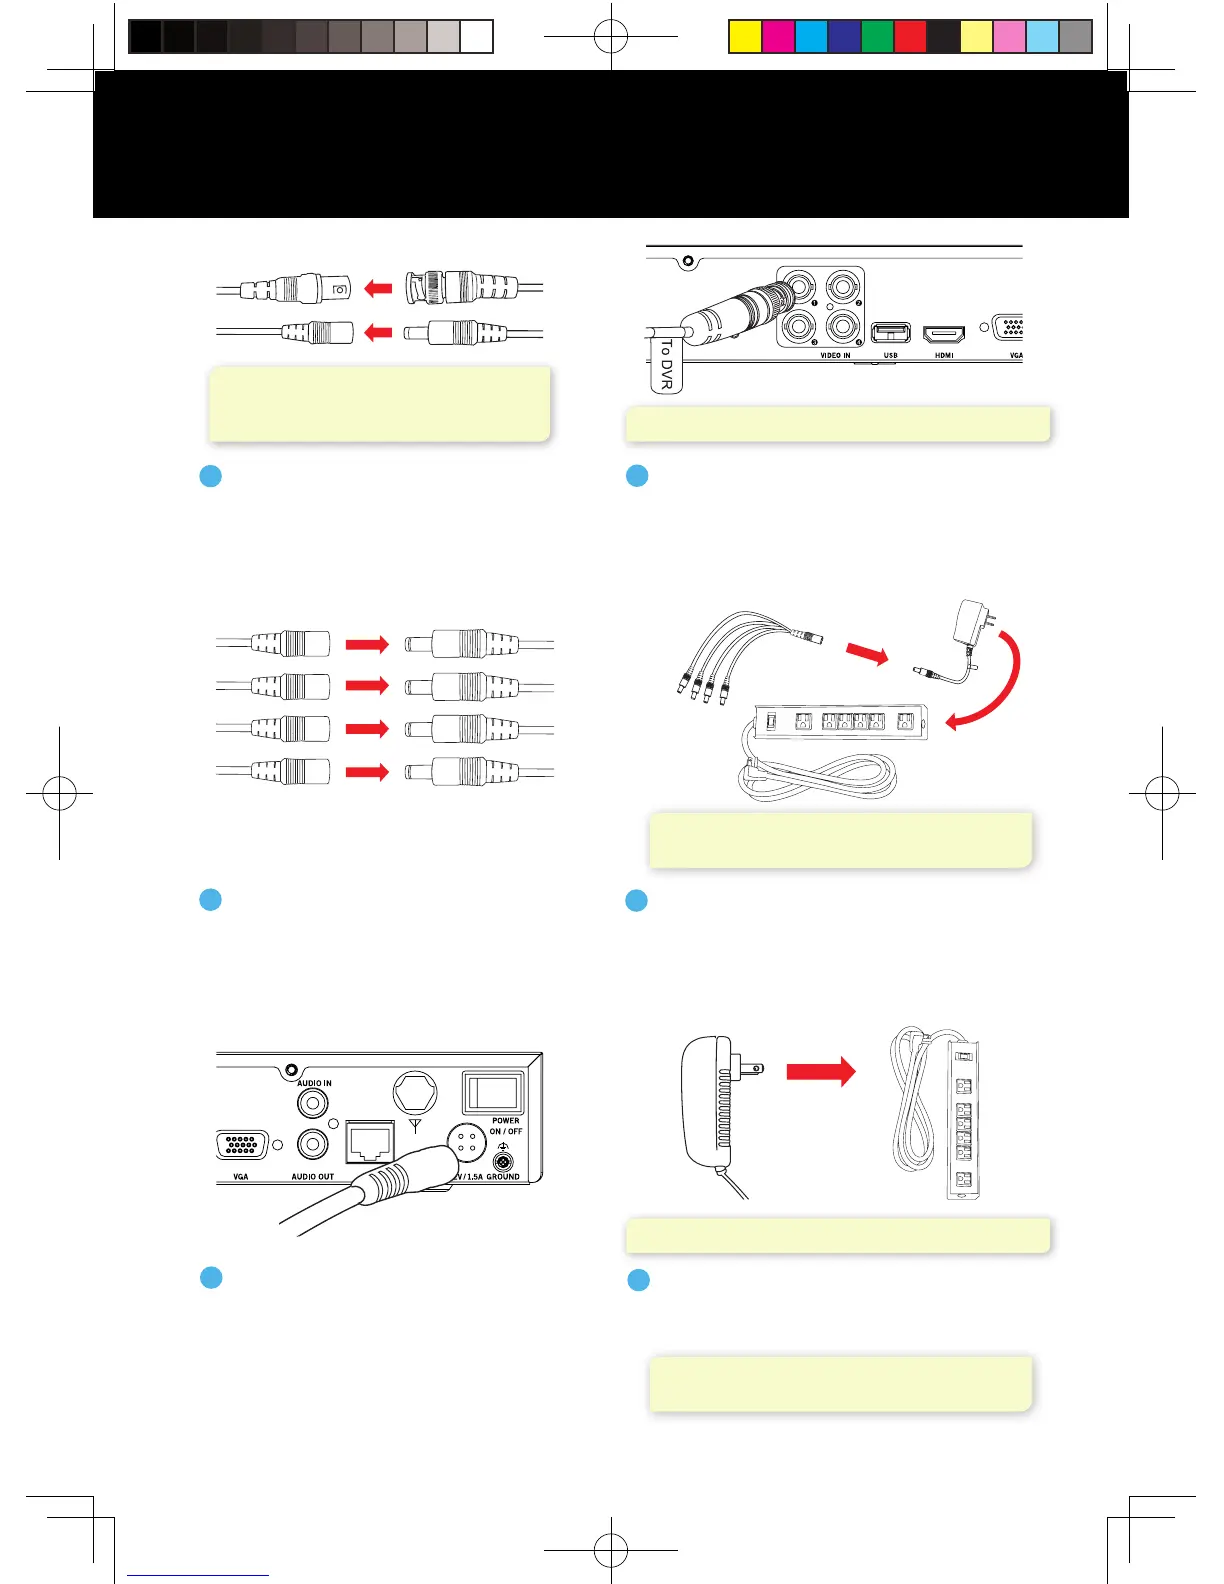
WIRED /SYNC
NOTE: Make sure you twist and lock BNC connectors.
NOTE: Some systems will beep upon booting up.
Connect the BNC connector of the
video/power cable labeled TO DVR
ONLY to an open video input on
the DVR.
2
FROM Camera TO Camera
Connect the ends of the cable
attached to the camera to the
ends of a video/power cable
labeled TO CAMERA ONLY.
1
NOTE: Audio enabled cameras will have
a white RCA connector to transmit audio
signal (Optional).
Connect the red female power
leads of the video/power cables
to the male power splitter ends.
3
Power Cable
Connectors
Power Splitter
Connectors
NOTE: Power adapters are labeled TO CAMERA
ONLY and TO DVR ONLY.
NOTE: Check that the UPS or surge protector
is switched ON.
Connect the power splitter to the
camera power adapter and plug the
adapter into a surge protector or
Uninterruptible Power Supply (UPS).
4
Connect the DVR power adapter
to the Power Input on the rear
of the DVR.
5
Plug the DVR power adapter into a
surge protector or Uninterruptible
Power Supply (UPS).
6
(Surge
Protector Not
included)
Power
splitter
Camera Power
Adapter
Surge Protector
(Not included)
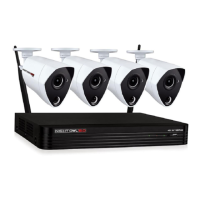
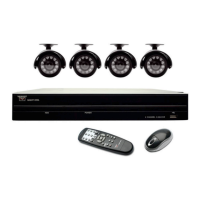
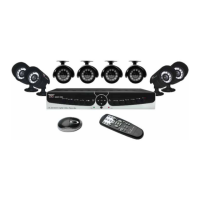
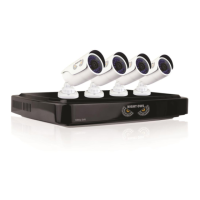
Connecting Your Wired Cameras
QSG-H2THD.indd 5 2018/6/22 11:00