8
Adding a brightfield channel
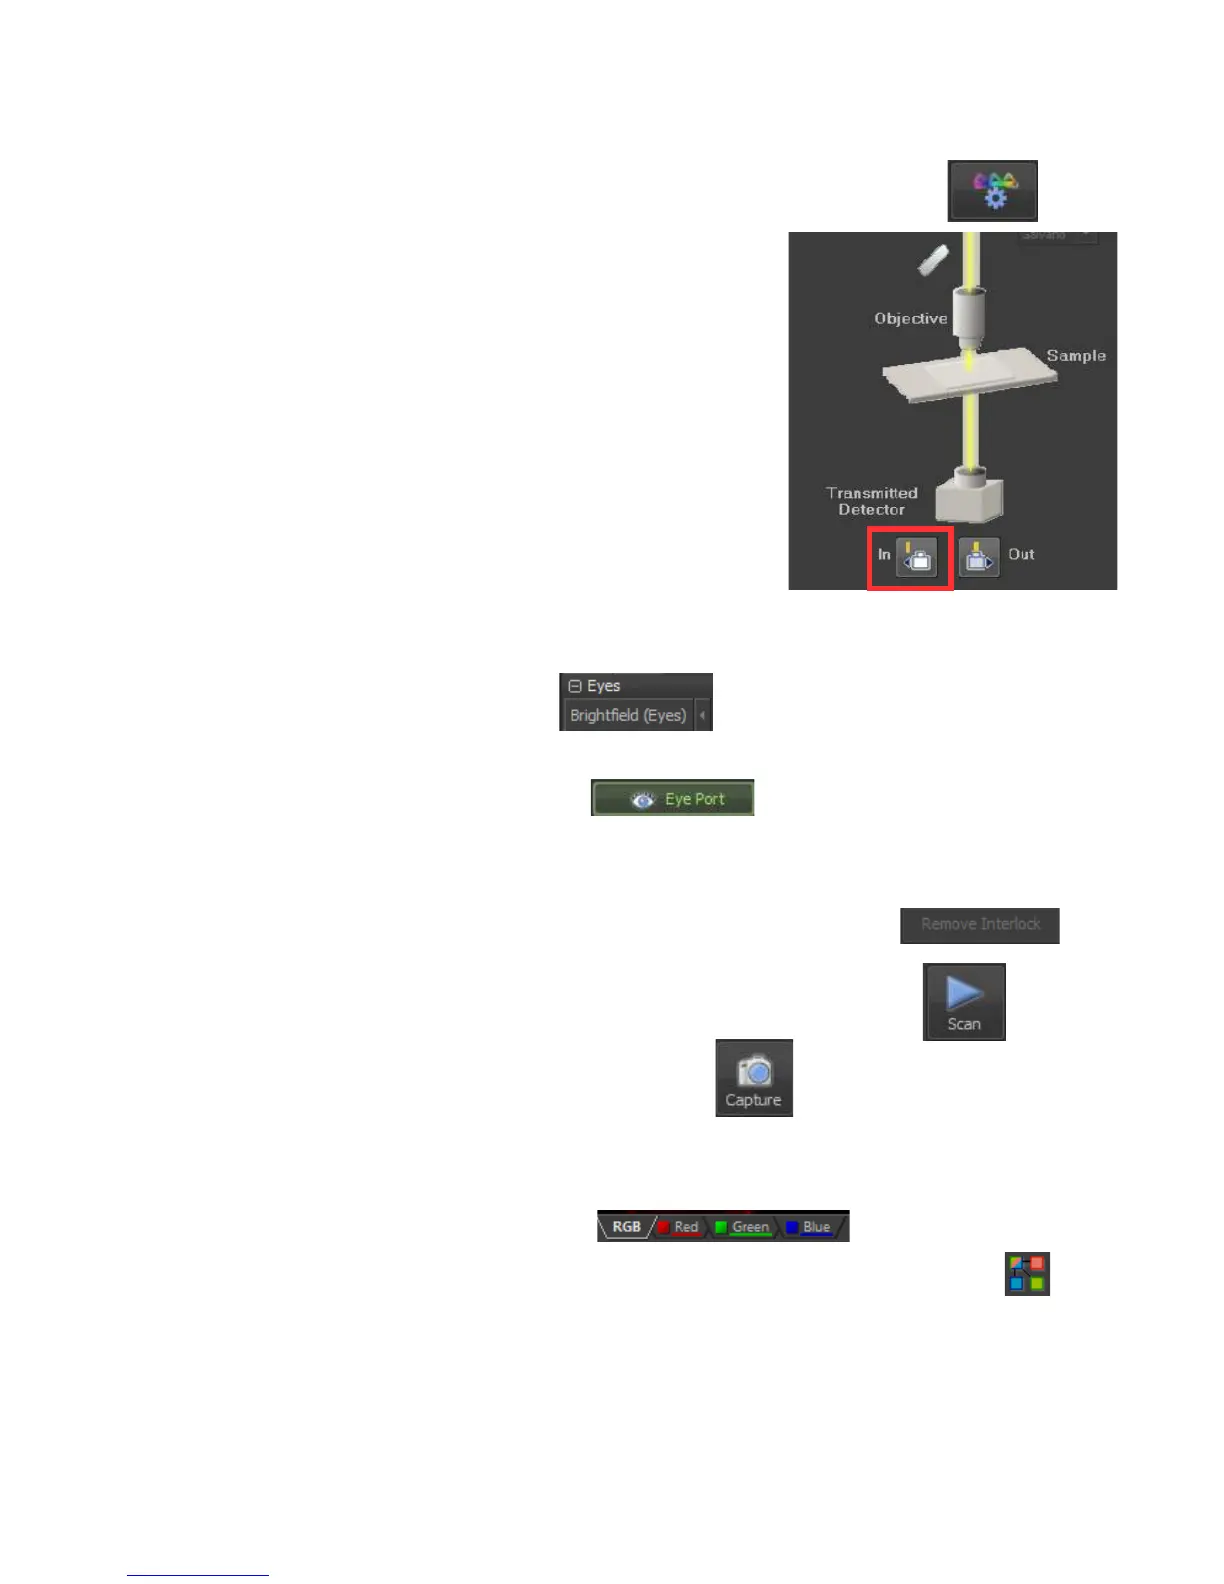
1. Press the Channel Settings button in the A1Plus Compact GUI window
2. Press the Transmitted Detector “In” button to add a
Brightfield channel
3. Select Ok to confirm
4. You will see that a TD detector has appeared in the list
of channels and signifies that a brightfield image will be
scanned
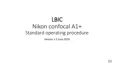
5. If the Transmitted Detector is active and you wish to view the sample looking down
the microscope under brightfield illumination, press the Brightfield(Eyes) Optical
Config button
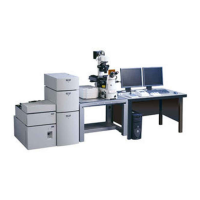
6. Press the Eye Port button at the top of the A1Plus Compact GUI window
Capture an image
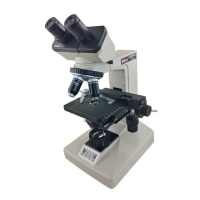
1. Before you can scan with the lasers you have to remove the laser
interlock by pressing the red “Remove Interlock button”
2. You can see the live image at any time by pressing the Scan button
3. To acquire an image press the Capture button
4. The captured image is displayed as a merge of all the channels by default. You can
view individual channel images by selecting the channel tabs at the bottom of the
image window.
5. To see a montaged view of all channels, select this icon from the top of the
image window.