Chapter 1 Microscopy Procedures
5
Chap. 1-1
Microscopy Procedures
Bright-field Microscopy
6
Fully open the field diaphragm and aperture diaphragm.
Turn the field diaphragm dial and the aperture diaphragm
lever clockwise to open them completely.
CLAMP
TORQUE
0.1
0.3
0.4
0.5
0.2
0.9
0.8
Fully opening the field and aperture diaphragms
7
Bring the 10x objective into the optical path.
Press the nosepiece forward/reverse rotation buttons, or
the nosepiece address button on the remote control pad to
bring the 10x objective into the optical path.
OFF
TOGGLE
PATTERN
MEMORY
12
Bringing a 10x objective into the optical path
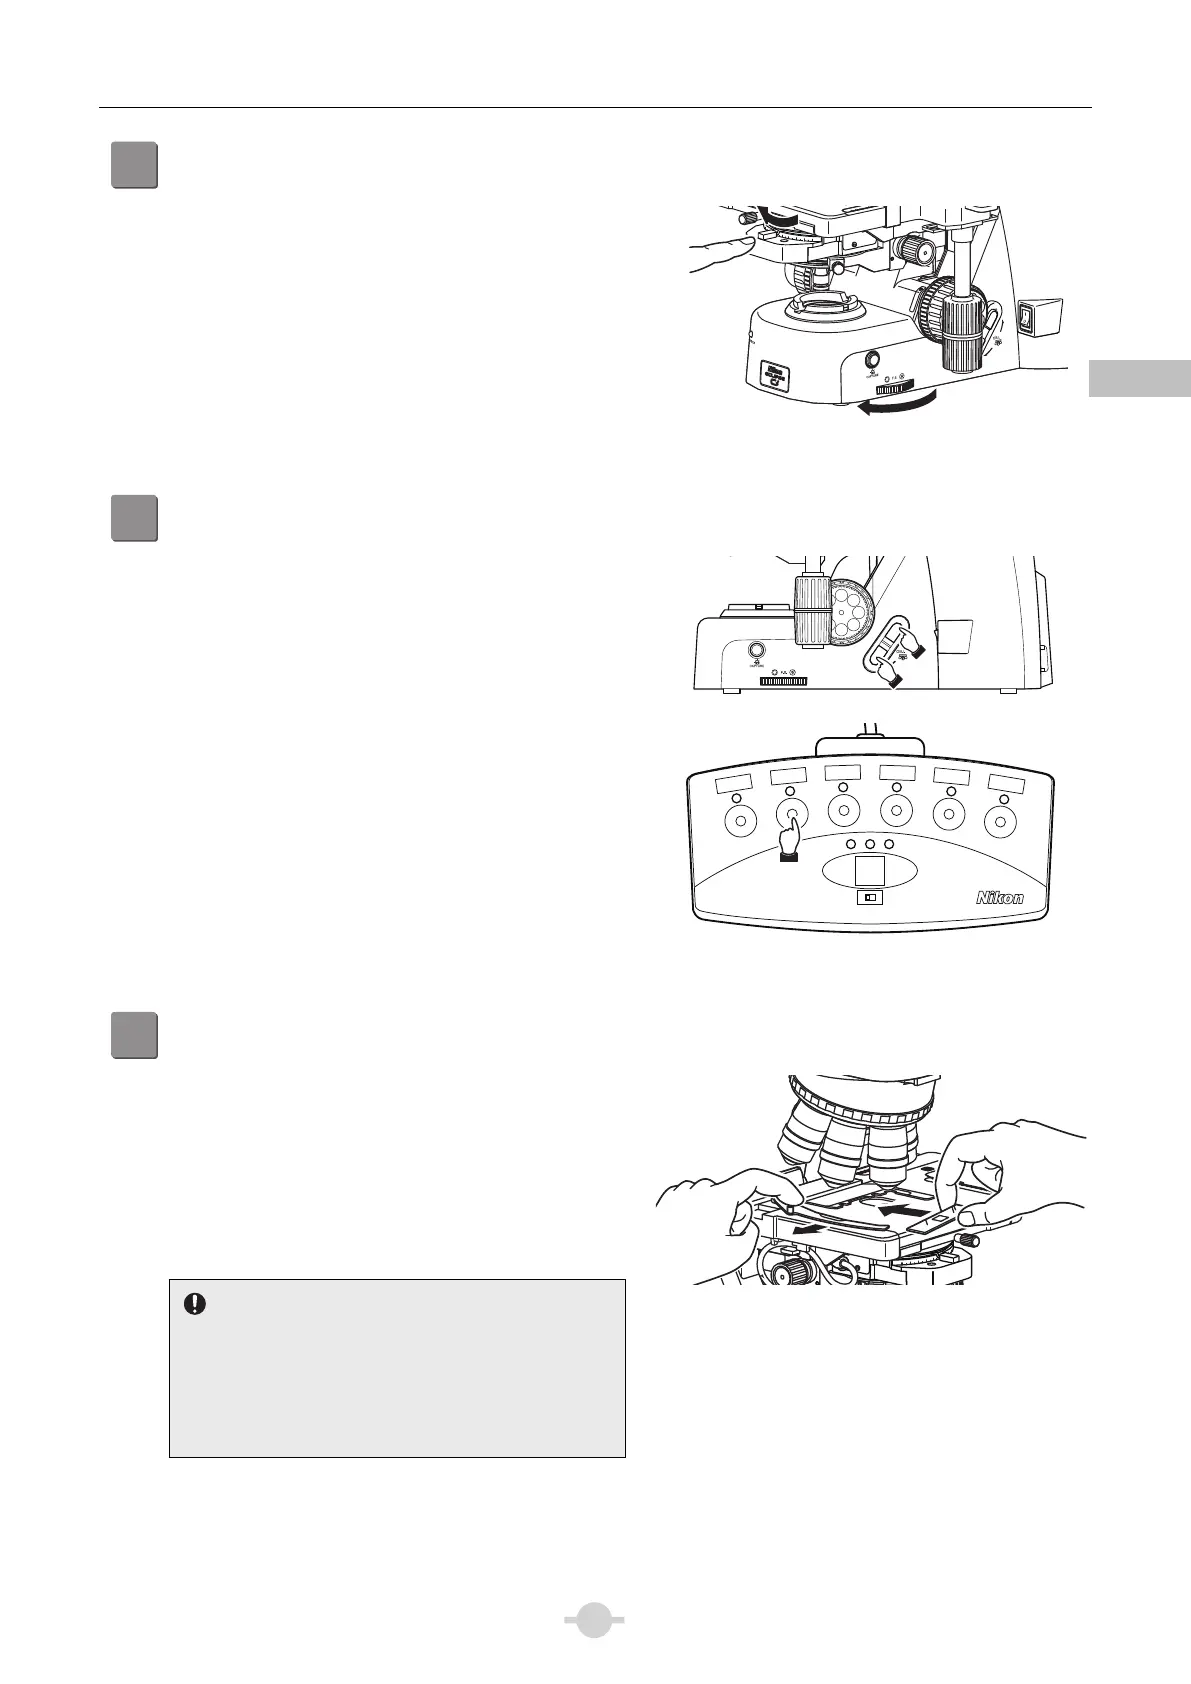
8
Place a specimen on the stage, and move the stage to bring the target into view.
(1) Open the claw of the specimen holder’s moving part
and place the specimen onto the stage, gently
stowing the claw back to fix the specimen.
You may use a double swing-claw holder for a single
specimen. To set a specimen to a double swing-cla
holder, slide and push the specimen into the
clearance between the claws.
Note on removing specimens
Completely open the movable claw of the specimen
holder by sliding it before removing a specimen from
the stage.
If a specimen is repeatedly removed with the movable
claw closed, the movable claw may be damaged.
0.9
0.7
0.6
0.5
0.8
0.1
0.2
Setting the specimen
10x