53
Fasteners
The Ninebot PTR features fasteners with threadlock applied so they will
not loosen over time. However, you must still take care to avoid damaging
fasteners during removal and installation.
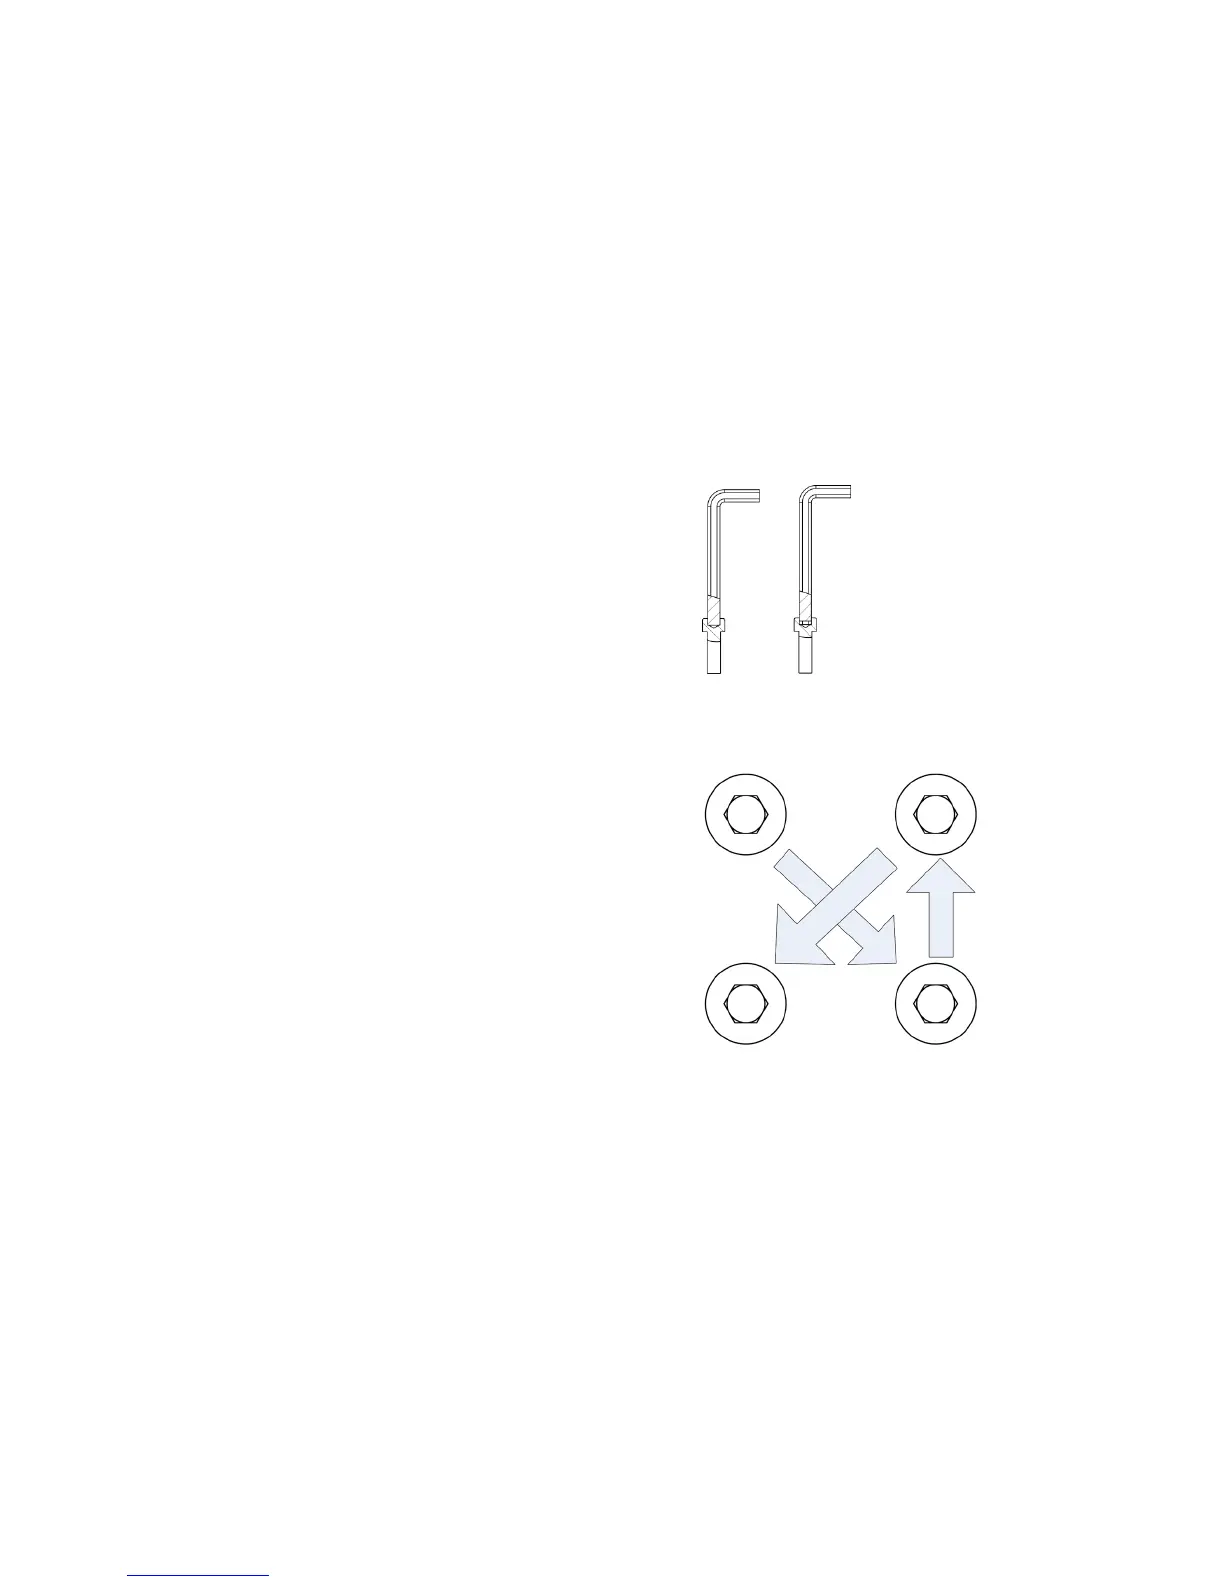
1. Make sure the hex wrench slides all the way to the bottom of
the hex socket (see Figure 43).
2. Always install fasteners in a staggered fashion (see Figure 44).
3. Install all the fasteners, then go back and tighten them.
4. Tighten until the fastener feels snug, then continue turning for
1/3 to 1/2 turn.
For your safety it is important to periodically verify that the fasteners
are tight. Ensure the fasteners are tight in these locations: wheel,
operation bar, battery pack, fender, foot mat, and handlebar. Grip these
components with your hands and try to move them. If they wiggle or
make noise, they are loose and you must tighten their fasteners.
Figure 40: Fully Insert Hex Wrench
Figure 41: Tighten in a Cross Pattern