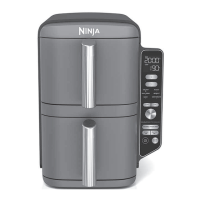
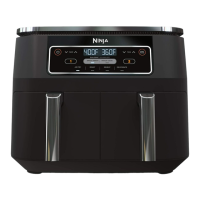
Select zone
• Place food in basket.
• Select Zone 1 or 2.
• Use the arrows to select a
cook function (e.g., AIR FRY).
Begin cooking
• Press the START/PAUSE
button to begin cooking.
Set temp & time
• Select the TEMP button
and use the arrows to
set the temperature.
• Select the TIME button
and use the arrows to
set the cook time.
Step 1
Step 3 For best results
Step 2
6 customizable
cooking functions
4 ninjakitchen.com 5
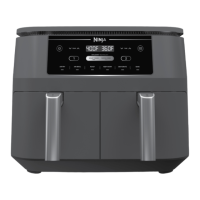
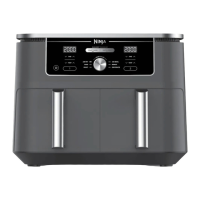
Cooking only one thing? Fill a single basket and
use it like a traditional air fryer.
Using a single basket
NOTE: If you would like to cook in
Zone 2 only, first select Zone 2, then
select a function.
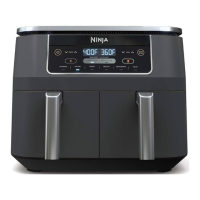
REHEAT DEHYDRATE
Best for leftovers. Best for making vegetable
and fruit chips and jerky.
NOTE: When cooking a single layer of
food, use ONLY the crisper tray in the
lower or upper position. DO NOT use a
Stacked Meal Rack.
Extra Crispy Top Layer
for proteins and fast cooking
Crispy Bottom Layer
for veggies and starches
When cooking a protein, make
sure to place the crisper plate in
the upper position.
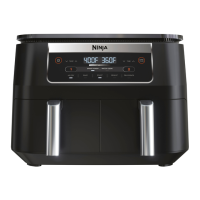
Best for fresh foods like chicken wings
and your favorite frozen snacks.
Best for melting cheese
and crisping toppings.
AIR FRY AIR BROIL
See page 25 for an Air Broil recipe.
Best for making brownies, cookies,
and other baked desserts.
Best for roasting
vegetables and meats.
BAKE ROAST
See page 28 for a Bake recipe.