6. Install spider in yoke and start one jour
-
nal into bearing cap assembled to yoke.
Be careful to not dislodge needle bear
-
ings.
7. Start remaining bearing cap into remain
-
ing yoke bore and start journal into that
bearing. Do not dislodge needle bear
-
ings in either bearing.
8. Using either a press or bench vise, care
-
fully push bearing caps into bores and
onto bearing journals. If substantial re
-
sistance is encountered, a needle bear
-
ing may have been dislodged and is
impeding progress. Carefully remove
bearing caps and make sure bearings
are in place. If a bearing is damaged, re
-
place it with a new one.
9. Continue pressing on one side until re-
taining ring groove is exposed. Install re-
taining ring. Turn yoke over and press
the other bearing into its bore. Install the
retaining ring.
10. Install remaining seals and bearings on
spider journals. Tape these bearings to
yoke to prevent them from falling off spi-
der.
11. Loosely assemble dust cap. Lubricate
splines on drive shaft and insert shaft
into slip yoke, insuring that front and rear
yokes are aligned.
12. Lubricate slip joint through grease fitting
before installing drive shaft on tractor.
Assembly–Flange Yoke End.
1. Apply automotive grease to needle bear
-
ings to retain them in cap.
2. Pack grease passage in spider with au
-
tomotive-type grease before installation.
3. Slide two bearing assemblies onto spi
-
der journals 180 deg. apart. Use match
marks to get correct bearing on correct
journal.
4. Position spider and bearing assembly on
flange yoke and secure bearing assem
-
blies with retaining ring clips.
5. Install remaining two bearing assemblies
on spider journals and position flange
assembly on drive shaft. Install retaining
rings.
9.6 WHEELS AND TIRES
The front and rear wheels are similar in
maintenance, cleaning, and inspection.
9.6.1 Removal
1. Move tractor to a level surface. Shut off
engine and set parking brake.
2. Using a jack, overhead crane, or some
other suitable lifting device (minimum 10
ton), raise end of tractor until wheel co-
mes off ground. See Section 1 for jack
stand locations.
3. Place jack stands under tractor to sup-
port it while wheel is off.
4. Remove lug nuts and tire and wheel as-
sembly.
9.6.2 Disassembly
1. Let air out of tire and remove valve core.
Use proper tire removal tools to
prevent possible damage to the tire bead.
If a bead breaker slips, it can
fly off with enough force to cause serious in
-
jury.
2. Remove tire from wheel using standard
safety equipment, tire changing equip
-
ment, and safety practices.
3. Remove valve stem if damaged or de
-
fective.
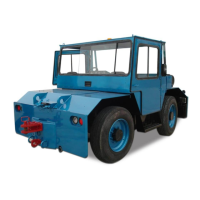
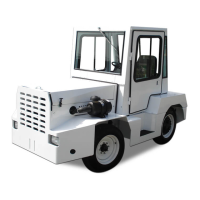
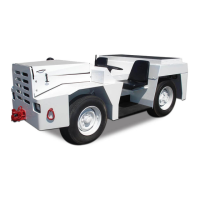
M200 MB4 Tow Tractor Manual No. 42975
PAGE 9-5
JULY 15, 2001
 Loading...