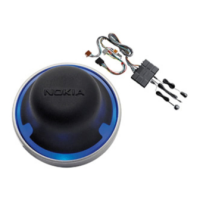
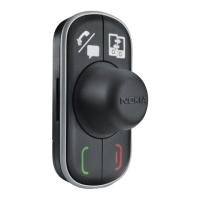
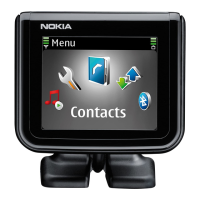
Installation
28
damage any systems or parts of the vehicle (for example, airbags). Drill
the required bore holes, and attach the display unit to the dashboard.
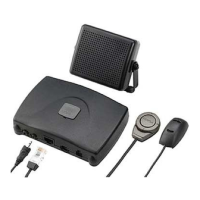
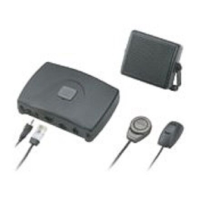
Loudspeaker SP-3
For good acoustic quality, mount the loudspeaker so that it points
toward the user. Mount the loudspeaker more than 50 cm (19.5 inches)
from the driver's or passenger's head. Mount the loudspeaker at least 1
meter (3 feet) away from the microphone to avoid audio feedback.
Connect the loudspeaker to the mono output of the car kit. The car kit
can also be connected to a compatible car radio system; consult your
service technician.
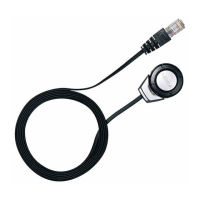
Microphone MP-2
Select the mounting location of the microphone carefully to increase
the quality of voice transmission.
Mount the microphone about 50 cm (19.5 inches) from the driver’s
head, and position it so that it points toward the driver’s mouth.
Experience has shown that the best mounting locations are near the
rear view mirror or the sun visor. Mount the microphone at least 1 meter
(3 feet) away from the car kit loudspeaker to avoid audio feedback.
Mount the microphone so that it is not exposed to air streams from the
vents. Do not place the microphone cable in the heating, ventilation, or
air-conditioning system. Use the supplied double-sided adhesive tape to
fix the microphone to reduce the amount of background noise of the car
that can interfere with your calls.
Insert the microphone plug into the microphone connector on the
hands-free unit, and turn the plug clockwise to lock it firmly. Use of any
other microphone than the microphone MP-2 supplied with the car kit
may impact the audio quality.
9200326_en1.fm Page 28 Thursday, January 25, 2007 11:09 AM