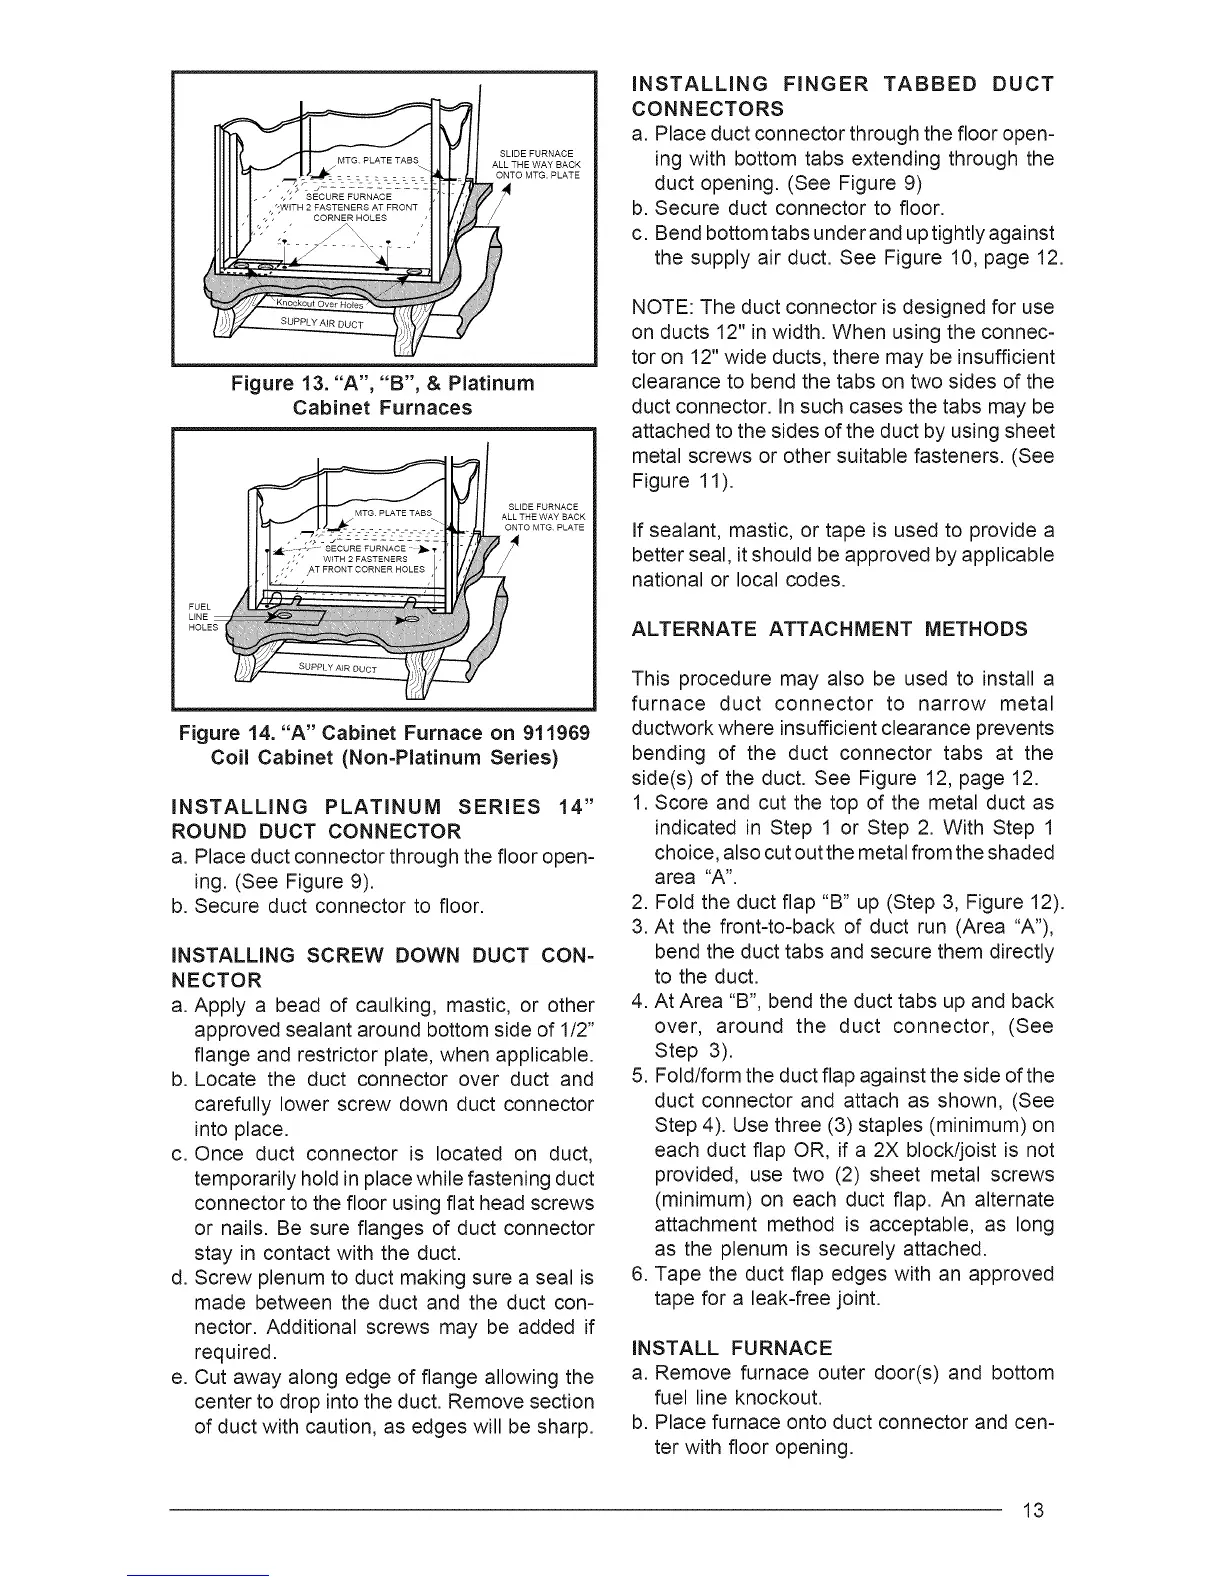
SLIDE FURNACE
ALL THE WAY BACK
ONTO MTG. PLATE
/
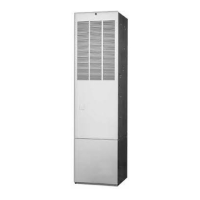
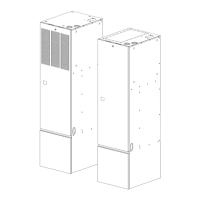
Figure 13. "A", "B", & Platinum
Cabinet Furnaces
SLIDE FURNACE
ALL THE WAY BACK
ONTO MTG PLATE
/
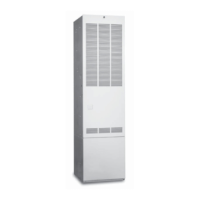
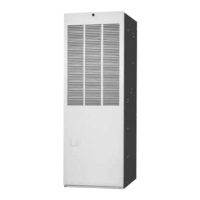
Figure 14. "A" Cabinet Furnace on 911969
Coil Cabinet (Non=Platinum Series)
iNSTALLiNG PLATINUM SERIES 14"
ROUND DUCT CONNECTOR
a. Place duct connector through the floor open-
ing. (See Figure 9).
b. Secure duct connector to floor.
iNSTALLiNG SCREW DOWN DUCT CON=
NECTOR
a. Apply a bead of caulking, mastic, or other
approved sealant around bottom side of 1/2"
flange and restrictor plate, when applicable.
b. Locate the duct connector over duct and
carefully lower screw down duct connector
into place.
c. Once duct connector is located on duct,
temporarily hold in place while fastening duct
connector to the floor using flat head screws
or nails. Be sure flanges of duct connector
stay in contact with the duct.
d. Screw plenum to duct making sure a seal is
made between the duct and the duct con-
nector. Additional screws may be added if
required.
e. Cut away along edge of flange allowing the
center to drop into the duct. Remove section
of duct with caution, as edges will be sharp.
iNSTALLiNG FINGER TABBED DUCT
CONNECTORS
a. Place duct connector through the floor open-
ing with bottom tabs extending through the
duct opening. (See Figure 9)
b. Secure duct connector to floor.
c. Bend bottom tabs under and up tightly against
the supply air duct. See Figure 10, page 12.
NOTE: The duct connector is designed for use
on ducts 12" in width. When using the connec-
tor on 12" wide ducts, there may be insufficient
clearance to bend the tabs on two sides of the
duct connector. In such cases the tabs may be
attached to the sides of the duct by using sheet
metal screws or other suitable fasteners. (See
Figure 11).
If sealant, mastic, or tape is used to provide a
better seal, it should be approved by applicable
national or local codes.
ALTERNATE ATTACHMENT METHODS
This procedure may also be used to install a
furnace duct connector to narrow metal
ductwork where insufficient clearance prevents
bending of the duct connector tabs at the
side(s) of the duct. See Figure 12, page 12.
1. Score and cut the top of the metal duct as
indicated in Step 1 or Step 2. With Step 1
choice, also cut out the metal from the shaded
area "A".
2. Fold the duct flap "B" up (Step 3, Figure 12).
3. At the front=to-back of duct run (Area "A"),
bend the duct tabs and secure them directly
to the duct.
4. At Area "B", bend the duct tabs up and back
over, around the duct connector, (See
Step 3).
5. Fold/form the duct flap against the side of the
duct connector and attach as shown, (See
Step 4). Use three (3) staples (minimum) on
each duct flap OR, if a 2X block/joist is not
provided, use two (2) sheet metal screws
(minimum) on each duct flap. An alternate
attachment method is acceptable, as long
as the plenum is securely attached.
6. Tape the duct flap edges with an approved
tape for a leak-free joint.
iNSTALL FURNACE
a. Remove furnace outer door(s) and bottom
fuel line knockout.
b. Place furnace onto duct connector and cen-
ter with floor opening.
13
 Loading...