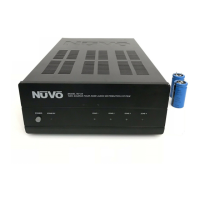
13
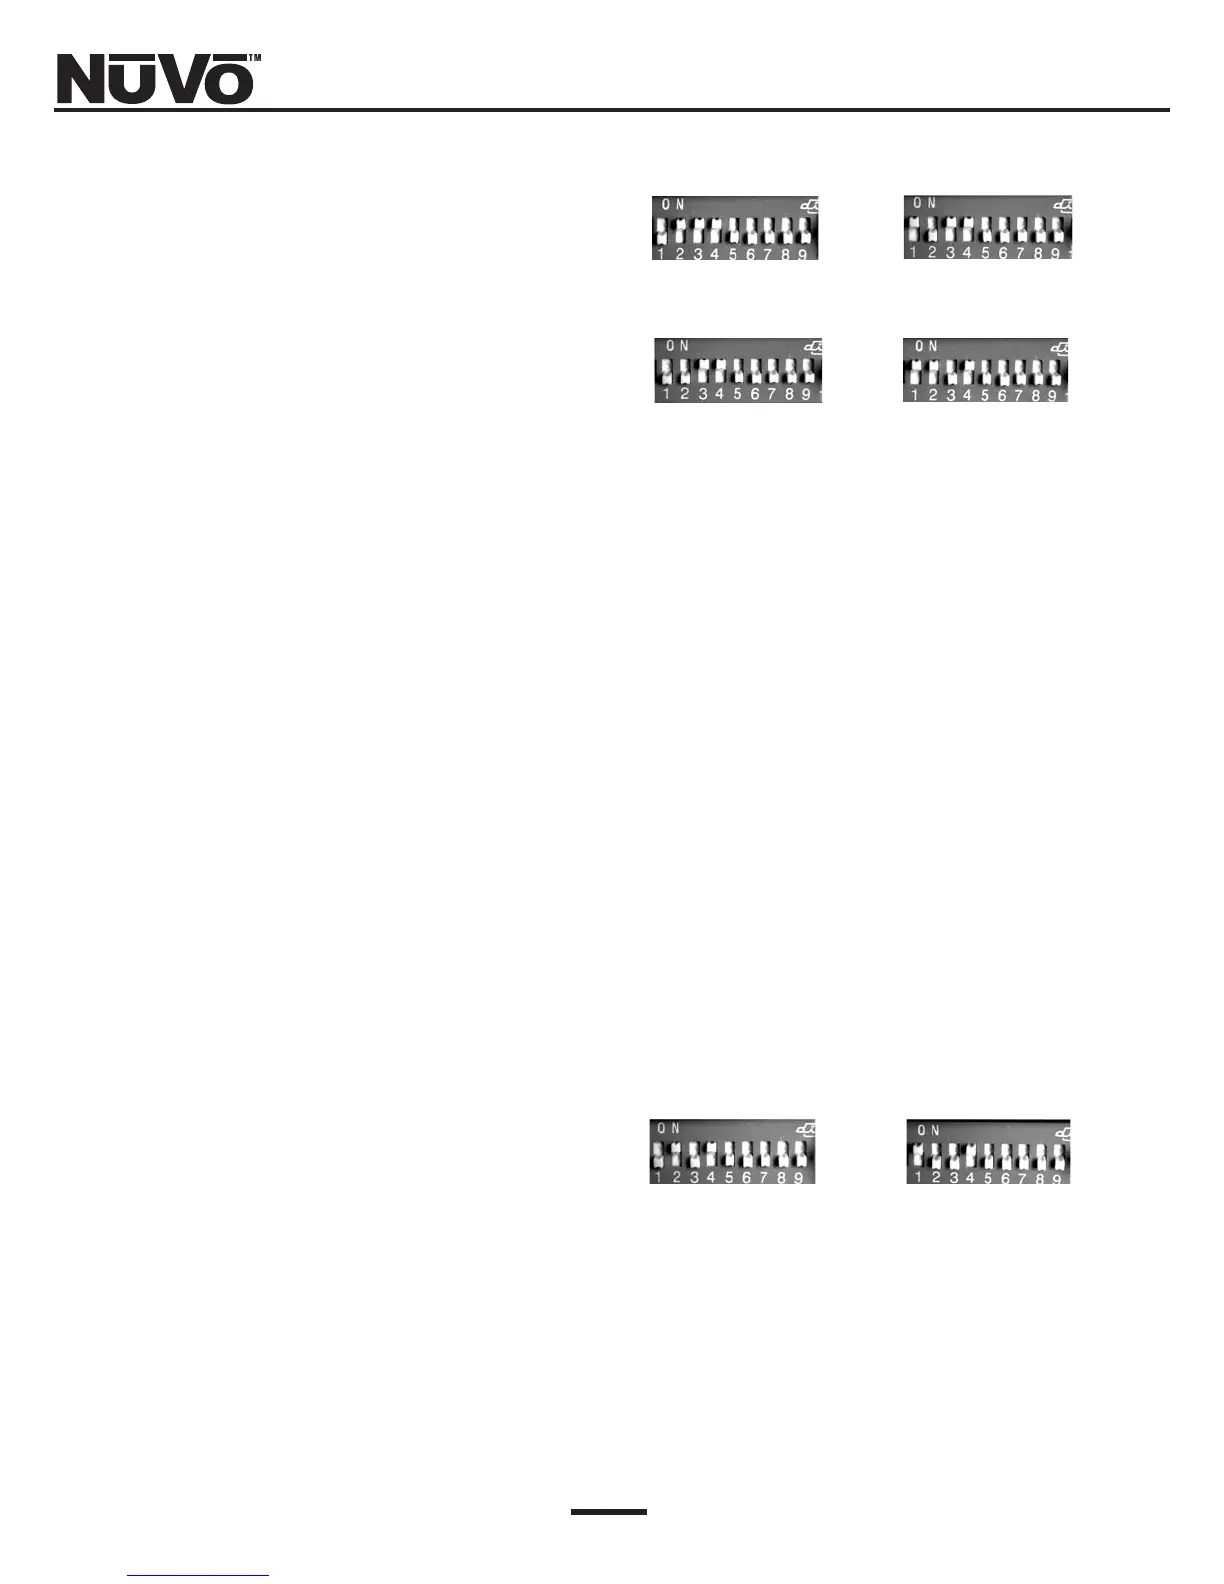
VII. Setting the NV-AKP DIP
Switches
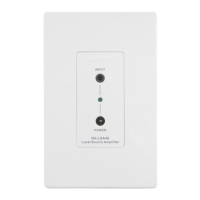
The single most important aspect of the installation is
to address the keypads correctly. The DIP switches
numbered 1-4 are to set the address for each zone. This
tells the system which zone each keypad will control.
On the back of the keypad is a chart that indicates how
to set these switches (Fig. 6). To set the keypad to con-
trol zone #1, set switch #1 down (1) and switches 2-4 up
(0). This keypad will now control the speakers plugged
into the "Zone 1" speaker outputs (Fig. 8). Set the
remaining zones, 2-4.
Plug the keypad for zone #1 into the appropriate Cat-5
cable for zone #1. If you press the "ON/Off" button, the
keypad should light up and the LED on the front of the
Simplese amplifier for "Zone 1" should also light up.
NOTE!
The left side of the DIP switch array with the label
“ON” is NOT relevant to the switch positions or ANY
of the settings. In other words, ignore it.
If you are referring to the diagram on the back of the
keypad for switch settings, remember that “1” refers
to “DOWN” position and “O” refers to “UP” position.
(Refer to Figure 6, Page 9).
The two addresses labeled ZN#1B and 2B are set aside
so that two keypads can be used in zones 1, and 2. For
instance, zone 1 can have two keypads: one addressed
with switch 1 down, and 2-4 up, and one addressed with
switch 1 down, 2 up, and 3 and 4 down (Fig. 8). This
allows for six total keypads within a four-zone system.
It is important that each keypad with a single system
has its own unique address.
Fig. 7: DIP switches 1-4
ZONE 1 ZONE 2
ZONE 3 ZONE 4
Fig. 8: Zone 1, and 2 additional keypads
ZONE 1B ZONE 2B
#1 DOWN; #2±—4 UP;
5—9 Do not apply.
#1 UP; #2 DOWN; #3—4 UP;
#5—9 Do not apply.
#1—2 DOWN; #3—4 UP;
#5—9 Do not apply.
#1—2 UP; #3 DOWN;
#4 UP; #5—9 Do not apply.
#1 DOWN; #2 UP; #3 DOWN;
#4 UP; #5—9 Do not apply.
#1 UP; #2—3 DOWN; #4 UP;
#5—9 Do not apply.