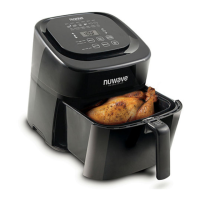
2. Put your food in the Brio and plug the Probe into the Probe Jack on the right side of
the Brio, with the Probe wire facing the front of the Tray. The Brio will beep once.
3. Press and hold Probe for 1 second.
4. Adjust the Probe temperature.
5. Press START/PAUSE to begin. The Brio will start preheating to the set cooking
temperature.
• You can cancel at any time by pressing the Power button. To view the current
Probe temperature, press Probe at any time.
• You can change the target internal Probe temperature at any time by pressing
and holding Probe for 1 second and using the Up and Down arrows.
Note: In the case of a whole chicken, adjust the Probe temperature to 165F.
Menu
Use the Menu function to choose from 100 presets (See the Quick Start Guide for the
full list). Slots 101~150 are for your own unique programs (See Advanced Settings for
more information).
1. Press Menu.
• Use the Up and Down arrows to scroll through the preset numbers until you nd
the desired presets.
• Once a preset number is chosen, press START/
PAUSE to begin cooking. You can make
temperature and time adjustments, if desired.
• Before cooking, some of the presets are
programmed to preheat.
• You can view the current cooking preset number
while the program is running by pressing Menu.
View the cooking settings
You can view all cooking functions associated with a preset before or during the cooking
process.
View the cooking settings before cooking
1. Press Menu and nd the preset number to review using the Up and Down arrows.
2. Once the preset number is displayed, press Stage to review each cooking step.
• Adjustments to the temperature and time can be made for each function
at this time.
1800
1
GENERAL USE
16 | nuwavenow.com