
D
Danielle AlexanderAug 5, 2025
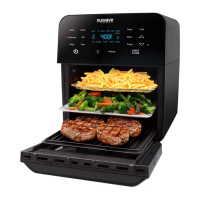
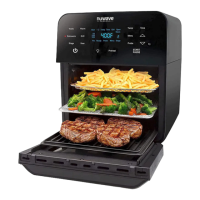
What to do if my NuWave Brio 38020 is not turning on?
- GgonzalezmichaelAug 5, 2025
First, ensure that the plug is inserted into an appropriate grounded power socket. If it is already plugged in, press the Power button to turn on the Fryer.