AcquiSuite Ally 12 & 48 User Guide (Rev D)
18 | P a g e
providing DHCP service. Under this configuration, as long as the AcquiSuite Ally meter and the host PC
are requesting an IP address from the same DHCP service provider, they will be able to communicate.
Upon powering up, the AcquiSuite Ally meter will indicate the IP address on the LCD display (if
equipped) or can be found using the Network Scan function.
DIRECT:
When a PC is directly connected to an Ally meter via an ethernet cable, no DHCP service exists. This
configuration can be made to work, but requires changes to either the meter communication settings or
the PC network configuration.
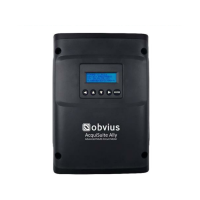
LCD Display
For units equipped with an LCD display navigate to
Communications
Ethernet Settings
DHCP
OFF
Change the IP address in the meter to match the subnet of your PC’s IP address, making the
meter IP unique, or note the current address on the meter and prepare to configure your PC’s IP
settings as shown below.
Once the PC and Ally meter are set to communicate on the same IP subnet:
1) Launch the Obvius Ally Configuration Console application and enter the IP address of
the meter (shown as the factory default)
2) Press the “Connect over Ethernet” button on the pop up window.
3) The meter should now be communicating. Obvius Ally Configuration Console is an intuitive
application; read the Obvius Ally Configuration Console overview section below.
 Loading...