AcquiSuite Ally 12 & 48 User Guide (Rev D)
25 | P a g e
SETTING THE REAL TIME CLOCK
The AcquiSuite Ally meter includes a Real Time Clock. The clock is used only to time stamp Interval Data
in the log, it is not used for calculation within the meter. For those customers using the IDR function of
the meter, it is helpful (but not strictly necessary) to set the real time clock so that data records can be
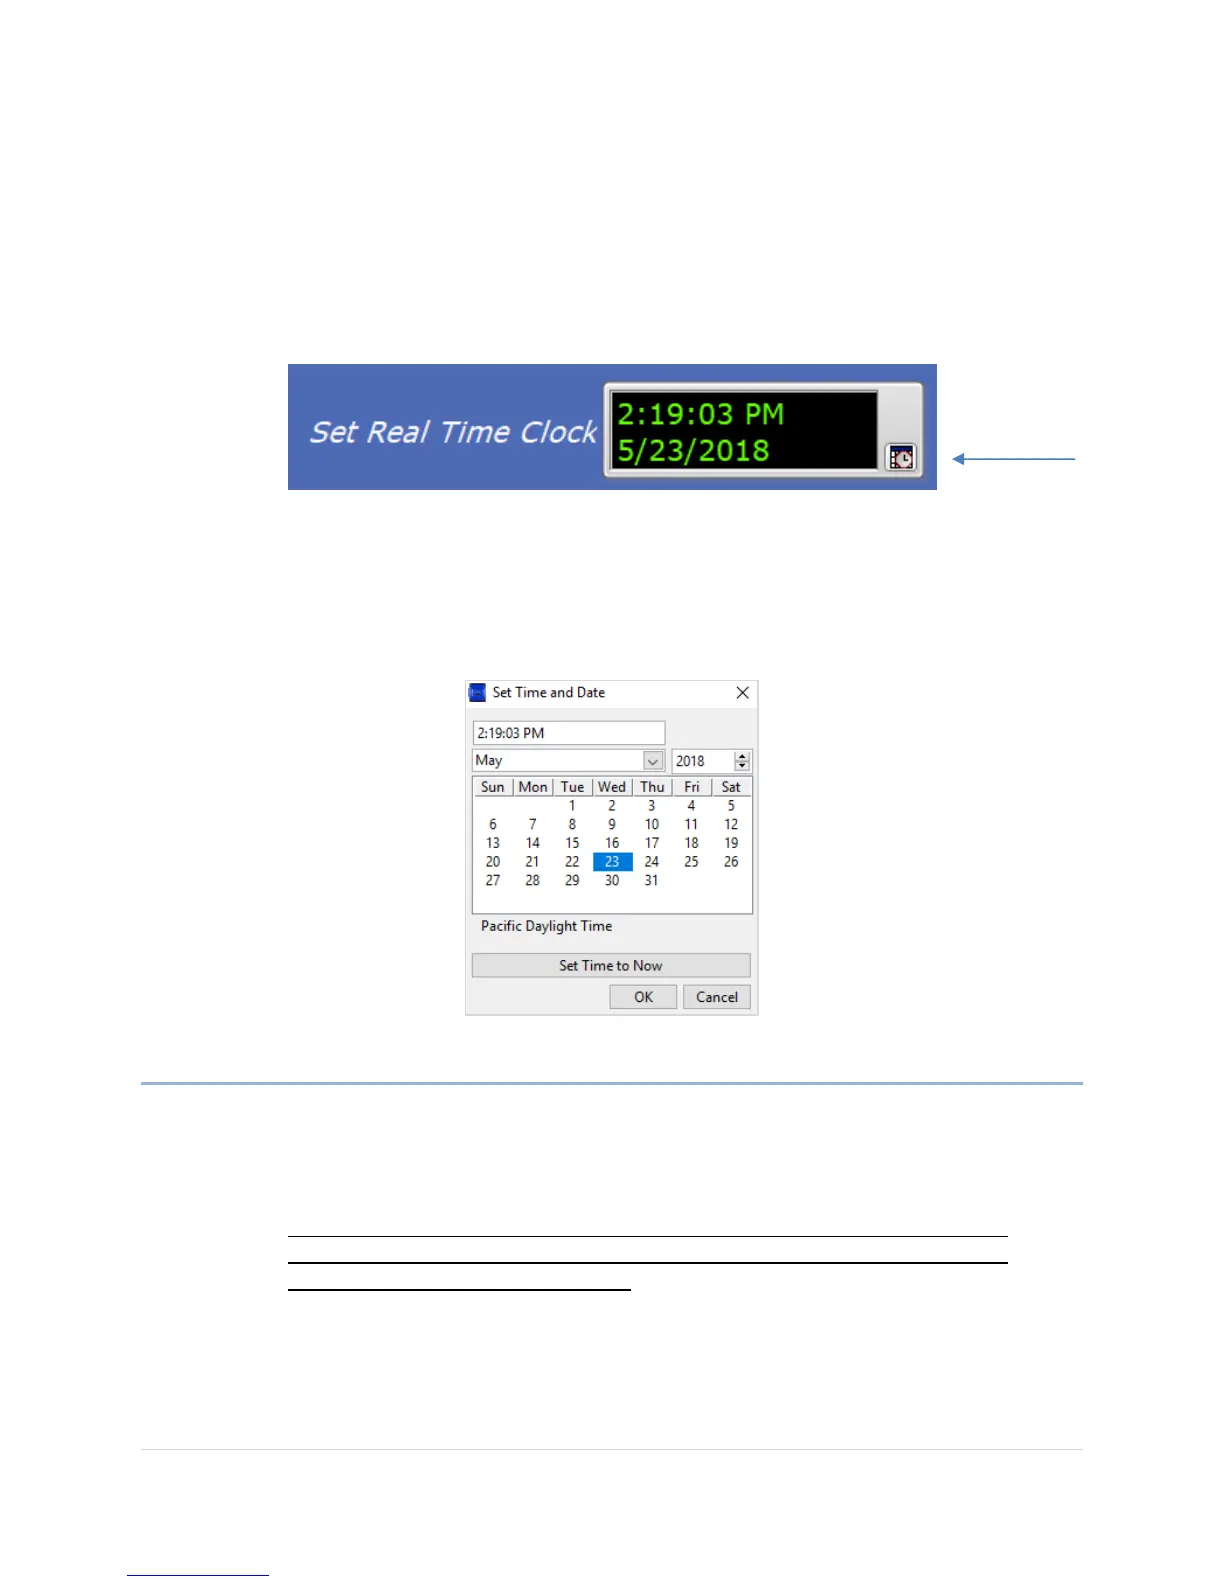
uniquely identified. The time can be set using Obvius Ally Configuration Console, under the Advanced
Tab, by clicking on the small time icon in the bottom right corner of the clock.
The clock icon launches the Window Calendar and allows the user to any desired date and time. “Set Time
to Now” populates the current time. Press the “OK” button to commit this time to the RTC chip onboard
the meter.
Real Time Clock Power Source
The RTC integrated circuit is a stand alone low power circuit within the AcquiSuite Ally meter. Time is
kept in the absence of a connected external power source (AC or USB power) by a super capacitor. The
capacitor can keep the RTC running over normal power outages (days to weeks) but is not expected to
keep time while the meter is being stored or shipped.
• Users desiring to use the Interval Data Recording capability of the AcquiSuite
Ally meter will want to have a procedure that ensures the Real Time Clock is set
as part of the commissioning process.
 Loading...