19
Make sure that you have finished the instructions from Step 1 “Setting Up
the machine” on pages 4 - 11.
1 Turn off and unplug the machine from the
AC outlet.
2 Turn on your computer.
You must be logged on with Administrator
rights.
DO NOT plug in the power cord
before connecting the parallel
interface cable. It may cause
damage to your machine.
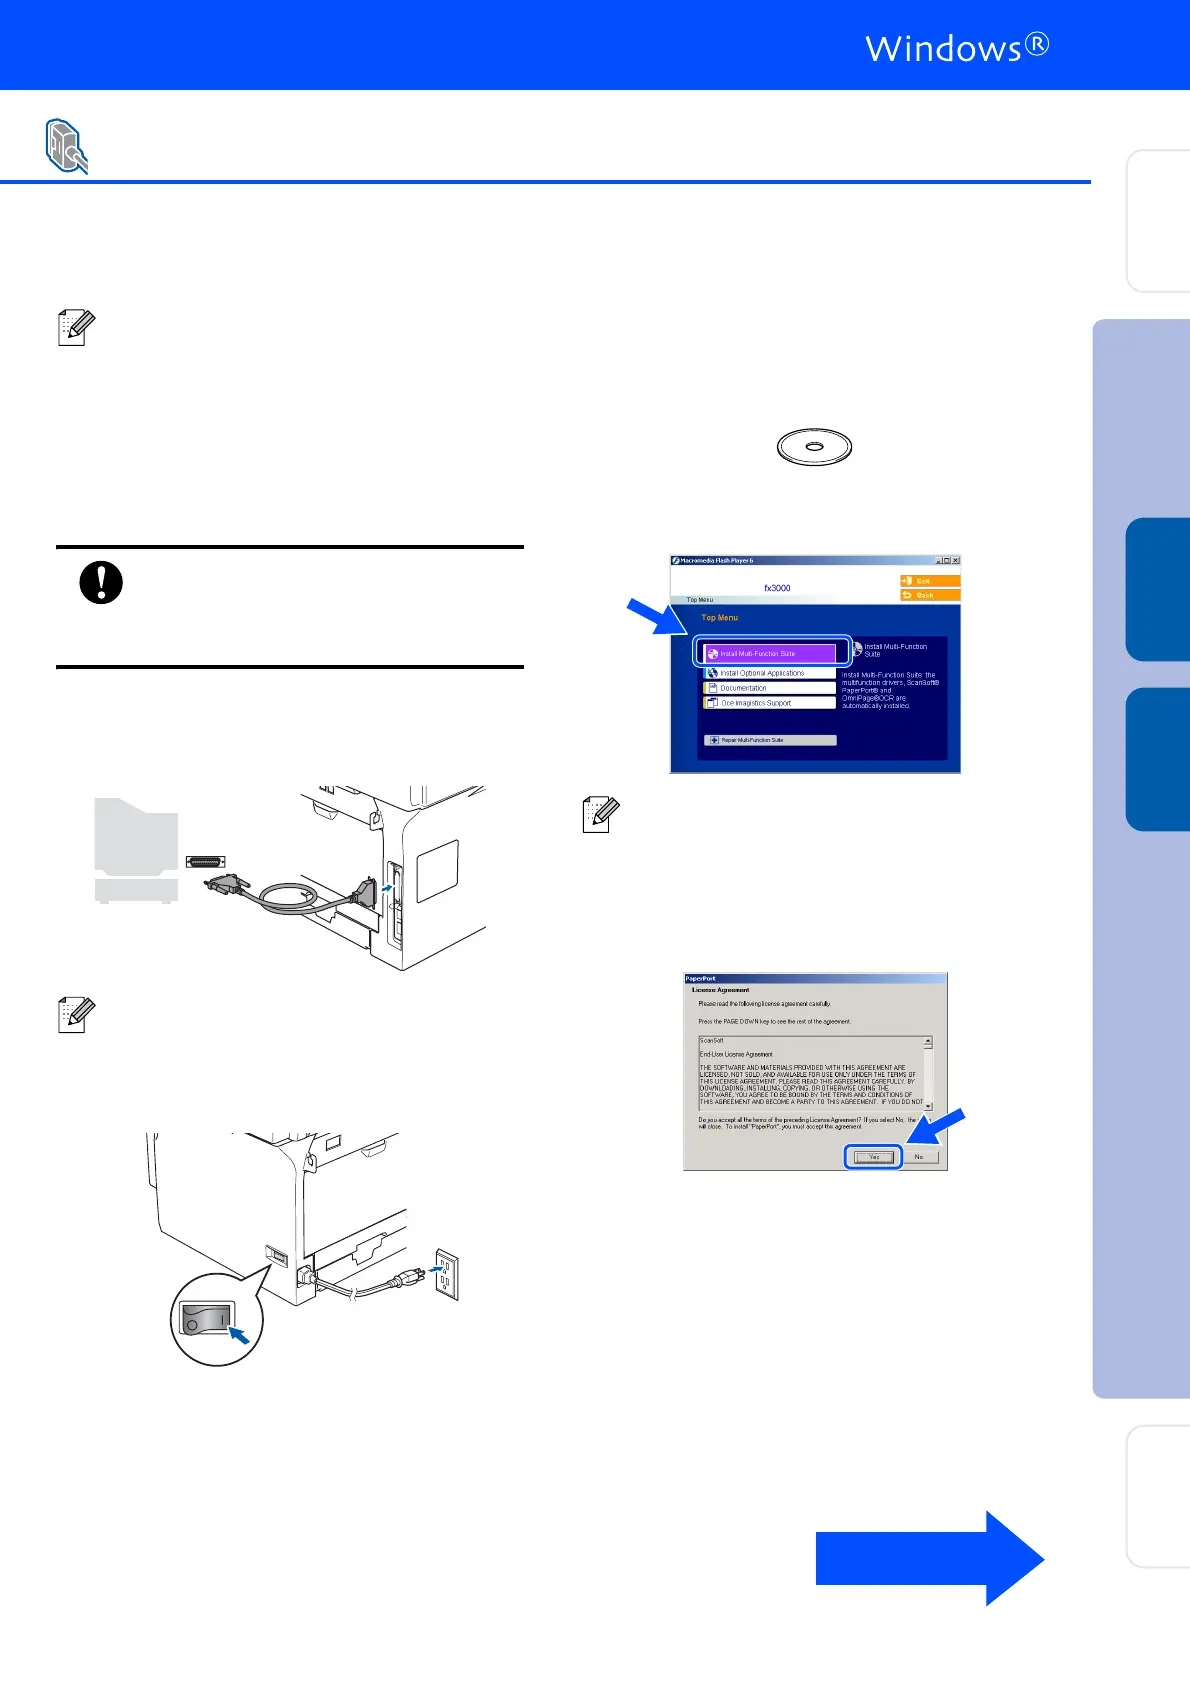
3 Connect the parallel interface cable to your
computer, and then connect it to the
machine.
4 Plug in the power cord and turn on the
machine.
5 Put the Supplied CD-ROM into your CD-
ROM drive. If the model name screen
appears, choose your machine. If the
language screen appears, choose your
language.
6 The CD-ROM main menu will appear.
Click Install Multi-Function Suite.
7 After reading and accepting the ScanSoft
®
PaperPort
®
SE License Agreement, click
Yes.
The installation of PaperPort
®
SE will
automatically start and is followed by the
installation of Multi-Function Suite.
For Windows NT
®
Workstation Version 4.0 Users
Please close any applications running before
installing the Multi-Function Suite.
Océ recommends that you connect the
machine directly to your computer.
If this window does not appear, use Windows
®
Explorer to run the setup.exe program from
the root folder of the Océ CD-ROM.
Continued ..
Installing the Drivers & Software
Setting Up
the machine
Network
Administrators
Windows NT
®
4.0
Parallel
Windows
®
Parallel

 Loading...