
S
Samantha ThompsonSep 15, 2025
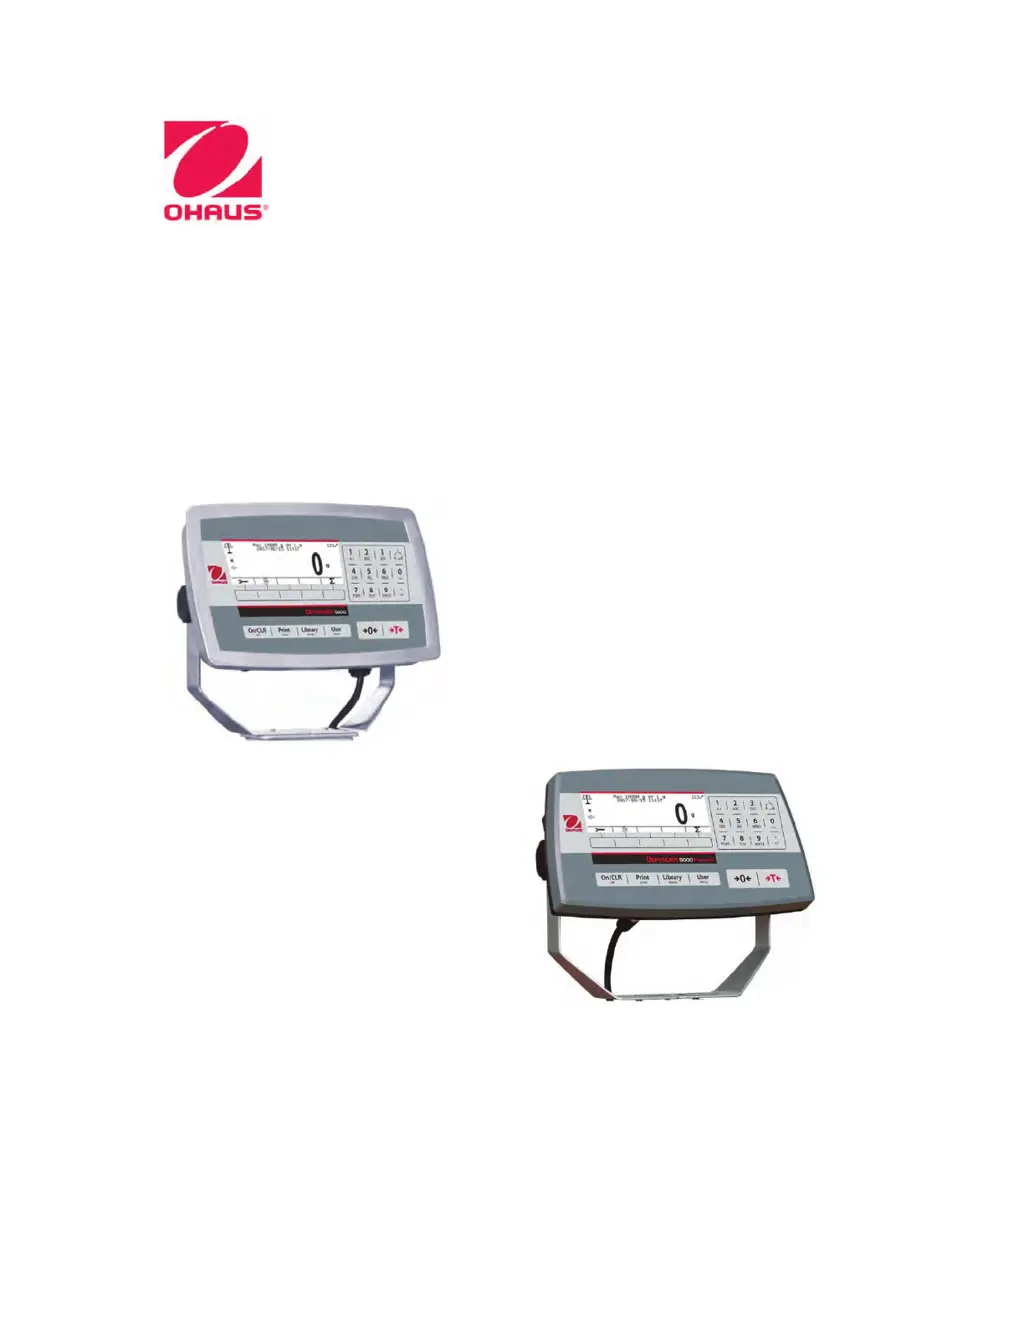
Why can't I change menu settings on my OHAUS Accessories?
- SscottthompsonSep 16, 2025
The menu may be locked. Set the selected menu to Off in the Lock Menu. If that doesn't work, the Lockout Switch on the circuit board may need to be set to the Off position.