- 95 -
Scanning to Computer
4
Scanning
For USB Connection
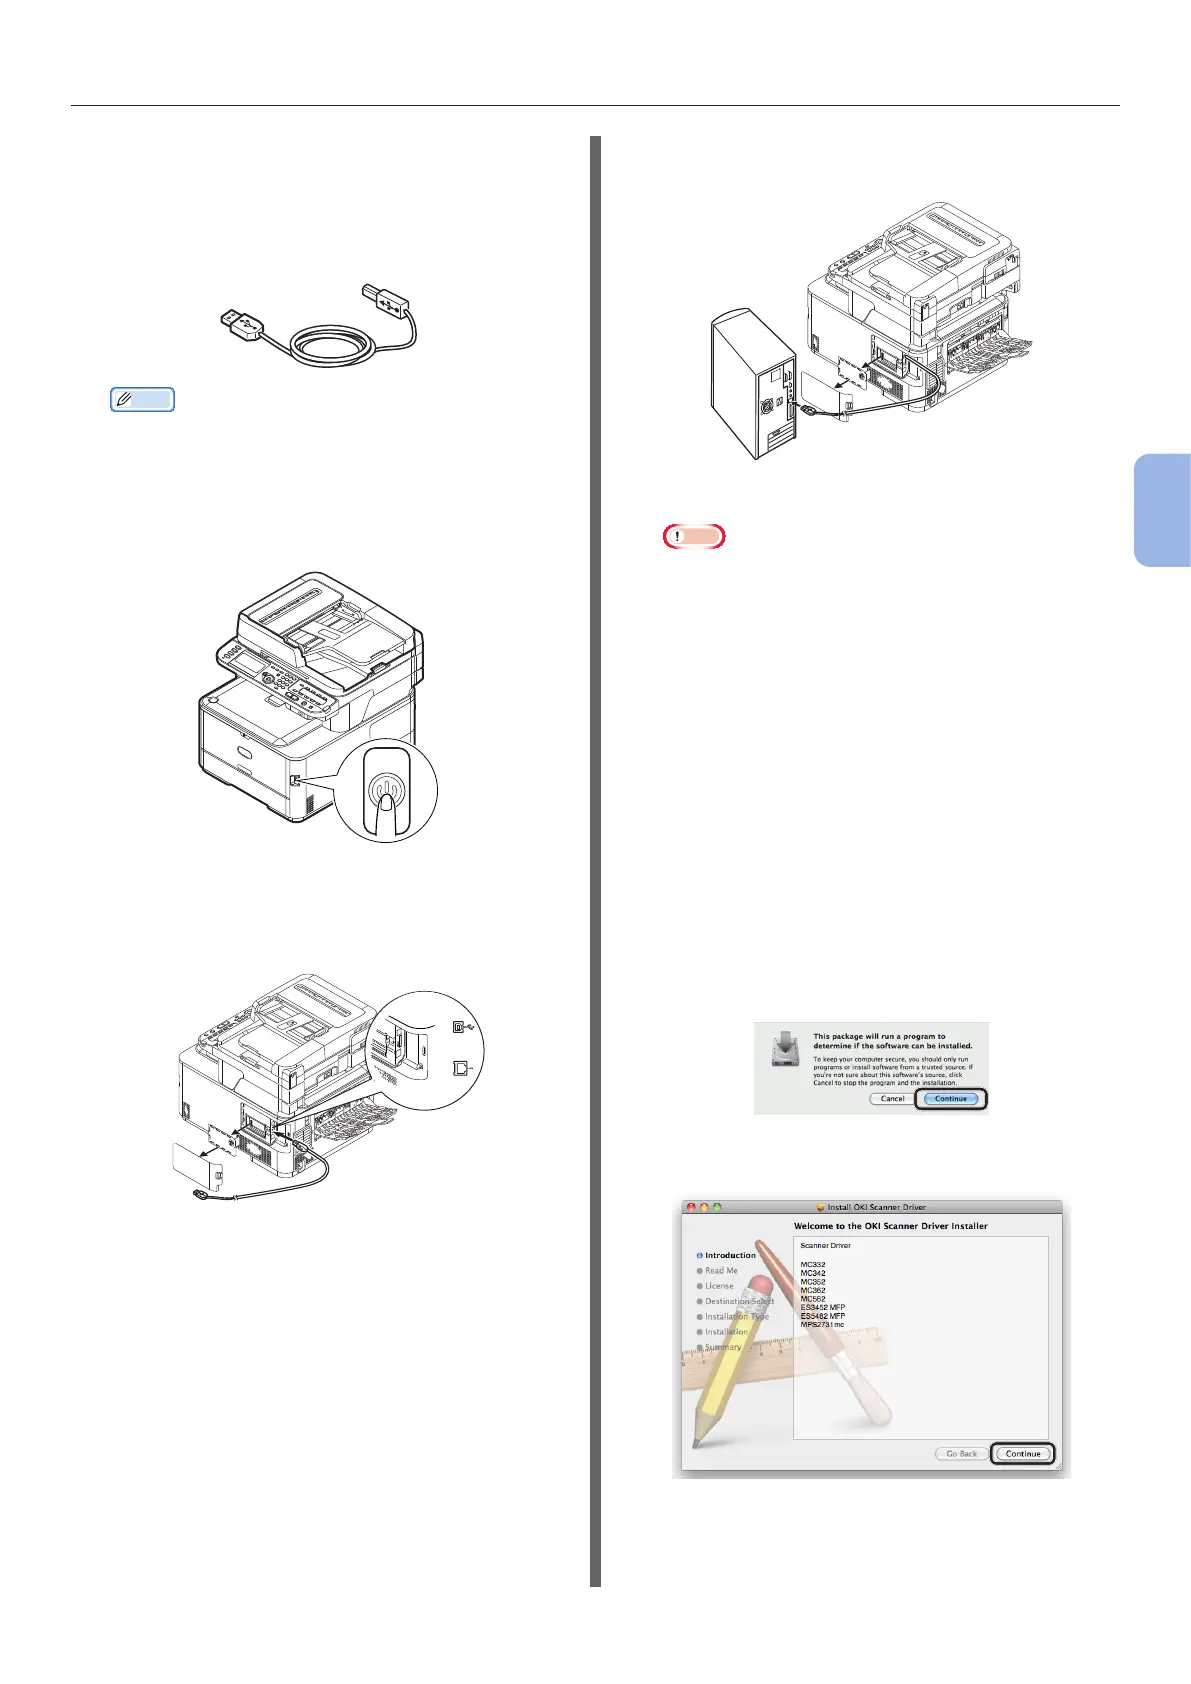
1 Prepare a USB cable.
A USB cable is not supplied with your machine.
Prepare a USB 2.0 cable separately.
Memo
● Use a USB 2.0 Hi-Speed cable for a USB 2.0 Hi-
Speed connection.
2 Hold down the power switch for
approximately one second to turn off the
power. And turn off the computer.
3 Plug one end of the USB cable into the
USB interface connector on the back of
the machine.
4 Plug the other end of the USB cable into
the computer’s USB interface connector.
Note
● Do not plug the USB cable into the network interface
connection. Doing so may damage your machine.
Step 2 Installing a Scanner Driver
1
Check that the machine is connected to
the computer and the machine is turned
on. Then, load the “Software DVD-ROM”
on the drive of the computer.
2 Double-click [OKI] on the desktop.
3 Double-click [Drivers] > [Scanner] >
[Installer for OS X 10.8] (for Mac OS
X 10.8) or [Installer for OS X 10.3-
10.7] (for Mac OS X 10.3.9 to 10.7).
4 Click [Continue].
5 Click [Continue].