4 ASSEMBLY AND PREPARATION
Please follow these instructions to assemble your detector and get ready for your first scan.
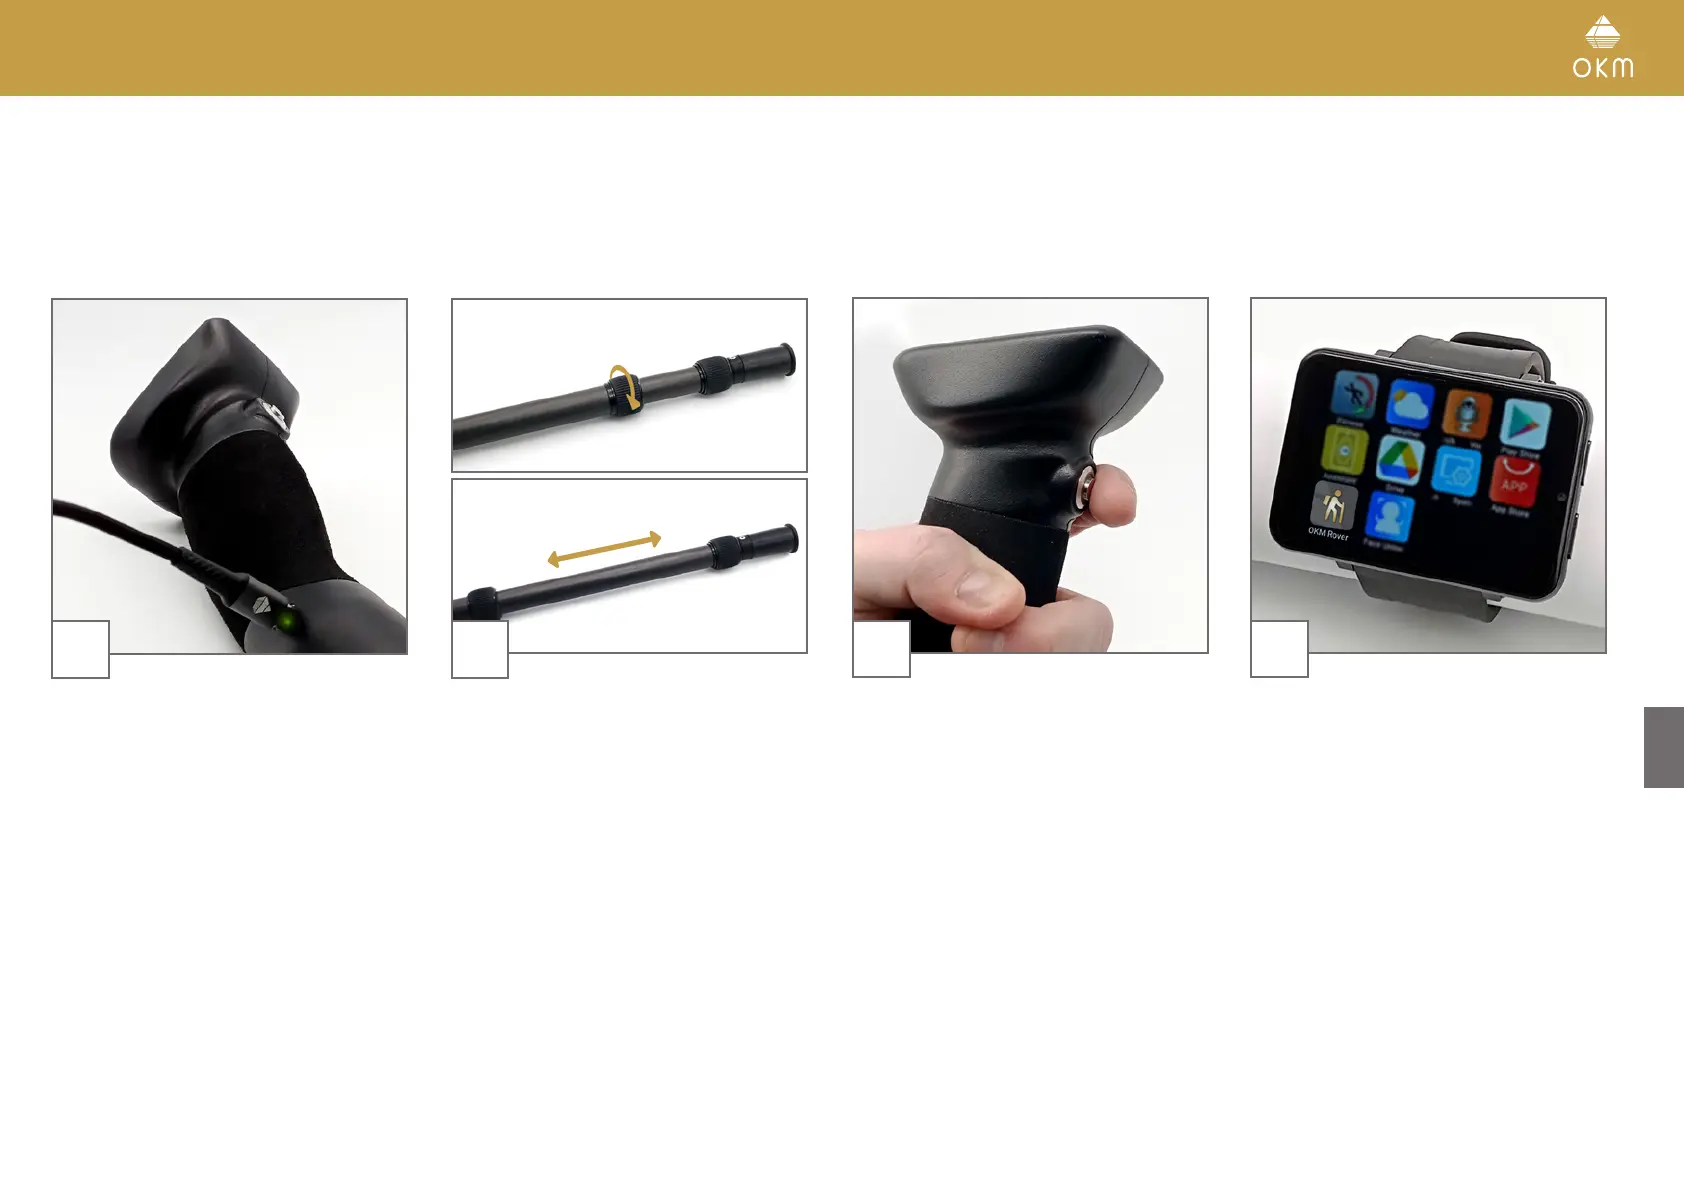
1
Make sure to recharge the internal battery of
the detector before going into the field.
Plug charger into detector to check the charge
status:
• Charging LED green = fully charged
• Charging LED red = charging
4
Start the OKM App on the Smartwatch
and select the desired operating mode, see
chapter 5 OPERATING MODES on page 14.
2
Release the lock by turning the grip clockwise.
Fully extend the lower part of the Telescopic
Rod and lock it again.
Then adjust the upper parts of the Telescopic
Rod to your height for maximum comfort.
3
Push the Trigger to power on the detector. The
Trigger LED turns green and the Minidisplay
turns on.
13 / 34