35
3.4. Wireless Zones Functions
Wireless Zones Extension Board Installation
The steps of BS-479 (wireless zones extension board for panel BS-468/A) installation are described
below.
1. Disconnect the power mains and battery. Place the 4 spacers intended for BS-479 support on the
panel board. Put the BS-479 board on the defined position. Screw the 4 screws and connect the
battery. Connect the power supply of the panel.
2. On the BS-466/A initial screen a "EXTENSION 05 NOT REGISTERED" fault appears.
3. Press " *
" and choose "MASTER OR TECH MENU". By entering the "technician code" the us-
er has now "TECHNICIAN" privileges.
4. Press "
8 " until you are in line "SYSTEM". Press " *
".
5. By pressing "
8 " the user must choose "SCAN EXTENSIONS". Press " *
" and wait until the
scanning process ends. When the scan procedure ends, the keyboard screen must have a ""
symbol in the corresponding extension card that has been detected. The BS-479 wireless zones
extension has the name "RF MASTER". The BS-477 keypad will not display the installed exten-
sion when the process is complete.
Wireless devices installation
Below there are all the necessary steps required to install - add wireless devices to the BS-468/A bur-
glar system. The specific procedure takes place by choosing "NETWORK INSTALLATION" and can
be started only if a user has "TECHNICIAN" privileges.
1. From the welcome screen, press " *
" and then select "MASTER OR TECH MENU". By typing
the "TECHNICIAN" code we enter the technician menu.
2. By going down with the "8" button, on the second page of
the technical menu we select the "WIRELESS ZONE" menu.
Select "NETWORK INSTALLATION" and " * " starts in-
stalling wireless devices (see picture on the right). At the bot-
tom left there is a counter counting the seconds. After 999
seconds, if no device is added, the installation process stops
automatically. After the insertion of a new device it starts
counting from the beginning. The bottom right corner gives
the number of devices already installed on the network.
CAUTION! When installing more than one wireless devices, the installer must wait for 10 sec-
onds before inserting another one. If this time is not met, there may be problems with the in-
stallation.
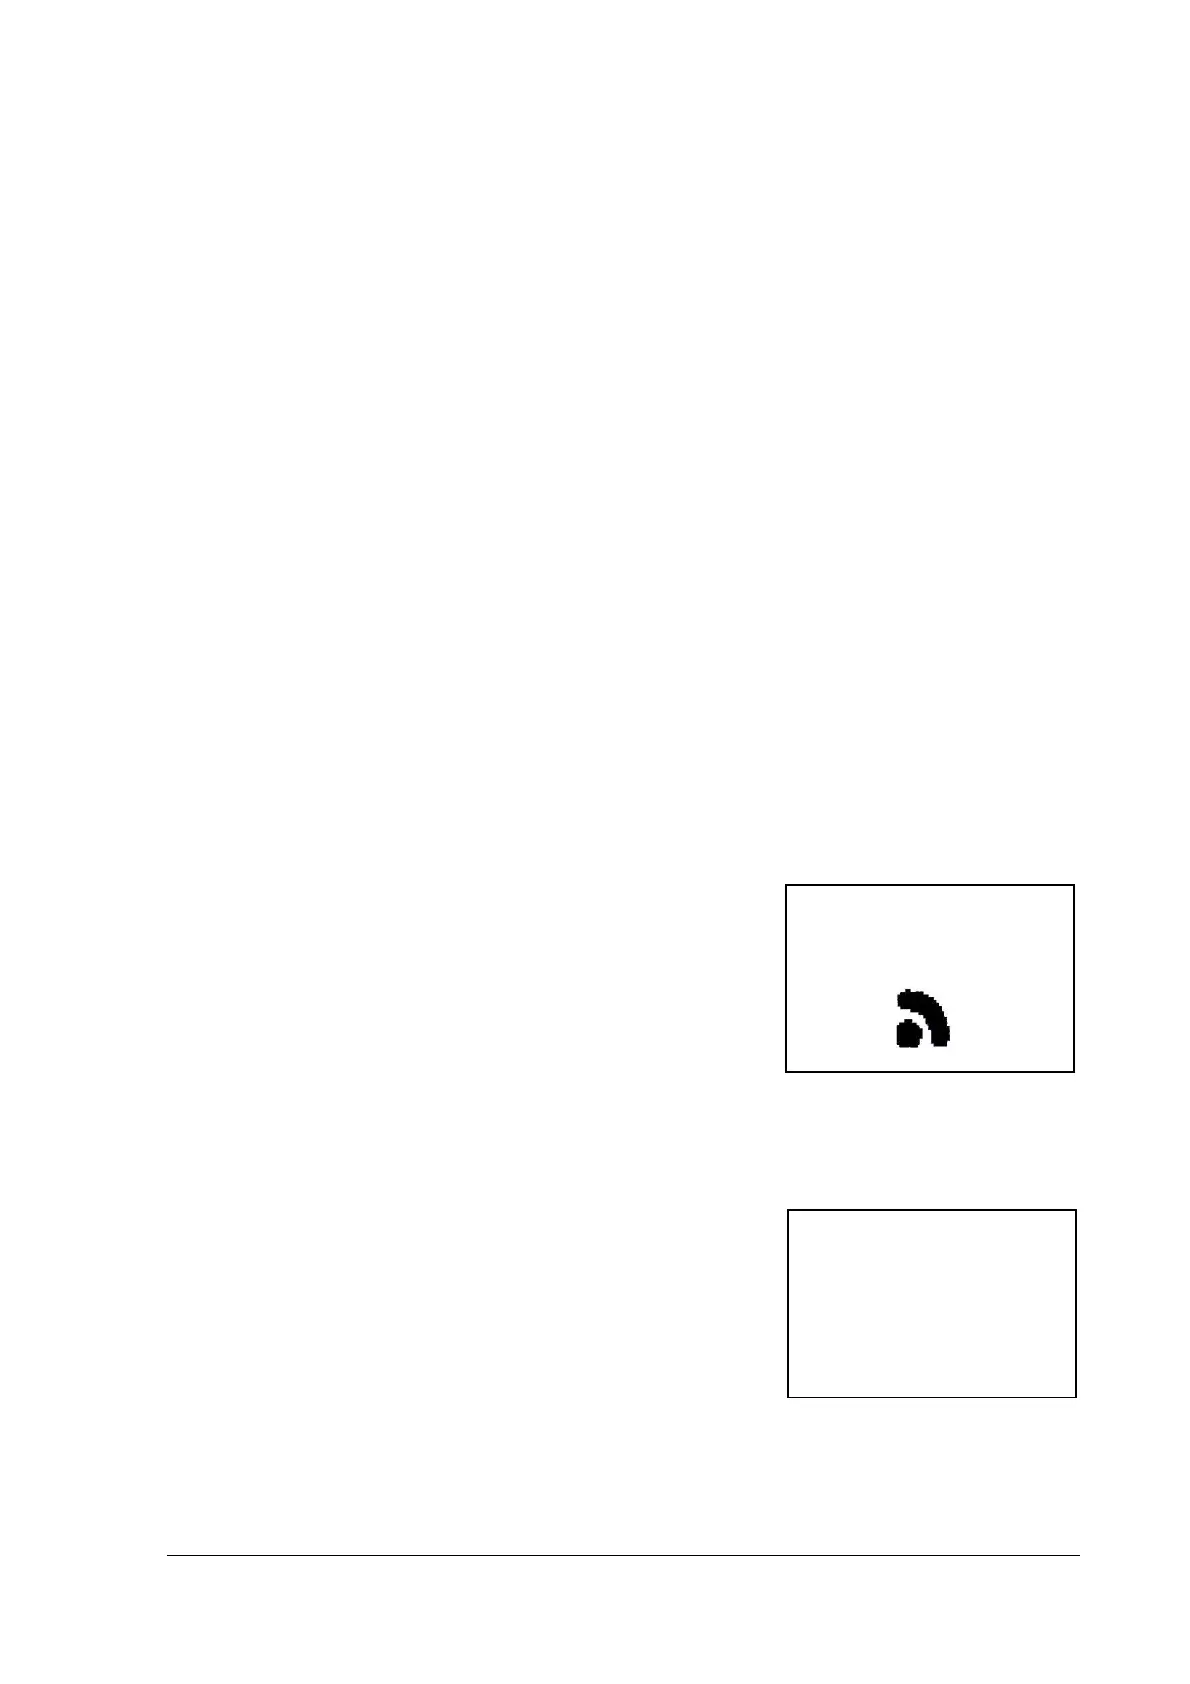
3. To add a device into the system, we need to place the battery
on this particular device, press the tamper spring for 1 to 2
seconds and then leave it. If successful, the message on the
right screen will appear. In the top line there is only one num-
ber (25) which is the number of the zone that the device has
been assigned to. The middle line shows the device type (BS-
477, BS-470, BS-471, BS-475). The bottom line contains the
unique address of the added device (in our case 0300010F).
4. After a few seconds the installation screen reappears and we can add other devices if needed in
the same way. After inserting a device, a 10-second interval occurs during which no other device
can be identified.
DETECTING DEVICE
PRESS ΄#΄ TO RETURN
087 01
25
BS-477
0300010F