TroubleshootingCLV-180
2-5
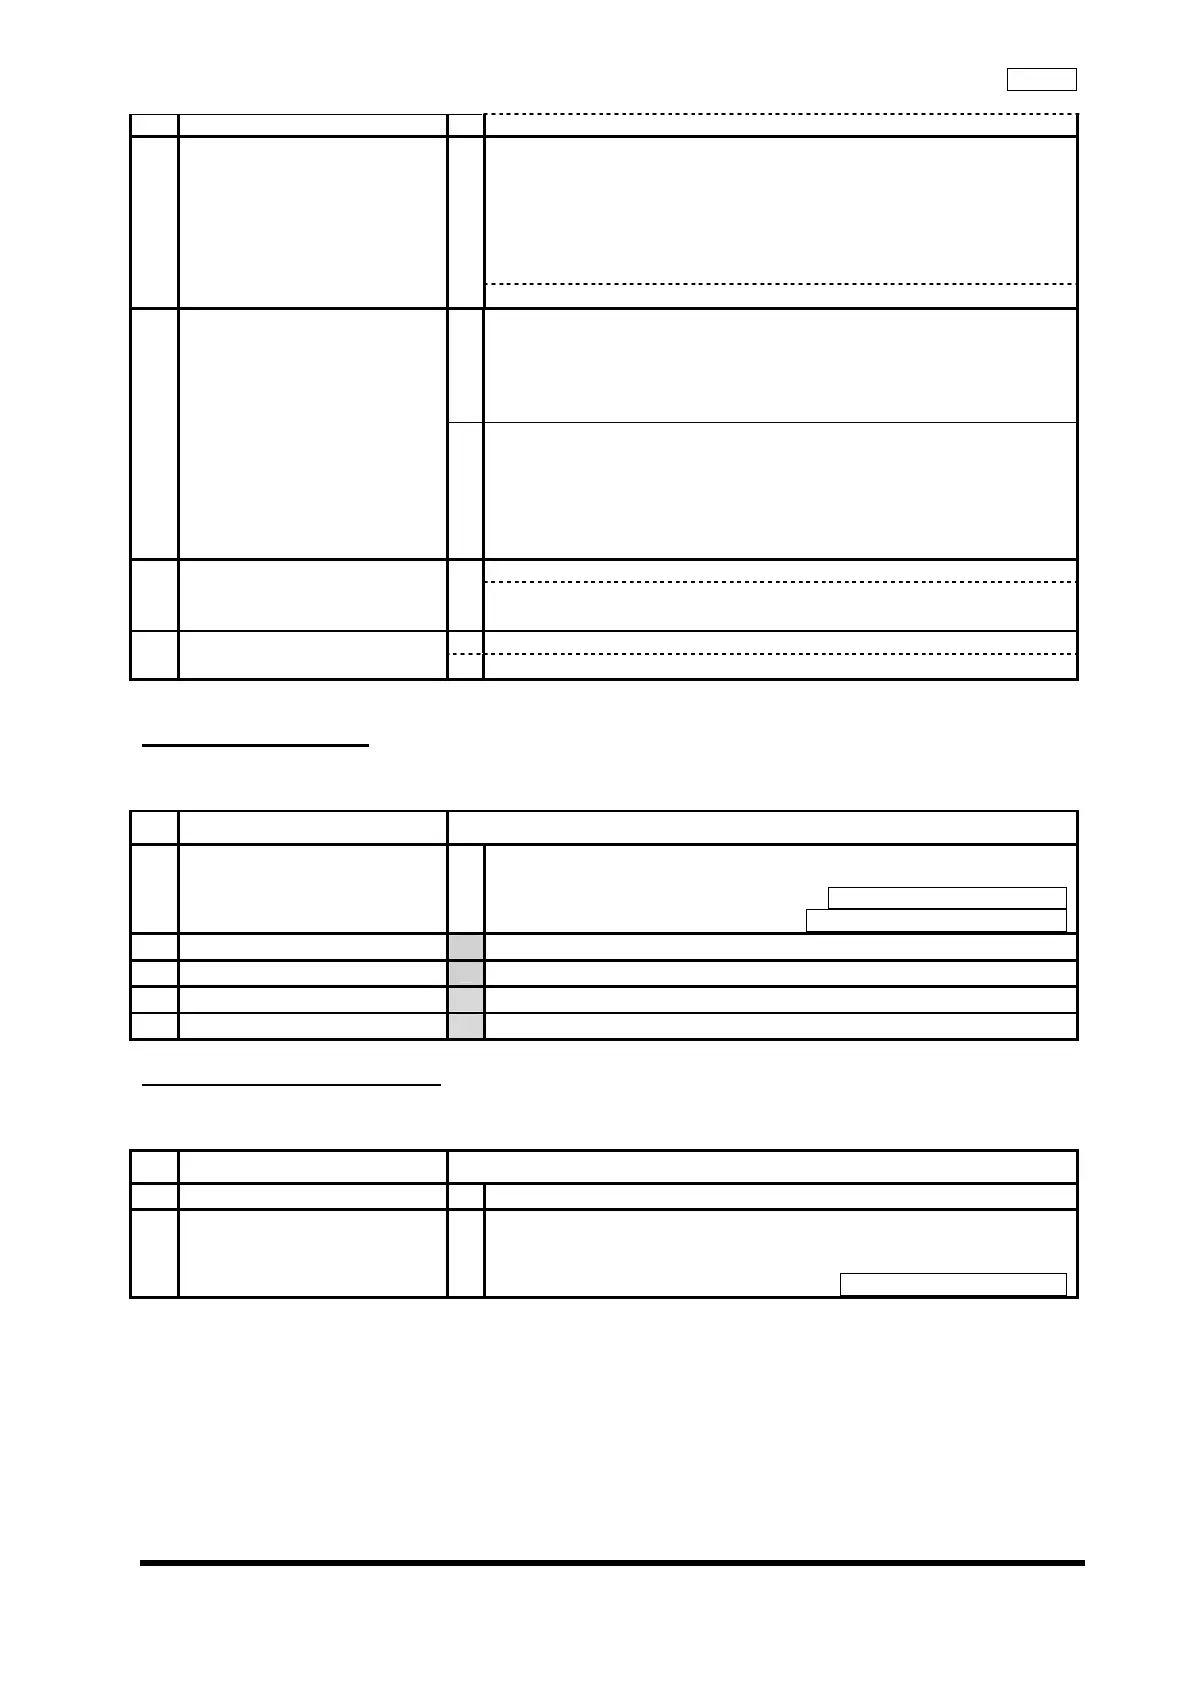
ISSUE1
Confirm that the signals in the Main Board are correct:
Main Board J6/2Pin
HIGH : XENON Lamp lit*HIGH : approx. 5 V
LOW : XENON Lamp not lit
H -> L when the Ignition Button is pushed ON to turn on Lamp
L -> H when the Ignition Button is pushed OFF to turn off Lamp
(Long push)
⑤
Main Board 1
NO →Replace Main Board
1
Verify Lamp attachment.
・ Confirm that Lamp is attached properly.
・ Confirm that heat compound is applied properly.
・ Confirm that the area surrounding the Xenon lamp contacts is clean.
* Cleaning is required if the discoloration is found.
⑥
Surrounding the Lamp
2
Check the area surrounding the Lamp House.
・ No unnecessary objects (e.g. metal chip)
・ No leakage of high voltage pulse
・ Check connection with Terminal F and Terminal R
・ Confirm there is enough distance between Round Terminal and Lamp
House
Clattering noise at ignition
⑦
Xenon Lamp /
Igniter
1
YES →Replace Xenon Lamp
NO →Igniter
1
Xenon Lamp not lit even after procedures 1-7
⑧
Converter
YES →Replace Converter
2-3 Lamp malfunction
Lamp going out
2-3-1 Estimated location of failure
No
Estimated location failure Inspection method
①
Log 1
Verify frequency of Lamp failure errors.
* Refer to EVIS communication Checker for verification method.
Evis communication checker
CLV-180 Communication Cable
②
Power input failure Refer to 2-1
③
Emergency Lamp malfunction Refer to 2-16
④
Cooling Malfunction Refer to 2-6
⑤
Lamp failure Refer to 2-2
2-4 Scope connection failure
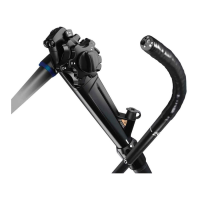
Scope not mounting
2-4-1 Estimated location of failure
No
Estimated location failure Inspection Metod
①
Scope 1
Confirm that Scope is a compatible one.
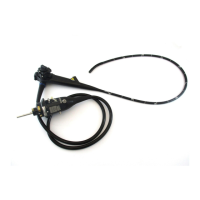
②
Scope Socket 1
Confirm that the Scope Socket is free of abnormalities.
* Insert Heat Cover Positioning Jig to Scope Socket and confirm that
it's not caught inside.
Heat Cover Positioning Jig