195
Chapter 8: Printing images
Printing with a PictBridge-compatible printer
3 Connect the supplied USB cable to the cradle’s USB terminal, then set
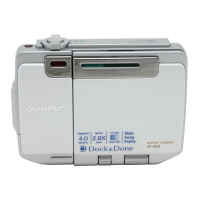
the camera on the cradle with the multi-swing display opened.
The camera turns on and the “PC / PRINTER” screen appears.
4 Press a/c to select “SEL. PRINT,” then press 9.
The “PRINT MODE SELECT” screen appears after a while. Go to “Procedures for
printing” (g page 196).
Notes
• If “PC” is selected accidentally, start over from step 1.
• If you select “PRINT” when a non-Dock&Done-compatible printer is connected, the error message
“DOCK&DONE PRINTER IS NOT CONNECTED” appears.
USB
A/V OUT
(MONO)
DC IN 5V
-
+
O
K
Camera connector dial
Turn the dial to select this mark.
PRINT
SEL.PRINT
EXIT
PC / PRINTER
GO
SELECT
PC
00E Adam .book Page 195 Tuesday, November 9, 2004 3:24 PM
 Loading...


